Other Print Operations
78
4
Unauthorized Copy Control
You can embed patterns and text under printed text to prevent unauthorized
copying of the document. Unauthorized Copy Control consists of two functions:
[Data security for copying] and [Mask type:].
Important
❒ This function is designed to discourage copying of confidential documents; it
does not prevent unauthorized use of information.
Using [Data security for copying]
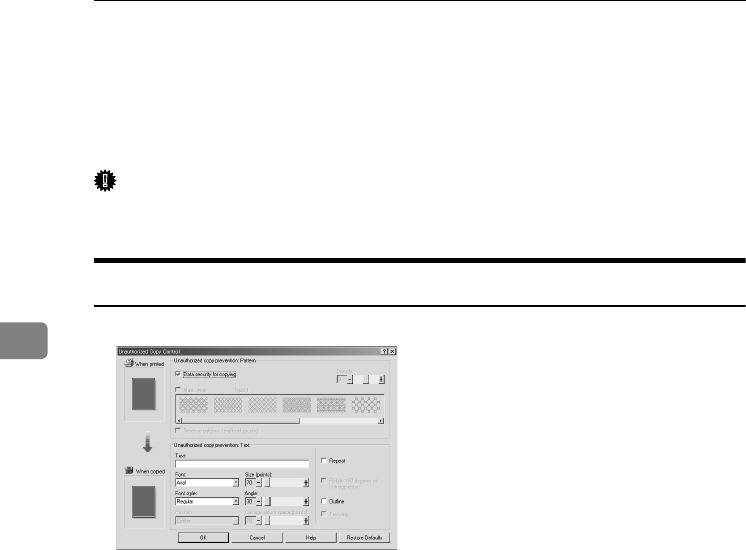
You can embed a pattern by setting it in the printer driver.
❖ Setting [Data security for copying] in the printer driver
• Select the [Data security for copying] checkbox. You can also enter the text in
the [Text:] box.
• You cannot select the [Mask type:] checkbox at the same time.
• To print a document protected by gray overprint, the machine must be set
up correctly. Consult an administrator.
RussianC4EN-Print-F1_FM_forPaper.book Page 78 Wednesday, May 11, 2005 6:09 PM
