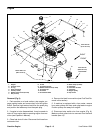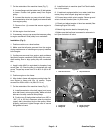
7. On the underside of the machine frame (Fig. 7):
8. Install fuel tank to machine (see Fuel Tank Installa-
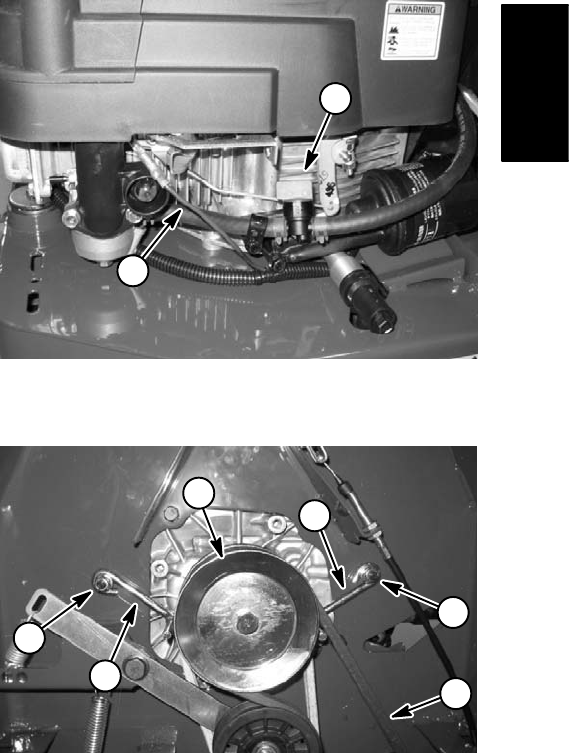
A. Loosen flange nuts that retain two (2) belt guides
to frame. Position belt guides away from engine
pulley.
B. Loosen idler tension on pump drive belt (lower)
and transmission drive bolt (upper) and remove belts
from engine pulley.
C. Remove four (4) screws that secure engine to
machine.
8. Lift the engine from the frame.
9. If necessary, remove cap screw that secures pulley
to engine crankshaft. Slide pulley from crankshaft.
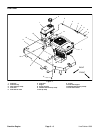
Installation (Fig. 5)
1. Position machine on a level surface.
2. Make sure that all parts removed from the engine
during maintenance or rebuilding are properly installed
to the engine.
3. If pulley was removed from engine, apply antisieze
lubricant to engine crankshaft. Slide pulley onto crank
-
shaft making sure to align pulley key with crankshaft
slot.
4. Apply Loctite #242 (or equivalent) to threads of cap
screw (item 19). Secure pulley to crankshaft with cap
screw. Torque cap screw from 50 to 60 ft–lb (68 to 81
N–m).
5. Position engine on the frame.
6. Align holes in frame with engine mounting holes. Se-
cure engine to frame with four (4) screws. Torque
screws from 250 to 450 in–lb (28 to 51 N–m).
7. On the underside of the machine frame (Fig. 7):
A. Install transmission drive belt (upper) and pump
drive belt (lower) onto engine pulley. Make sure that
belts are correctly routed at idler pulleys.
B. Position two (2) belt guides to allow from .060” to
.130” (1.5 to 3.3 mm) clearance when the traction
(upper) belt is tensioned by the idler pulley. When
properly positioned, tighten flange nuts to secure
belt guides to frame.
tion in this section).
9. If machine is equipped with a hour meter, install hour
meter pickup wire to spark plug lead on engine.
10.Connect stop switch wire to engine. Secure ground
wire to fuel tank bracket (item 14) with screw.
11. Check and adjust engine oil level as needed (See
Checking Engine Oil Level).
12.Attach high tension lead to the spark plug.
13.Make sure that fuel hose is secured to carburetor in-
let. Open fuel shut–off valve.
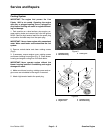
2
1
Figure 6
1. Fuel shut off valve 2. Stop switch wire
1
1
3
2
2
4
Figure 7
1. Flange nut 3. Pump drive belt
2. Belt guide 4. Engine pulley
Gasoline
Engine
Line Painter 1200 Page 3 – 9 Gasoline Engine


