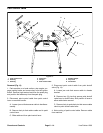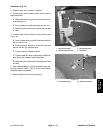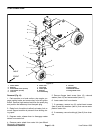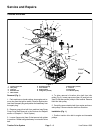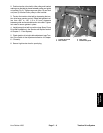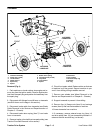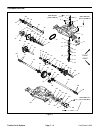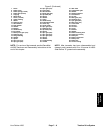
Installation (Fig. 4)
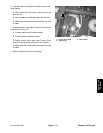
7. Connect brake return spring (item 7) to brake lever
1. Chock front castor wheel. Raise machine so that rear
of machine is off the ground. Support machine to pre
-
vent it from shifting during transaxle installation.
2. If drive pulley was removed from transaxle input
shaft, apply antiseize lubricant to input shaft. Position
woodruff key (not shown) in input shaft keyslot. Slide
drive pulley onto shaft and secure with snap ring (item
14).
3. Raise transaxle to machine frame.
4. Secure transaxle to machine frame with four (4) car-
riage screws and flange nuts.
5. Install rear wheels (see Wheel Installation in the Ser-
vice and Repairs section of Chapter 6 – Chassis).
6. Install traction drive belt to transaxle pulley (see
Traction Drive Belt Installation in this section). Make
sure that traction belt guides are positioned from .060”
to .130” (1.5 to 3.3 mm) from installed belt.
on transaxle.
8. Connect brake cable to transaxle (see Brake Cable
Installation in the Service and Repairs section of Chap
-
ter 6 – Chassis).
9. Connect shift linkage to shift lever on transaxle (see
Shift Lever and Linkage in this section).
10.Lower machine to ground.
11. Secure high tension lead to spark plug.
12.Verify that machine will track in a straight line. If nec-
essary, adjust front castor fork (see Front Castor Fork
Adjustment in Chapter 6 – Chassis and Controls).
Line Painter 1200 Page 7 – 7 Traction Drive System
System
Traction Drive


