


9 Scanning to the Network (Scan Mode)
96 Wide Format Copy System User Guide
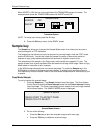
CLEAR ENTIRE MULTI-PAGE – All pages stored under the currently active account
are deleted.
Managing the File System
The file system stores images in directories on the internal hard disk drive. The images are stored
in the Directory specified by the user when entering the SCAN mode. The default directory is
“images”. Managing the file system requires the System Administrator password.
The FILE SYSTEM option of the SYSTEM ADMINISTRATION menu enables the System
Administrator to perform a number of file system management functions. They are:
• Listing the number of images stored under each directory and the percentage of total
hard disk space consumed by each account
• Deleting all of the images scanned under any directory.
• Deleting all of the images currently stored on the hard disk.
Refer to “File System” in the “Main Menu” section of this manual for complete information about
the above functions.
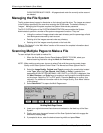
Scanning Multiple Pages to Make a File
To scan multiple tiffs and pdfs to make a file:
1. When the Scan System Control Panel displays READY TO SCAN, select your
desired scanning resolution using the
Next and Previous keys.
NOTE: When making a color scan, be sure to select Color with the arrow key under Image
Quality on the Scan System Control Panel. The Normal and Photo lights will be on.
2. Select the Image Quality, Original, and Type by pressing the arrow button located
under
Type. When the Type (Normal, Line, Photo, or Color) is selected, the
appropriate SCAN OPTION (NORMAL, LINE, PHOTO, or COLOR) is displayed. Use
the
Next, Previous, and Enter keys to navigate to and through the available options
on the screen. Select the TIFF or PDF option. Press the
Enter key to confirm your
choice(s). For additional information refer to the “Image Quality, Scan Mode” section
of this manual.
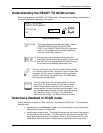
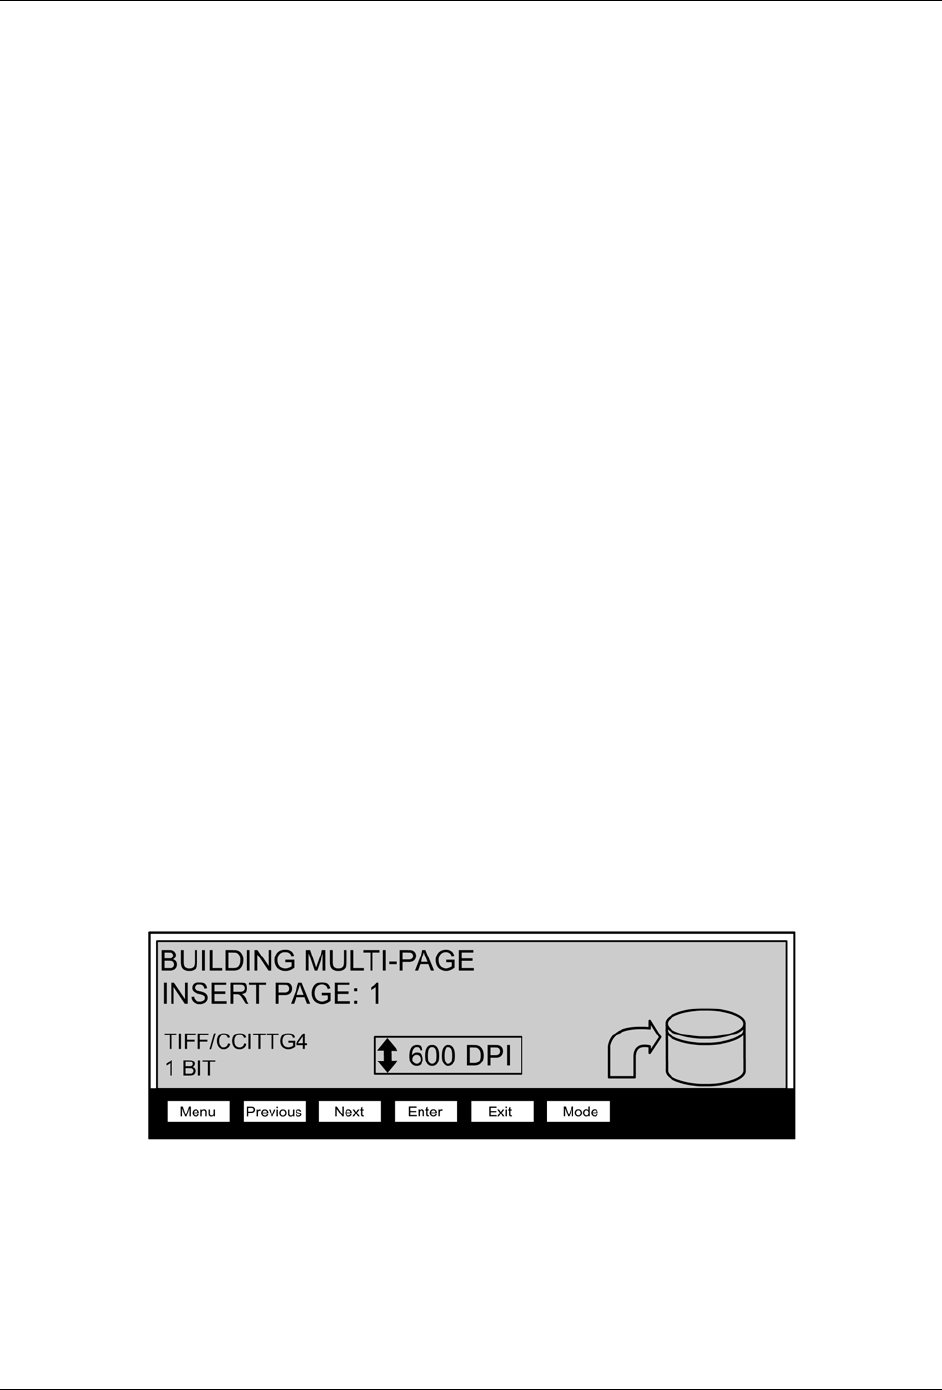
3. Select
Sets Build. This opens the Multi-Page screen.
Building Multi-Page Screen
4. Insert your original document face down and centered on the feed tray of the Scan
System.
5. Gently move your document forward until the Scan System’s feed rolls engage the
document’s leading edge.
6. If prompted to do so, enter the desired scanning width and press
Enter.