


10 Main Menu
Wide Format Copy System User Guide 123
NOTE: The valid range for passwords is 0 - 65535. If the existing password or an invalid
password is entered, an error message will be displayed. The new password must be
entered again.
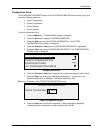
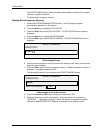
8. Press the Enter key to confirm the new password. The CHANGE PASSWORD
screen will instruct you to re-enter the new password.
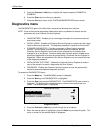
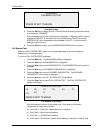
CHANGE PASSWORD
RE-ENTER NEW PASSWORD:
Change Password – Re-Enter Password Screen
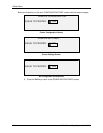
9. Use the numeric keypad to re-enter the new password. The password will display as
asterisks.
10. Press the
Enter key to confirm the re-entry. You will be returned to the SYSTEM
ADMINISTRATION menu screen. The new password is now effective. The old
password is no longer valid.
Security Settings
Scan-to-FTP: Scanned images can be transferred to 16 remote FTP destinations. The scanned
images
are not stored on the Controller’s hard drive. The FTP feature is located on the Sample
Mode screen.
Scan-to-Net: At most installations, users have the ability to recall the last image scanned (that
was not sent to an FTP destination) and all the settings associated with that image. The recalled
image can then be printed without the need to scan from the original document.
Security concerns at certain installations, however, might require that the image recall feature be
disabled. The SECURITY SETTINGS option of the System Administration menu allows the
system administrator to enable or disable the image recall feature. The default setting is
ENABLED.
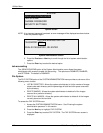
To enable/disable the image recall feature:
1. Select the
Menu key.
2. Access the
SYSTEM ADMINISTRATION menu.
3. Press the
Next key until SECURITY SETTINGS is highlighted.
4. Press the
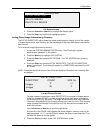
Enter key to select SECURITY SETTINGS. The SECURITY SETTINGS
screen is displayed.
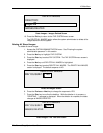
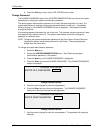
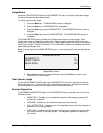
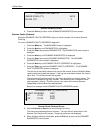
SECURITY SETTINGS
IMAGE RECALL: ENABLED
Security Settings Screen