WRVS4400N User Guide 24
How to Navigate the Utility
Setting Up and Configuring the Router
through a DHCP server. It is not recommended, because you can easily lose your
connection through wireless configuration changes.
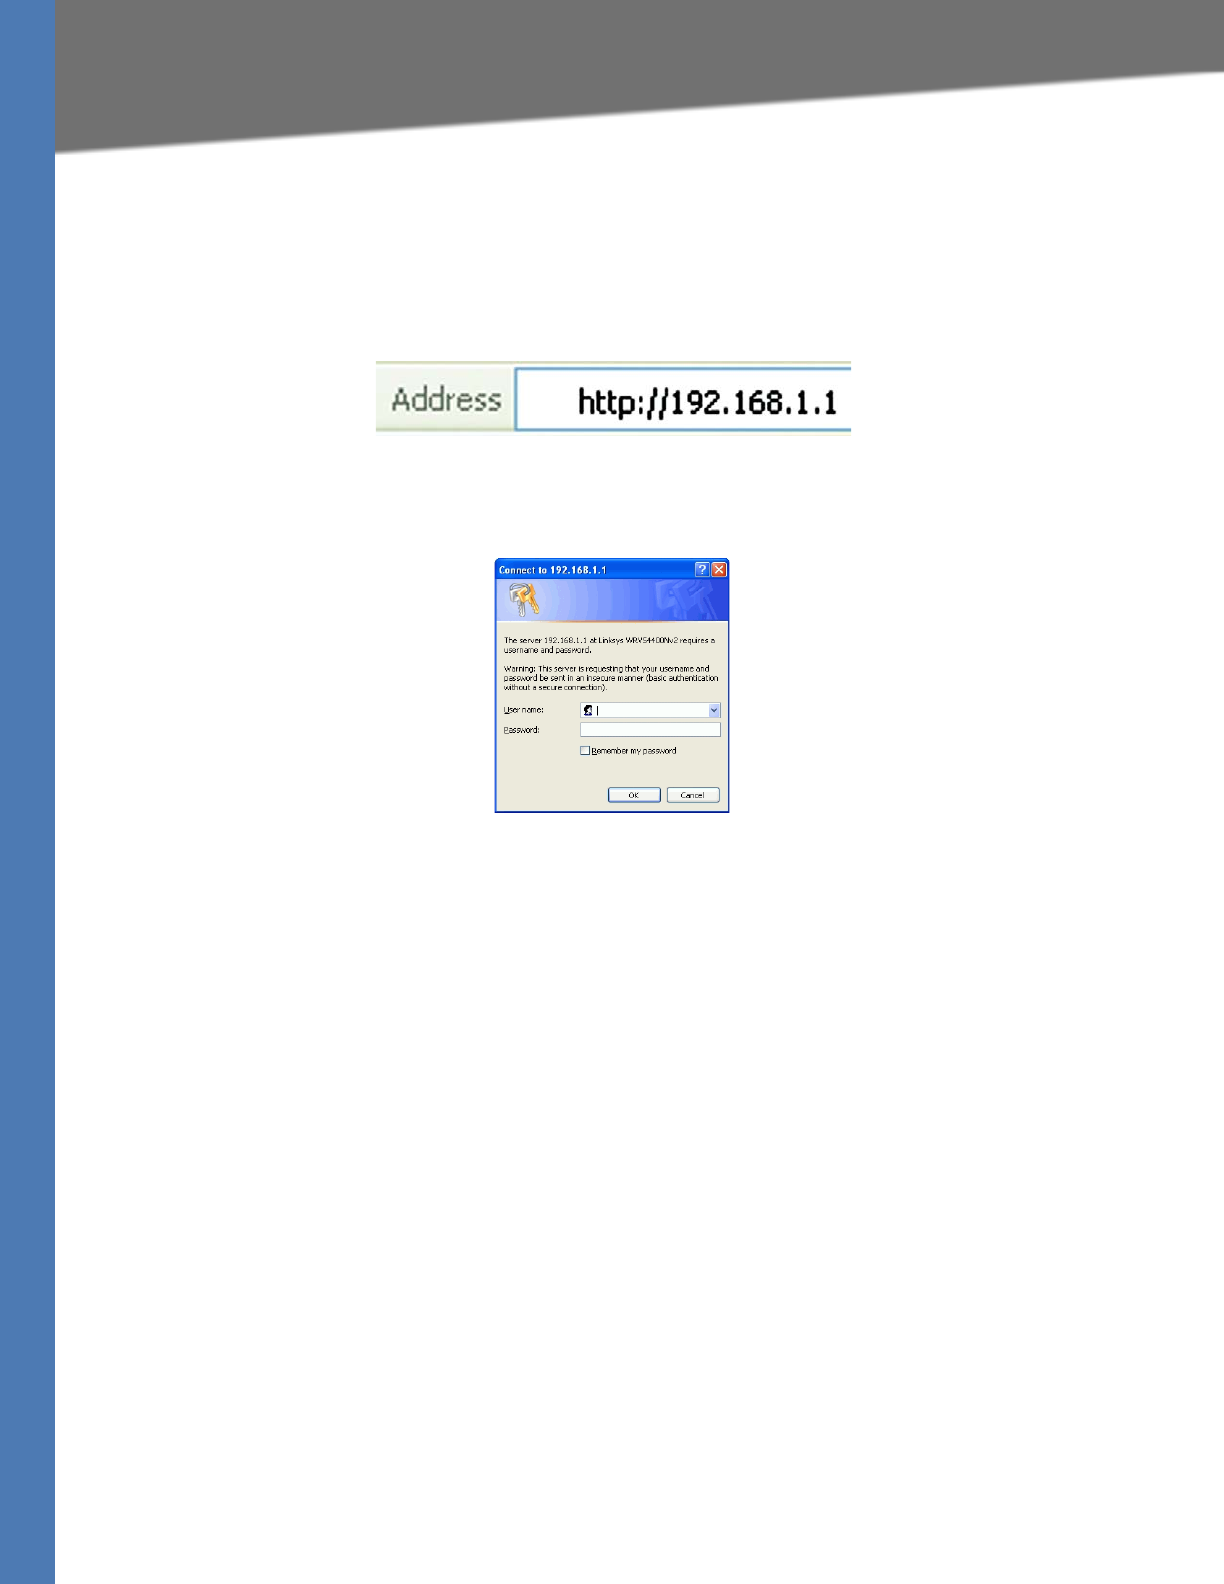
To access the Web-based Utility of the Router:
1. Launch a web browser, such as Internet Explorer or Mozilla Firefox, and enter the Router’s
default IP address, 192.168.1.1, in the Address field. Press the Enter key.
2. The Connect To screen appears asking you for your User name and Password. Enter admin
in the User Name field, and enter your password (default password is admin) in the
Password field. Then click the OK button.
How to Navigate the Utility
The Web-based Utility consists of the following ten main tabs: Setup, Wireless, Firewall,
ProtectLink, VPN, QoS, Administration, IPS, L2 Switch, and Status. Additional screens (sub tabs)
will be available from most of the main tabs.
The following briefly describes the main & sub tabs of the Utility.
Setup
You will use the Setup tabs to define the Router’s basic functionality.
• Summary—Displays a read-only summary of the Router's basic information.
• WAN—Internet connection settings are entered and displayed on this screen.
• LAN—Local Area Network (LAN) settings are entered and displayed on this screen.
• DMZ—The DMZ (Demilitarized Zone) Host feature allows one local user to be exposed
to the Internet to use a special-purpose service such as Internet gaming or video
conferencing.
• MAC Address Clone—Some ISPs require that you register a MAC address. This feature
clones your network adapter's MAC address onto the Router, which prevents you from
having to call your ISP to change the registered MAC address to the Router's MAC
address.
