Using Optional Interfaces
A-3
Installing Optional Interfaces
Before you install an optional interface board in your printer,
make sure the printer is turned off and all the printer’s lights are
off. Then follow these steps:
1. Unplug the power cord from the electrical outlet (and from
the back of the printer, if your printer’s power cord is
removable).
2. Disconnect any interface cables from the printer.
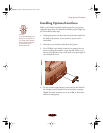
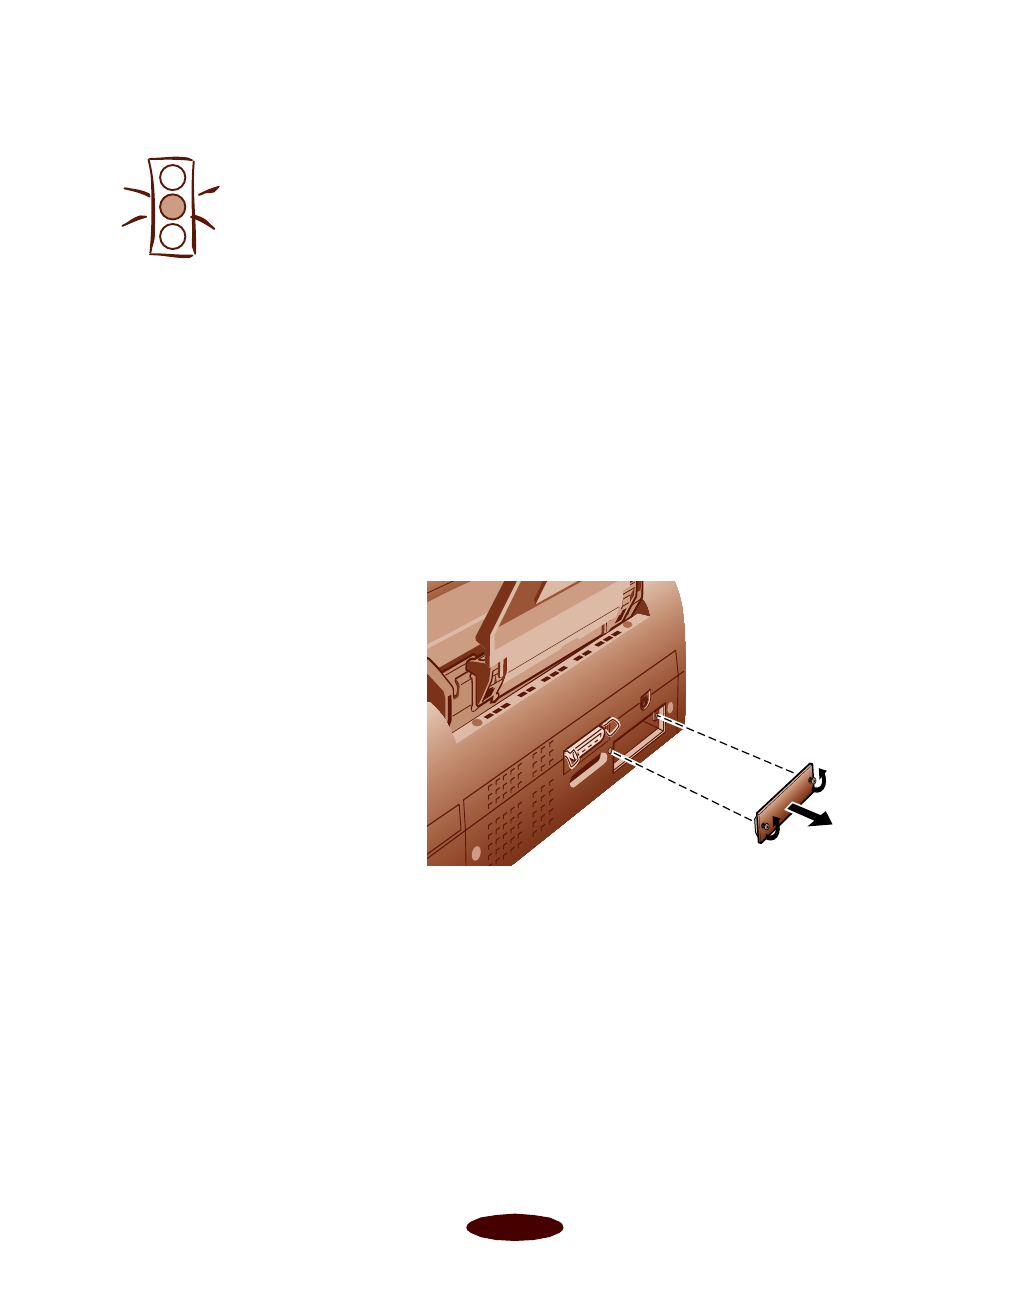
3. Use a Phillips (cross-head) screwdriver to remove the two
screws securing the interface cover; then lift off the cover.
Be sure to keep both screws; you’ll need to use them again if
you reinstall the cover.
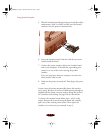
4. Set any switches and jumpers on the board as described in
the interface board’s manual. If your board has a jumper
labeled JG, make sure that you set it to
ON, or the board
will not work properly.
Caution:
To avoid damaging your
printer or computer, do
not install the interface
board when the printer
is connected to an
electrical outlet.
Easapa.fm5 Page 3 Tuesday, March 24, 1998 1:17 PM


