


Stylus C40UX/C40SX/C20UX/C20SX Revision A
Disassembly and Assembly Disassembly 67
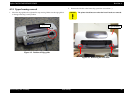
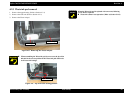
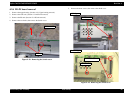
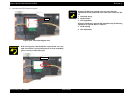
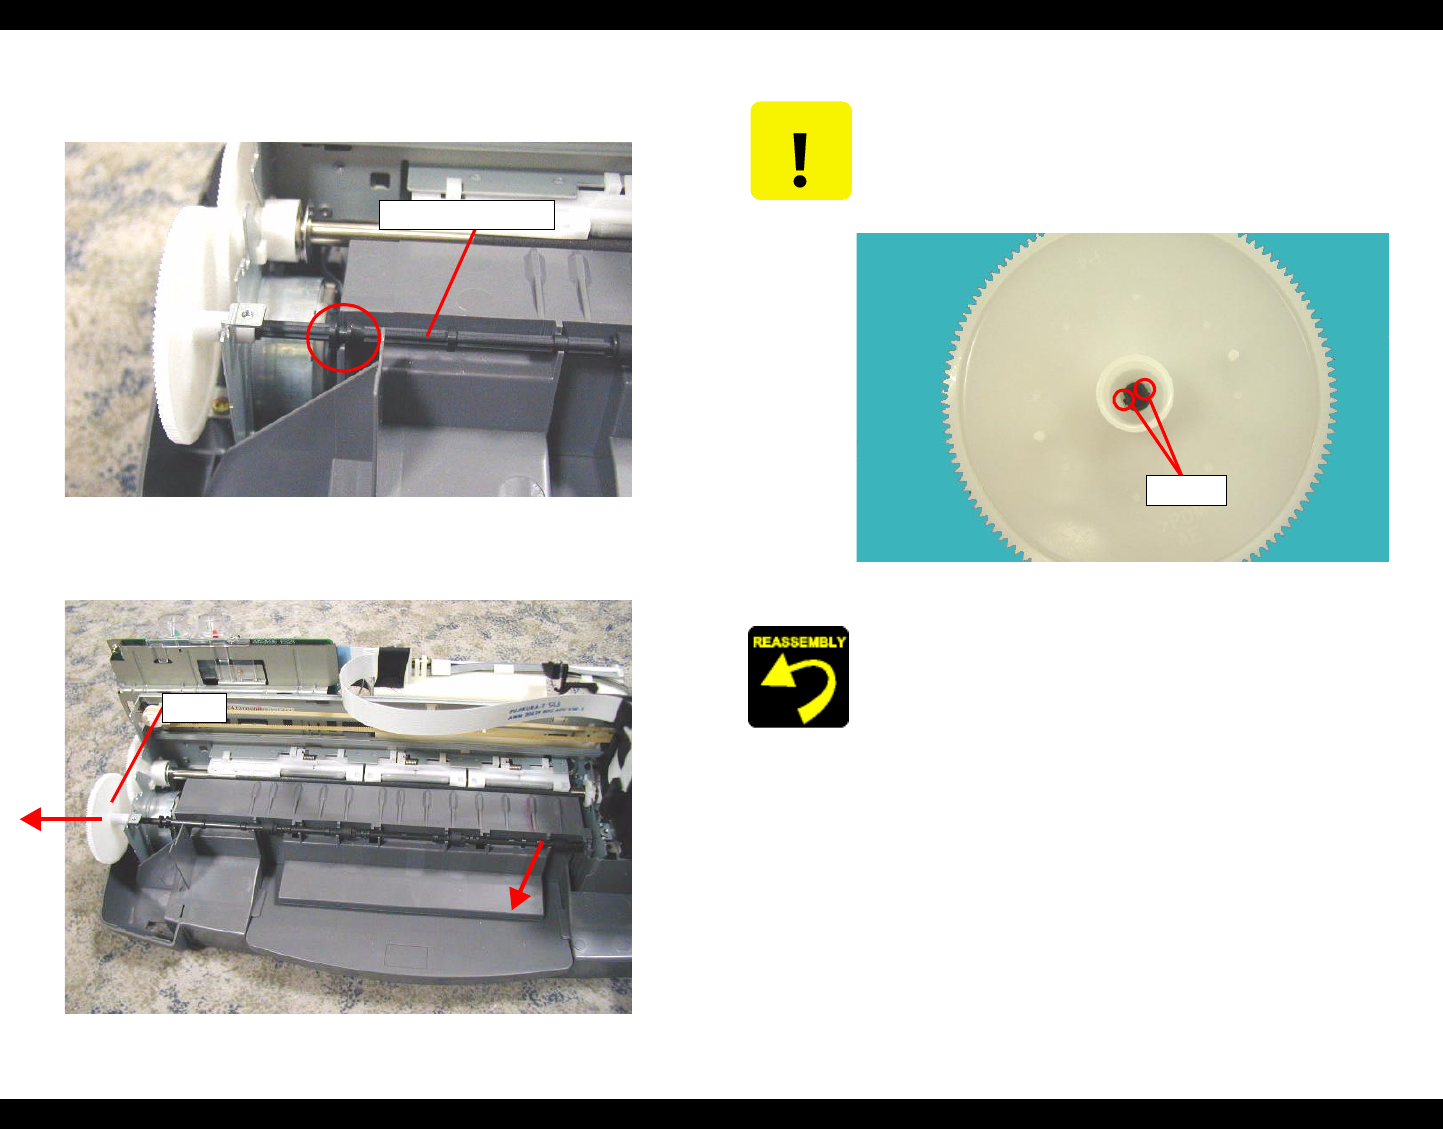
6. Slide the PE roller to the left side, then remove the claw extending from the lower
housing.
Figure 4-16. Releasing the claw extending
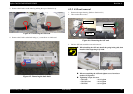
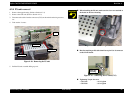
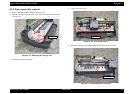
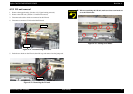
7. Remove the gear from the frame, then remove the Paper eject roller.
Figure 4-17. Removing the Paper eject roller
Paper Eject roller
Gear
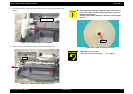
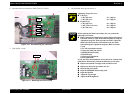
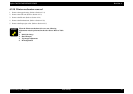
C A U T I O N
If the Paper eject roller gear and Paper eject roller shaft are
removed or , make sure that neither of the Paper eject roller
shaft hooks is damaged.
If either of the hooks is damaged, it should be replaced with a
new one.
Figure 4-18. Hook of Paper eject roller
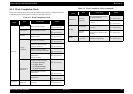
Tightening Torque for screw
- C.B.S 3x6 screw for Front frame : 6+/-1 kgf.cm
hook