


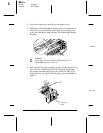
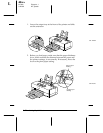

2. Hold down the
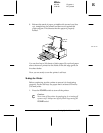
Cleaning
NNN
button on the control panel
while pressing the
POWER
switch to turn on the printer.
The self test begins by printing in black ink on the
first and last lines of the first sheet of paper to measure the
page length. Then it prints character samples on the next
sheet using the available fonts and colors.
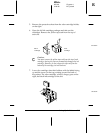
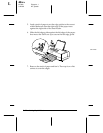
3. The printer prints the test one page at a time and pauses
between pages. While it is paused, press the
Load/Eject
button to print the next page.
4. To end the self test, turn off the printer while it is paused.
If the quality of the test output is not good, clean the print
heads as described in Chapter 6.
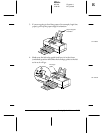
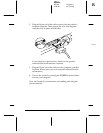
Connecting the Printer to a PC
If you are connecting the printer to an IBM PC compatible
computer, follow the steps in this section.
You need a shielded, twisted-pair parallel cable (6 to 10 feet
long) to connect your computer to the printer’s built-in parallel
interface. The cable must have a D-SUB, 25-pin male connector
for your computer and a 36-pin, Centronics compatible
connector for the printer.
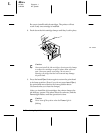
1. Make sure both the printer and computer are turned off.
L
Elbe+
A5 size Chapter 1
3-26-96 MT, pass 6
1-16
Setting Up the Printer