


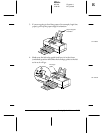
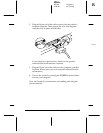

5. When you see the Printer Utility Setup dialog box, highlight
Epson Stylus COLOR 500
and click
OK
. The installation
program begins copying the files. You see a screen showing
the progress of the installation as it proceeds.
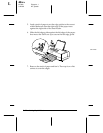
6. When you see the prompt to insert Setup Disk 2, remove
Disk 1 and insert Disk 2. Click
OK
.
After a few moments, the installation program creates the
EPSON program group in Windows containing these icons:
Spool Manager 3
EPSON Printer Calibration
EPSON Stylus COLOR 500 Help
EPSON Stylus ReadMe
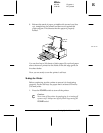
7. When you see the message that the installation is complete,
click
OK
to exit Setup.
The installation program automatically selects the EPSON
Stylus COLOR 500 printer as your default printer for Windows
applications. It also assigns the printer driver to port LPT1. If
this configuration matches your system, go on to page 2-9 for
information on accessing the driver. If you need to change the
default printer driver or the port assignment, see the next
section.
Note:
If you installed the printer software using Windows 3.1 and will
upgrade to Windows 95 later, you will need to reinstall it using the
steps beginning on page 2-5 after you install Windows 95. This sets
up the driver correctly for Windows 95.
R
Elbe+
A5 size Chapter 2
3-26-96 MT, pass 7
Installing and Using the Windows Printer Software
2-3