288
Chapter 9 Operation and Maintenance
If the message "OK. You can boot system. Please check HDD status after boot." appears, remove the
defective hard disk following the procedures below.
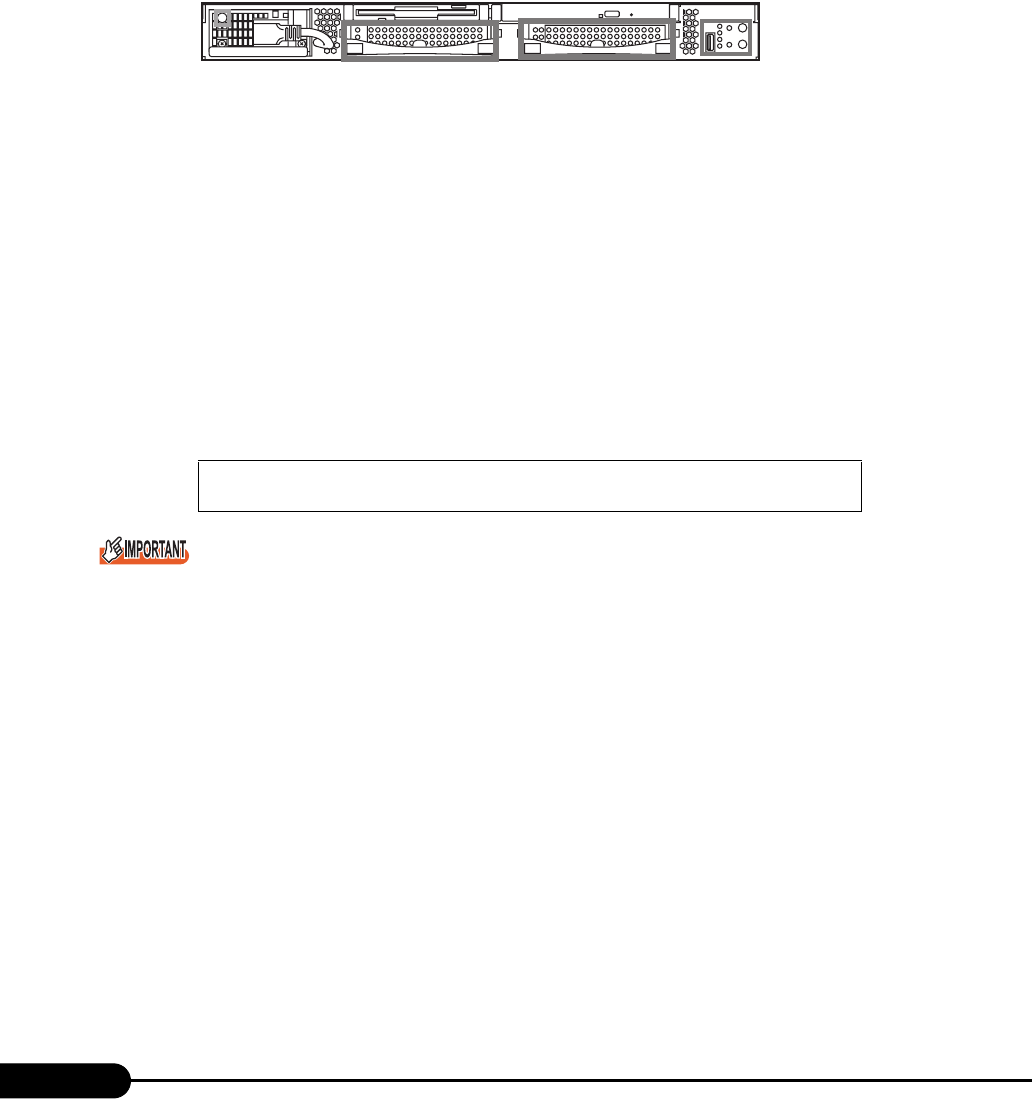
1 Investigate the hard disk ID where "Failed" appears at both "Previous Physical Disk States" and
"Current Physical Disk States" on the screen. This ID indicates a defective hard disk. In this case,
ID1 is defective. Viewed from the front of the server, the left hard disk is ID0, and the right hard disk
is ID1.
2 Touch a metal part of the server to discharge static electricity from your body.
3 Lift up the handle of the defective hard disk unit checked in Item 1, and pull it
slightly to the front.
4 Wait for about 60 seconds (until the defective hard disk unit starts to rotate),
then pull out the defective hard disk unit.
5 After ejecting "On Board RAID Utility" from the floppy disk drive, then press
[Ctrl], [Alt], and [Delete] keys simultaneously to reboot the system.
After reboot, the following message appears again. Press [Ctrl] and [A] keys simultaneously to
start up the OS.
The logical drive enters the critical status, and one hard disk is defective. The logical drive is not
redundant. Set a new hard disk into the hard disk bay where the defective hard disk was mounted as
soon as possible, then start the rebuild processing. If one disk is missing, the rebuild processing stops
with an error message.
For details on the rebuild processing, refer to "Onboard SCSI RAID User’s Guide 5.1 Replacing a Hard
Disk".
If the second hard disk fails while the first hard disk remains defective without replacement and reboot,
the array controller may start up the system from the first defective hard disk depending on the failure
mode of the first hard disk. In that case, the system starts up with old data, and new data may be lost.
To prevent this problem, confirm the hard disk state using On Board RAID Utility, and start up the OS.
Warning!: The array is degraded. Press [Ctrl] [A] to continue after
insert Floppy Disk.
ID0 ID1


