


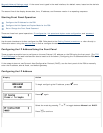


Hardware Installation
Links within this document:
Desktop/Rack Shelf/Under-Printer Installation
Rackmount Installation
Cable Connections
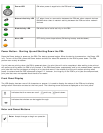
Troubleshooting the Appliance
Links to related documents:
Troubleshooting the Appliance
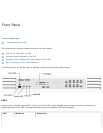
This document explains how to connect the components of the appliance. When installing the hardware for the
appliance, be certain to carefully follow all instructions to ensure the proper connection and function of the
appliance.
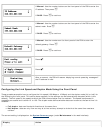
Desktop/Rack Shelf/Under-Printer Installation
Use the following procedure to perform the desktop/rack shelf/under-printer installation:
CAUTION: For under-printer installation, the appliance can support printers that weigh up to 60 pounds.
Do not place heavier printers on the appliance.
1. Turn the appliance so it rests on its top.
2. The appliance ships with a set of four self-adhesive rubber "feet" on a paper backing sheet. Remove each
foot from the paper backing. Install each foot on the bottom of the appliance in the indentation provided.
Press each foot firmly into place.
3. Turn the appliance over so it rests on its rubber feet.
4. Locate the appliance for easy access to a power source and network connection. It may be located on any
solid surface, in a rack shelf, or under a printer.
5. Connect cables.
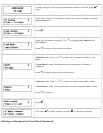
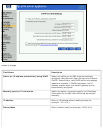
Rackmount Installation
The appliance may be rack-mounted into industry-standard instrument/computer racks. The appliance is shipped
with a pair of rack-mount brackets with four screws. There are also four screws for mounting the brackets to the
appliance in the rack.
The appliance requires 1.5 rack units (RU) of vertical space. It does not require rails for rack mounting.