


Chapter 2 99
Opening Your Personal Workstation and Installing Accessories
Hard Disk Drives
Installing a Hard Disk Drive in the CD Drive Bay Area
1. Remove the left-side panel and top front panel as explained in the
sections “Removing the Left-Side Panel” and “Top Section Removal”
in this chapter.
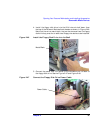
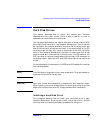
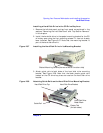
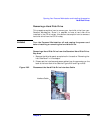
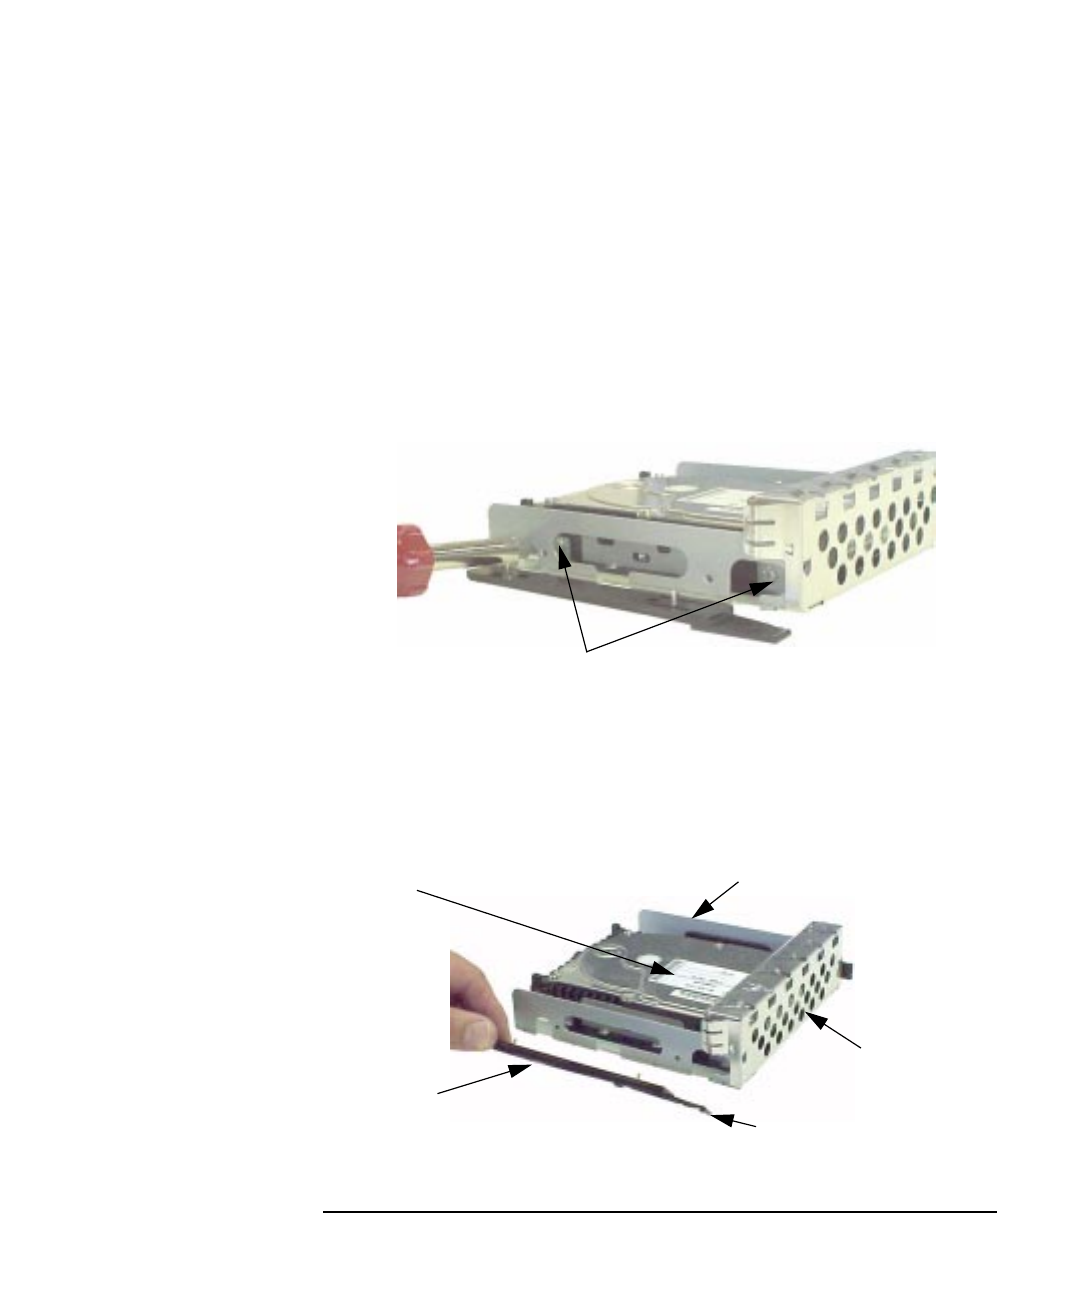
2. Install the hard disk drive in the special mounting bracket for the CD
drive bay area using the four mounting screws if it has not already
been installed. See Figure 2-57. Note that the mounting bracket is
part of the hard disk drive kit.
Figure 2-57 Installing the Hard Disk Drive in its Mounting Bracket
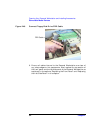
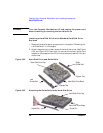
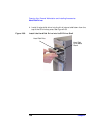
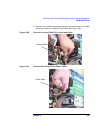
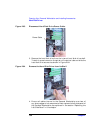
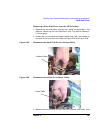
3. Attach guide rails to both sides of the hard disk drive mounting
bracket. See Figure 2-58. Note that the black plastic guide rails
located on the CD drive bay area are used on the hard disk drive
bracket.
Figure 2-58 Attaching Guide Rails on the Hard Disk Drive Mounting Bracket
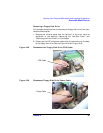
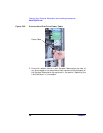
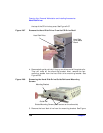
Slotted Mounting Screws (there are two on the other side)
Guide Rail
Hard Disk Drive Top
Hard Disk Drive
Metal Blank
Hard Disk Drive Bracket
Ejector Tab
(on both sides)