


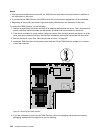
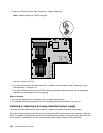

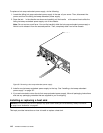
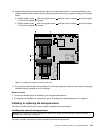
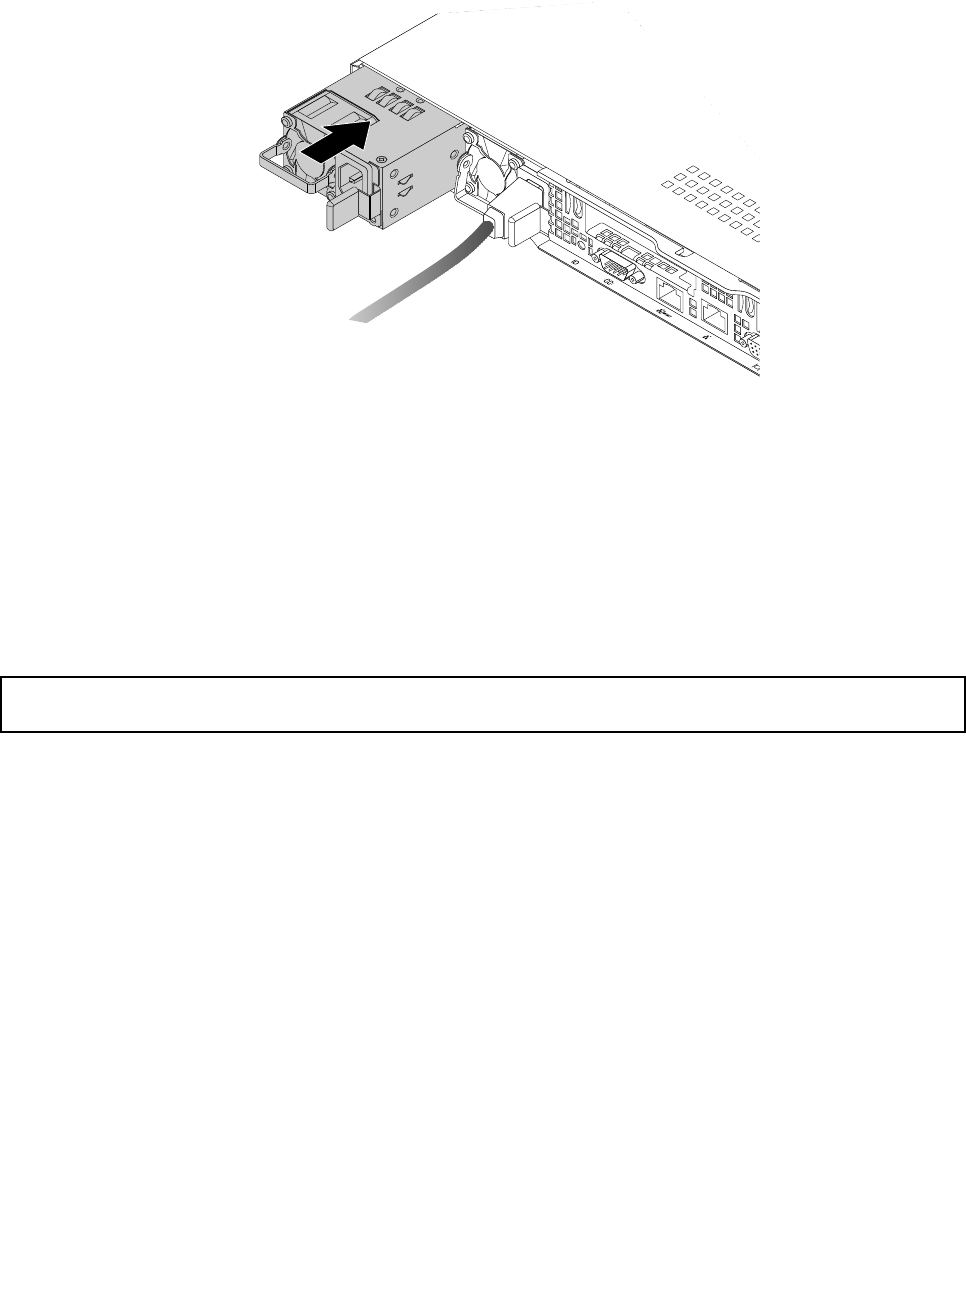
3. Note the orientation of the new hot-swap redundant power supply and then slide it into the chassis until
it snaps into position.
1
0
MGMT
ID
Figure 58. Installing a hot-swap redundant power supply
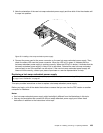
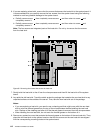
4. Connect the power cord to the power connector on the new hot-swap redundant power supply. Then,
check the status LED near the power connector. When the LED is lit in green, it indicates that the
hot-swap redundant power supply is working correctly. When the LED is lit in amber, it indicates that the
hot-swap redundant power supply is likely to fail or has failed. Reinstall the new hot-swap redundant
power supply to see if the problem can be solved. If the new hot-swap redundant power supply still
does not work correctly, contact your place of purchase or a service representative for help.
Replacing a hot-swap redundant power supply
Attention: Do not open your server or attempt any repair before reading and understanding “Safety information”
on page iii and “Guidelines” on page 67.
This topic provides instructions on how to replace a hot-swap redundant power supply.
Before you begin, print all the related instructions or ensure that you can view the PDF version on another
computer for reference.
Notes:
• Your hot-swap redundant power supply might look slightly different from the illustrations in this topic.
• Use any documentation that comes with the hot-swap redundant power supply and follow those
instructions in addition to the instructions in this topic.
Chapter 6. Installing, removing, or replacing hardware 109