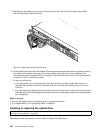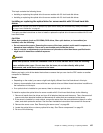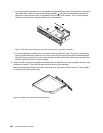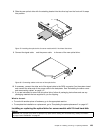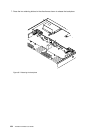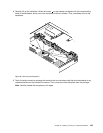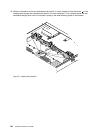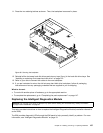
This topic provides instructions on how to install or replace the optical drive for server models with 2.5-inch
hard disk drives.
CAUTION:
When laser products (such as CD-ROMs, DVD drives, ber optic devices, or transmitters) are
installed, note the following:
• Do not remove the covers. Removing the covers of the laser product could result in exposure to
hazardous laser radiation. There are no serviceable parts inside the device.
• Use of controls or adjustments or performance of procedures other than those specied herein
might result in hazardous radiation exposure.
DANGER
Some laser products contain an embedded Class 3A or Class 3B laser diode. Note the following:
Laser radiation when open. Do not stare into the beam, do not view directly with optical
instruments, and avoid direct exposure to the beam.
Before you begin, print all the related instructions or ensure that you can view the PDF version on another
computer for reference.
Notes:
• Depending on the model, your server might look slightly different from the illustrations in this topic.
• Use any documentation that comes with the new optical drive and follow those instructions in addition to
the instructions in this topic.
• If no optical drive is installed on your server, there is a dummy optical drive.
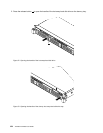
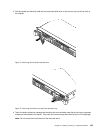
To install or replace the optical drive for server models with 2.5-inch hard disk drives, do the following:
1. Remove all media from the drives and turn off all attached devices and the server. Then, disconnect all
power cords from electrical outlets and disconnect all cables that are connected to the server.
2. If the server is installed in a rack cabinet, remove the server from the rack cabinet and place it on a at,
clean, and static-protective surface. See the Rack Installation Instructions that comes with the server.
3. Remove the server cover. See “Removing the server cover” on page 69.
4. Locate the optical drive or dummy optical drive bay. See “Server components” on page 22.
5. Do one of the following:
130 ThinkServer RD330 User Guide


