Related topics:
• “Using the Print dialog” on page 50
• “Using the Utility” on page 56
Using the Network Card Reader
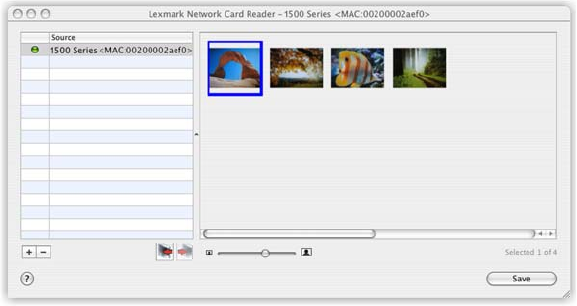
When you have a memory device inserted into a network printer, the Network Card Reader software lets you connect
to the printer, display thumbnails of the photos stored on the memory device, and transfer photos and documents
to the computer.
There are three ways to open the Network Card Reader:
• From the Finder desktop, double-click the Lexmark 1500 Series folder.
Double-click the Lexmark Network Card Reader icon.
• Go to the Mac OS X drive where the printer software was installed.
Choose Library Printers Lexmark 2007 Lexmark 1500 Series folder.
Double-click the Lexmark Network Card Reader icon.
• Insert a memory card or flash drive into the printer.
1 When your computer recognizes that a memory device is inserted into a network printer, the message
Memory Card Detected appears on the computer screen.
2 Click Yes.
Notes:
– The Memory Card Detected message is received by all computers connected to the network printer.
When another user clicks Yes first, you will be temporarily locked out from the network printer you are
trying to access until the other user disconnects from it.
– You have the option to receive a notification whenever a memory device is installed on a network printer.
To set this notification, see the steps on adjusting the settings of the Network Card Reader below.
The Network Card Reader dialog appears on the computer screen.
To adjust the settings of the Network Card Reader:
1 Choose Lexmark Network Card Reader Preferences.
2 If necessary, click General.
3 Choose whether to show a notification dialog when a memory device is inserted into the printer.
4 Click Settings.
5 Assign a name to your computer.
Understanding the printer
55


