26
Chapter 6: Setting up and Configuring the Router
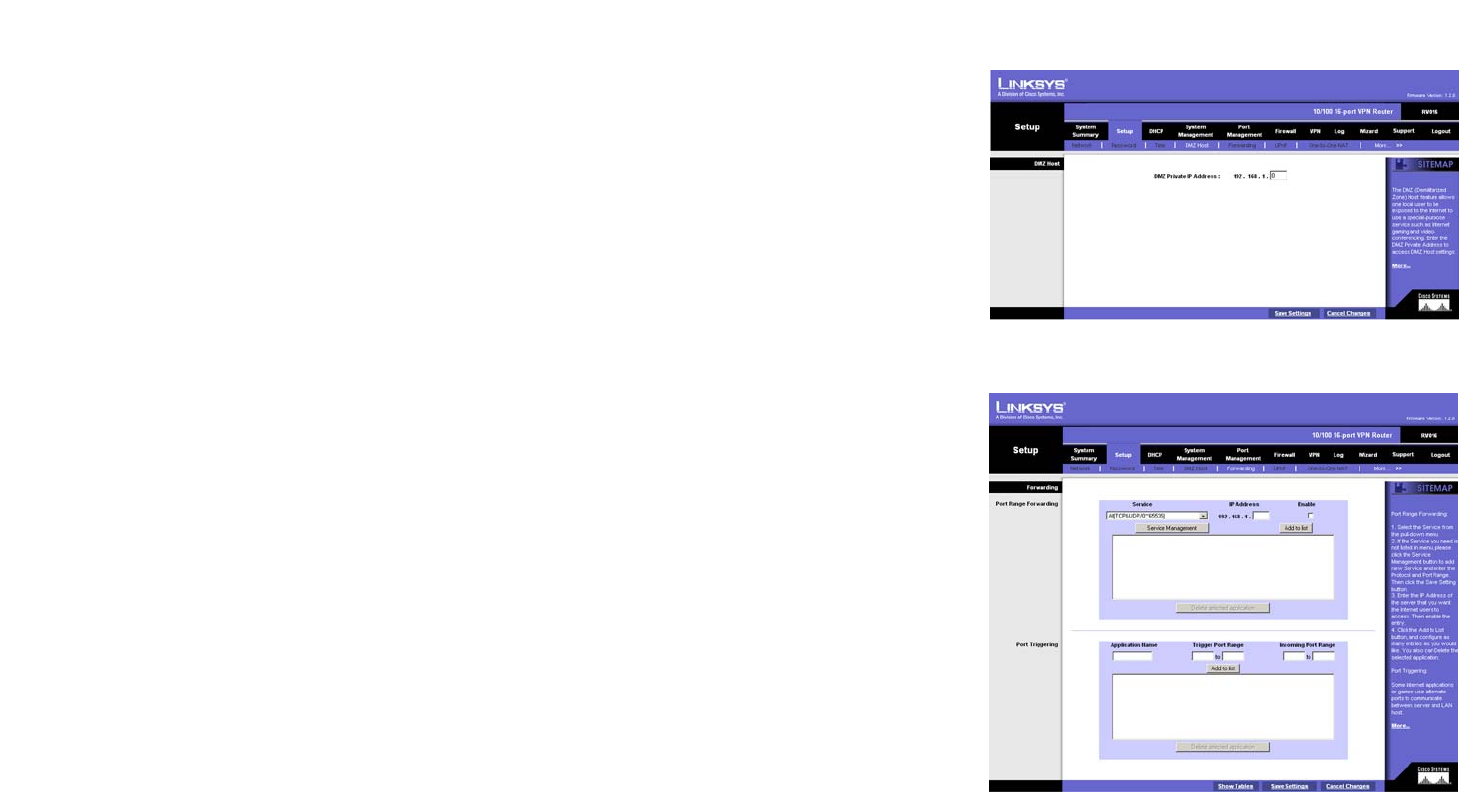
Setup Tab - DMZ Host
10/100 16-Port VPN Router
Setup Tab - DMZ Host
The DMZ (Demilitarized Zone) Host feature allows one local user to be exposed to the Internet for use of a
special-purpose service such as Internet gaming or video conferencing. Although Port Range Forwarding can
only forward 10 ranges of ports maximum, DMZ hosting forwards all the ports to one PC at the same time.
In the DMZ Private IP Address field, enter the local IP address of the computer you want to expose. The default
value of 0 deactivates the DMZ Host.
Click the Save Settings button to save your change, or click the Cancel Changes button to undo the change.
Setup Tab - Forwarding
The Forwarding screen allows you to set up port range forwarding and port triggering applications. Port range
forwarding can be used to set up public services or other specialized Internet applications on your network, while
port triggering can be used to set up triggered ranges and forwarded ranges for Internet applications.
Port Range Forwarding
Port forwarding can be used to set up public services on your network. When users from the Internet make
certain requests on your network, the Router can forward those requests to computers equipped to handle the
requests. If, for example, you set the port number 80 (HTTP) to be forwarded to IP address 192.168.1.2, then all
HTTP requests from outside users will be forwarded to 192.168.1.2.
You may use this function to establish a web server or FTP server via an IP gateway. Make sure that you enter a
valid IP address. (You may need to establish a static IP address in order to properly run an Internet server.) For
added security, Internet users will be able to communicate with the server, but they will not actually be
connected. The packets will simply be forwarded through the Router.
1. Select the Service you want from the pull-down menu.
2. If the Service you need is not listed in the menu, click the Service Management button to add the new
service. The Service Management screen will appear. Enter a name in the Service Name field. From the
Protocol drop-down menu, select the protocol it uses. Enter its range in the Port Range fields. Click the Add
to List button. Then, click the Save Setting button to save your changes. Click the Cancel Changes button to
cancel your changes. Click the Exit button to return to the Forwarding screen.
If you want to modify a service you have created, select it and click the Update this service button. Then,
click the Save Setting button to save your changes. Click the Exit button to return to the Forwarding screen.
Figure 6-16: DMZ Host
Figure 6-17: Forwarding


