


29
Chapter 6: Setting up and Configuring the Router
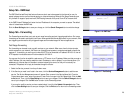
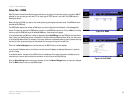
Setup Tab - One-to-One NAT
10/100 16-Port VPN Router
Setup Tab - One-to-One NAT
One-to-One NAT (Network Address Translation) creates a relationship that maps valid external addresses to
internal addresses hidden by NAT. Devices with internal addresses may be accessed at the corresponding
external IP addresses, as long as they are valid.
To create this relationship between internal and external addresses, define internal and external address ranges
of equal length. (The Router’s WAN IP address may not be included in the range of external addresses.) Once that
relationship is defined, the device with the first internal address is accessible at the first IP address in the
external address range, the second device at the second external IP address, and so forth.
For example, consider a LAN to which the ISP has assigned external IP addresses ranging from 209.19.28.16 to
209.19.28.31, with 209.19.28.16 used as the Router’s WAN IP (NAT public) address.The internal address range of
192.168.168.1 to 192.168.168.255 is used for the devices on the LAN. Typically, only devices that have been
designated as public LAN servers will be accessible from the Internet. However, with One-to-One NAT, the
machines with the internal IP addresses of 192.168.168.2 to 192.168.168.15 may be accessed at the
corresponding external IP addresses.
One-to-One NAT does not change how the firewall functions work. Access to LAN devices from the Internet will
not be allowed unless the appropriate network access rules are established, the appropriate forwarding entries
are enabled, or the appropriate authenticated user sessions are established.
Before configuring the One-to-One NAT settings, set up the appropriate Access Rules on the Firewall - Access
Rules screen, or set up the appropriate forwarding entries on the Setup - Forwarding screen.
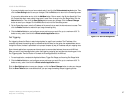
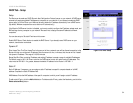
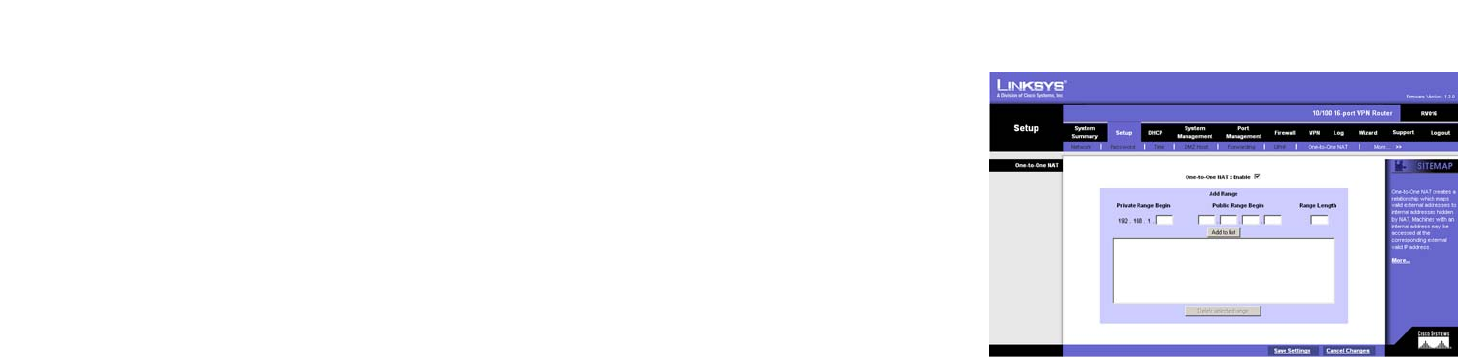
To use the One-to-One NAT feature, click the Enable box. To set up a One-to-One NAT entry, follow these
instructions:
1. In the Private Range Begin field, enter the beginning IP address of the private address range being mapped.
This will be the IP address of the first machine that will be accessible from the Internet.
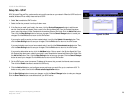
2. In the Public Range Begin field, enter the beginning IP address of the public address range being mapped.
(This will be assigned by the ISP.) The Router’s WAN IP (NAT public) address cannot be included in this range.
3. Enter the number of IP addresses in the Range Length field. This number may not exceed the number of valid
external IP addresses. To map a single address, use a Range Length of 1.
4. Click the Add to list button, and configure as many ranges as you would like, up to a maximum of 64. To
delete an entry, select it and click the Delete selected range button.
Click the Save Settings button to save your settings, or click the Cancel Changes button to undo your changes.
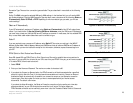
Figure 6-20: One-to-One NAT