79
Chapter 6: Setting up and Configuring the Router
Wizard Tab
10/100 16-Port VPN Router
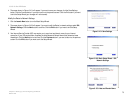
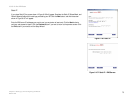
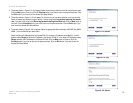
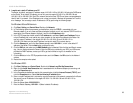
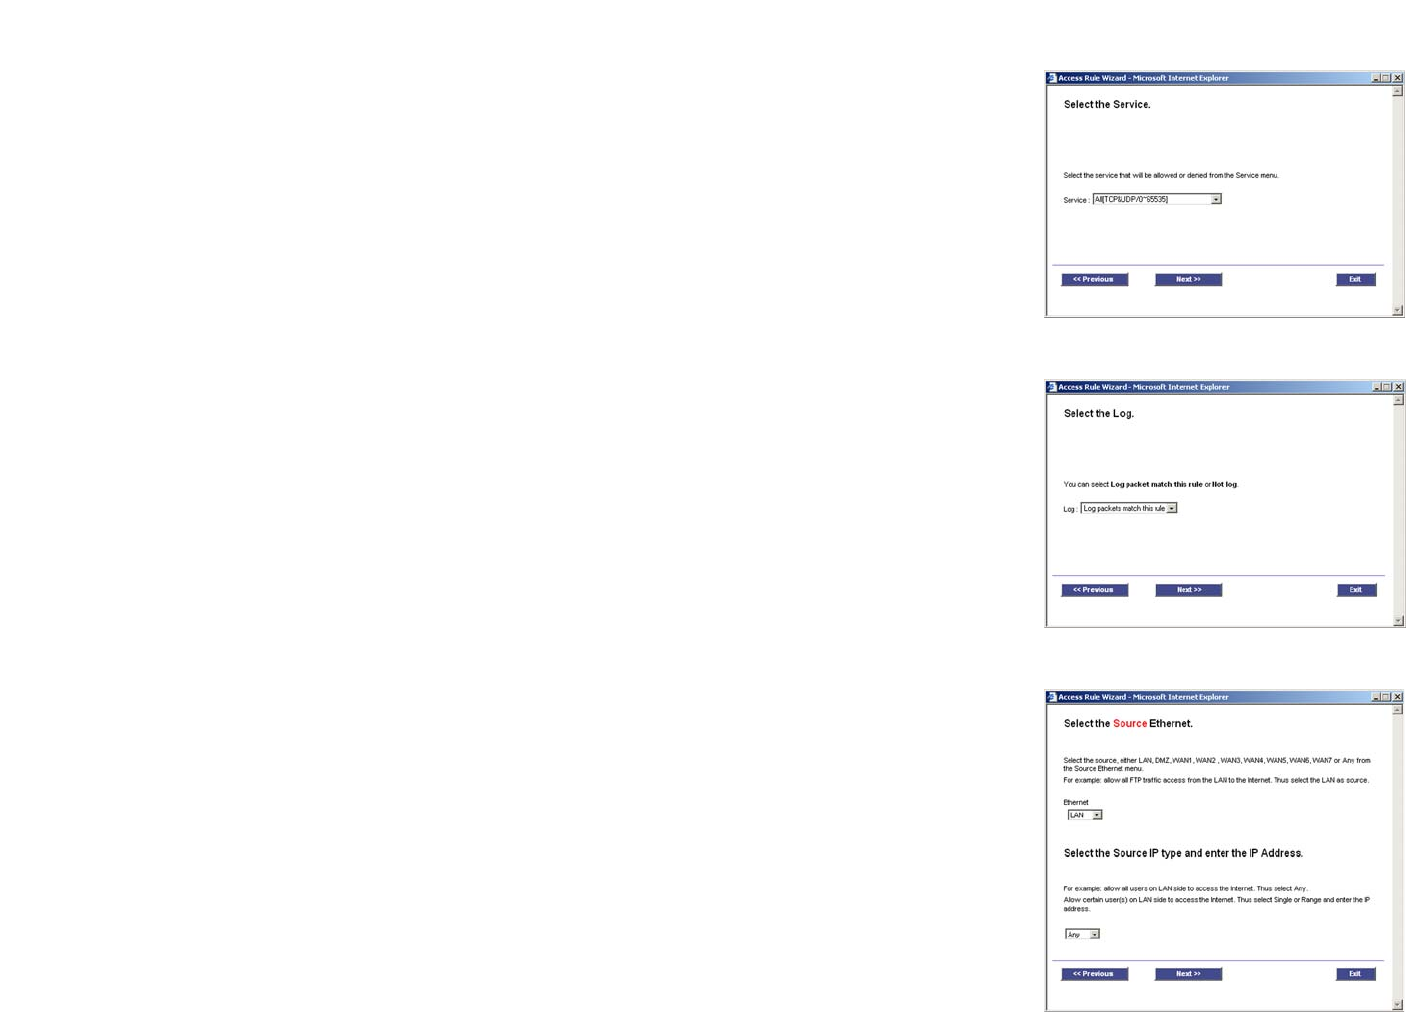
4. The screen shown in Figure 6-114 will appear. Select the service you want from the Service pull-down menu.
Click the Next button to continue. Click the Previous button if you want to return to the previous screen. Click
the Exit button if you want to exit the Access Rule Setup Wizard.
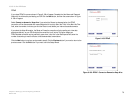
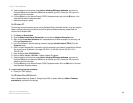
5. The screen shown in Figure 6-115 will appear. For this service, you can select whether or not you want the
Router to keep a log tracking this type of activity. To keep a log, select Log packets matching this access
rule. If you don’t want a log, select Do not log packets matching this access rule. Click the Next button to
continue. Click the Previous button if you want to return to the previous screen. Click the Exit button if you
want to exit the Access Rule Setup Wizard.
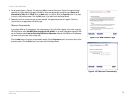
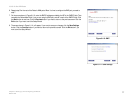
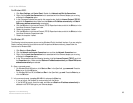
6. The screen shown in Figure 6-116 will appear. Select the appropriate Source Interface (LAN, DMZ, Any, WAN1,
WAN2...) from the Ethernet pull-down menu.
Select the Source IP address(es) for this Access Rule. If it can be any IP address, select Any. If it is one IP
address, select Single and enter the IP address in the Source IP fields. If it is a range of IP addresses, select
Range, and enter the IP addresses in the Source IP fields. Click the Next button to continue. Click the
Previous button if you want to return to the previous screen. Click the Exit button if you want to exit the
Access Rule Setup Wizard.
Figure 6-114: Service
Figure 6-115: Log
Figure 6-116: Source


