9
9.2 Getting Ready
9-24
Internet Fax & Network Scan Chapter 9
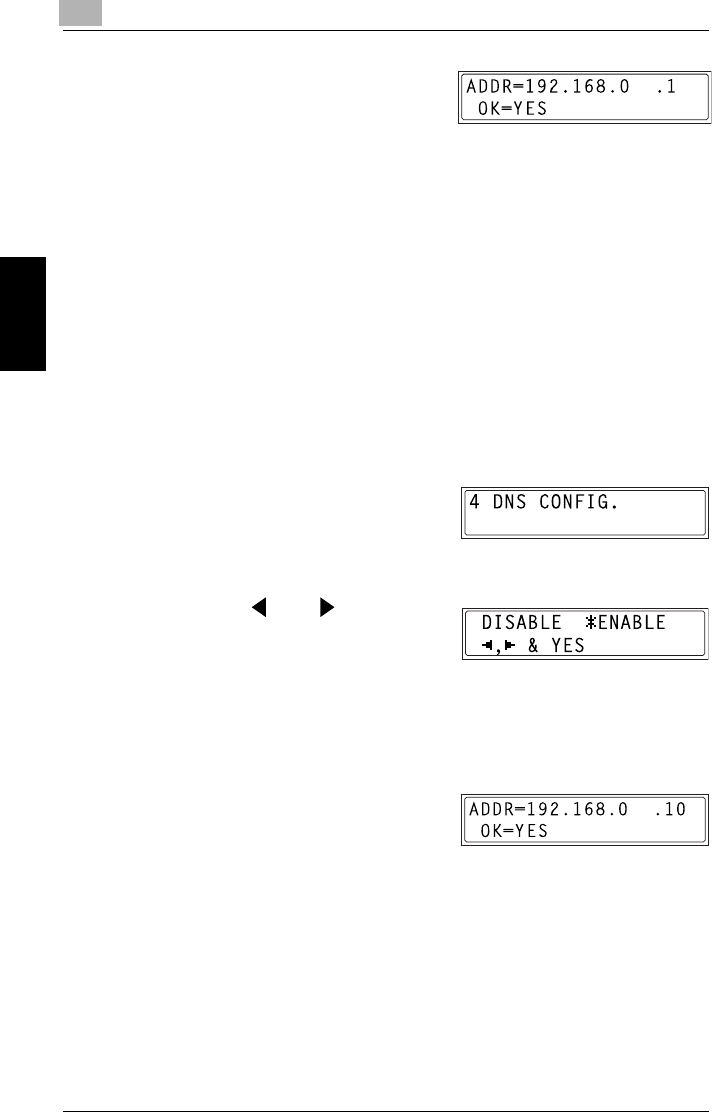
2 Using the 10-key pad, enter the IP
address for the gateway.
❍ The illustration at the right is an
example of a gateway address.
Consult your network administrator for details about these settings.
3 Press the [Yes] key.
The NETWORK SETTING screen appears. To register settings in the
copier, the copier must be turned off, then on again.
4 While the NETWORK SETTING screen is displayed, press the [No]
key or [Panel Reset] key so that the message “PLEASE RE-START
POWER SUPPLY OFF/ON” appears.
5 Set the power switch of the copier to “2”, then “1” to restart the copier.
Specifying the DNS Configuration
1 From the “NETWORK SETTING”
menu in the Utility mode, press the
[4] key on the 10-key pad to select
“DNS CONFIG”.
2 Press the and keys to
select “DISABLE” or “ENABLE”,
and then press the [Yes] key.
❍ If “DISABLE” is selected, the NETWORK SETTING screen
appears.
❍ If “ENABLE” is selected, the screen for entering the IP address of
the DNS server appears. (Go to step 3.)
3 Using the 10-key pad, enter the IP
address for the DNS server.
4 Press the [Yes] key.
The NETWORK SETTING screen appears. To register settings in the
copier, the copier must be turned off, then on again.
5 While the NETWORK SETTING screen is displayed, press the [No]
key or [Panel Reset] key so that the message “PLEASE RE-START
POWER SUPPLY OFF/ON” appears.


