


Ethernet Connections ION 7500 / ION 7600 User’s Guide
Page 130 Chapter 5 - Features and Applications
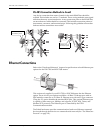
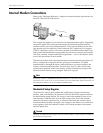
Meter Setup for Ethernet Communications
To enable communications through the meter’s Ethernet port, you must configure
the Ethernet Communications module. The IP Address, Subnet Mask, Gateway,
SMTP Server and SMTP Connection Timeout setup registers must properly match
your system and can be set through the meter’s front panel or ION software.
Configuring the Ethernet Module through the Front Panel
1. Select Network Setup from the ION 7600 Setup menu.
2. Configure the Ethernet Communications module IP Address, Subnet Mask,
Gateway, SMTP Server and SMTP Connection Timeout setup registers to match
your communications system.
Configuring the Ethernet Module via Designer
After you have wired your meter to the Ethernet network and performed basic
setup, add the meter to your ION Enterprise network using the Management
Console. (It is not necessary/possible to add an Ethernet site.)
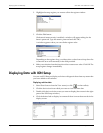
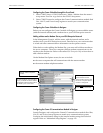
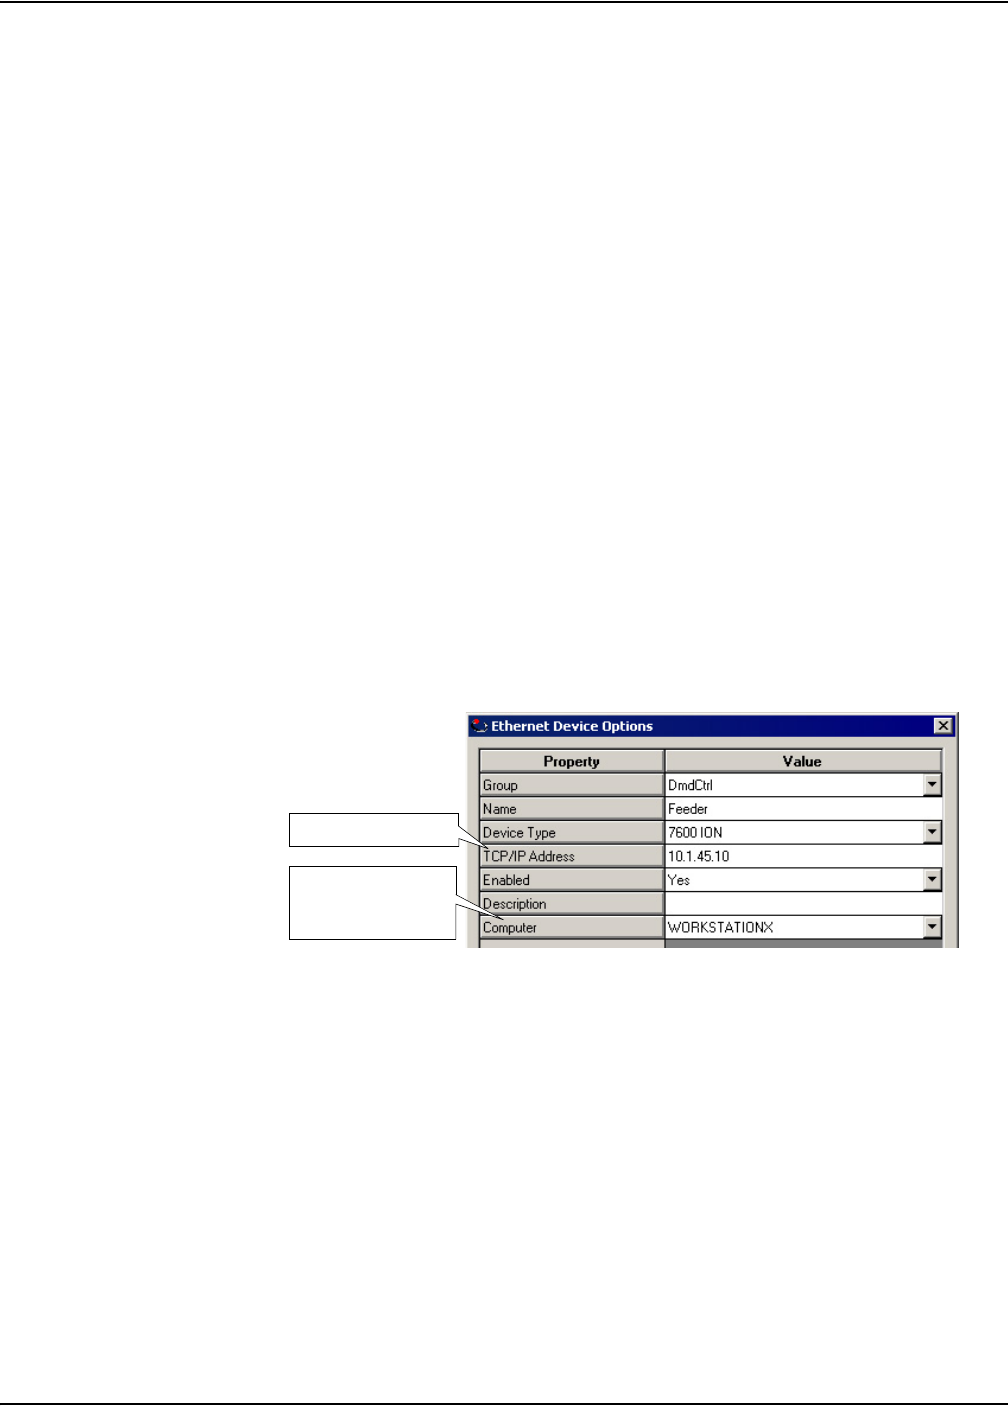
Adding an Ethernet Device to your ION Enterprise Network
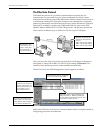
In the Management Console, the Ethernet Device Options screen appears when you
add an Ethernet device (meter). Use this screen to describe your meter Ethernet
address and other communications information. Be sure to include:
the server computer that will communicate with the Ethernet device
the Ethernet device TCP/IP address.
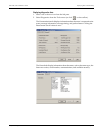
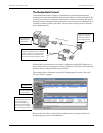
Configuring the Ethernet Module in Designer
To enable communications through the Ethernet port, you must configure the
Ethernet (Communications) module. Launch Designer and configure the IP
Address, Subnet Mask, Gateway, SMTP Server and SMTP Connection Timeout
registers to match your system.
Server computer that
communicates with
the Ethernet device
Meter TCP/IP Address