Beyond the Basics
6
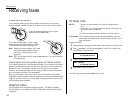
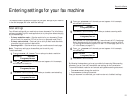
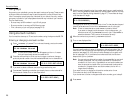
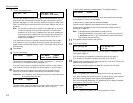
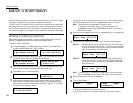
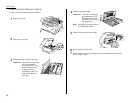
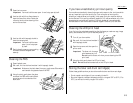
If you want security reception to begin now (and at this same time every day),
skip to step 9.
Otherwise, go on to step 7.
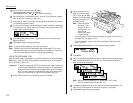
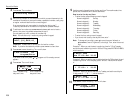
7
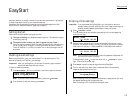
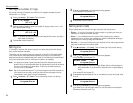
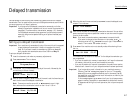
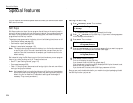
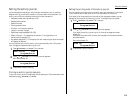
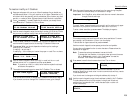
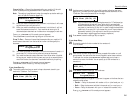
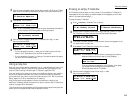
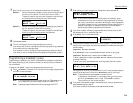
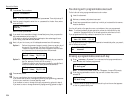
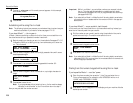
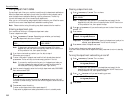
Use the numeric keypad to enter the time (use a 24-hour format) when secu-
rity reception should begin every day. “Type over” the numbers displayed.
Here, we’ve entered 17:35:
To change a digit, press to move to the left, or /
PROGRAM
to move right.
Then enter the correct digit.
9
Press
ENTER
to save the setting.
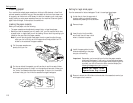
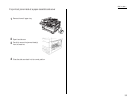
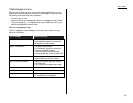
Printing from security reception / Turning off security reception
When security reception is on, an incoming fax goes directly into your machine’s
memory and the
MEMORY RECEIVE
light comes on. But the fax is not printed.
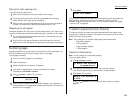
To retrieve the faxes received during this security reception (and to return your
machine to normal reception until the next time):
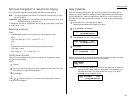
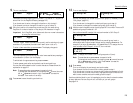
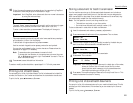
1
Press /
PROGRAM
,
O
[the letter O, not a zero],2,
ENTER
. The
LCD
shows:
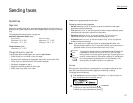
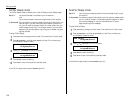
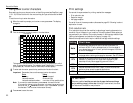
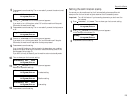
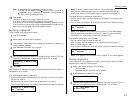
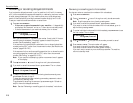
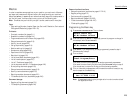
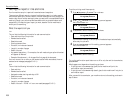
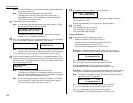
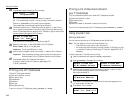
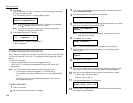
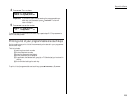
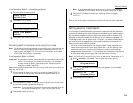
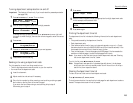
2
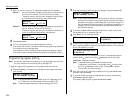
Use the numeric keypad to enter the passcode. Here, we’ve entered 6296:
3
Press
ENTER
.
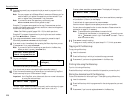
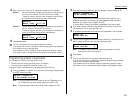
• If you’ve entered the correct passcode, your fax machine will print all docu-
ments in its memory and then erase them. Then it will turn security
reception off until the next time you’ve scheduled security reception.
• If you’ve entered an incorrect code, your fax machine will refuse to print,
and security reception remains on.
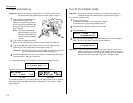
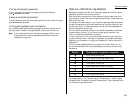
Masking the PIN
To prevent unauthorized long-distance calls, some office telephone systems require
you to enter a personal identification number (
PIN
) whenever you dial long distance.
Your fax’s
PIN
mask feature helps you keep that
PIN
number private. With the
PIN
mask activated, you can dial a fax number plus a
PIN
, but the
PIN
will not appear in
a journal, error message printout, delayed command list or a
TCR
. The
PIN
may be up
to eight characters in length. It also can include the * or # symbols, and it can be
entered from the numeric keypad.
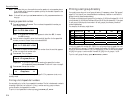
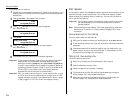
There are three possible settings for the
PIN
mask:
• Off — Turns off the
PIN
mask feature. Any
PIN
you enter will appear on any dis-
play or printout which shows the number you dial.
• Mode 1 — Each remote fax unit has a departmental
PIN
access code.
• Mode 2 — Each fax user has a departmental
PIN
access code.
Note: If you select Mode 1 and you will use a one-touch or speed-dial number, you
must store the remote unit’s
PIN
access code within that number. However, if
you select Mode 2, this isn’t necessary. (See “Autodialing while using the
PIN
mask,” next page for further details.)
Note: If you select either Mode 1 or Mode 2 and will be using batch transmission
(see pages 2.20 – 2.23), you must store the
PIN
access code for the remote
unit within the appropriate batch box.
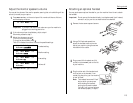
Activating the
PIN
mask
Important: For this feature to work, you must have activated the passcode protec-
tion as described on page 2.56. You must also know the passcode.
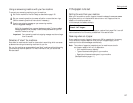
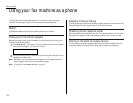
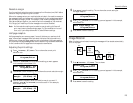
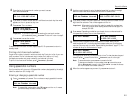
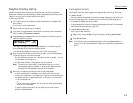
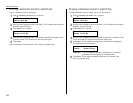
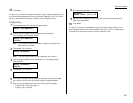
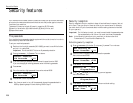
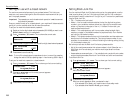
1
Press /
PROGRAM
,
J
,1,5,
ENTER
. The
LCD
shows:
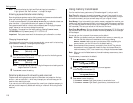
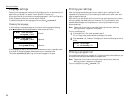
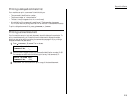
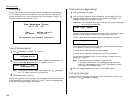
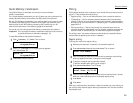
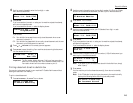
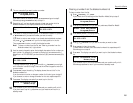
2
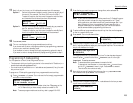
Use the numeric keypad to enter the four-digit passcode. Here, we’ve entered
6296.
Note: If you enter an invalid passcode, the machine’s security feature rejects
the attempt and returns to standby mode.
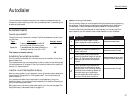
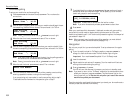
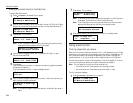
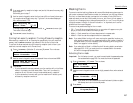
3
Press
ENTER
.
PIN Mode :Off
Program/Enter
Set PIN Mode
Enter Passcode :6296
Set PIN Mode
Enter Passcode :****
Print Mem Rx Doc.
Enter Passcode: 6296
Print Mem Rx Doc.
Enter Passcode: ****
Set Security Rx
Enter Time: 17:35
2.57