17
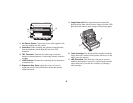
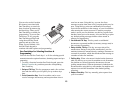
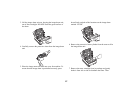
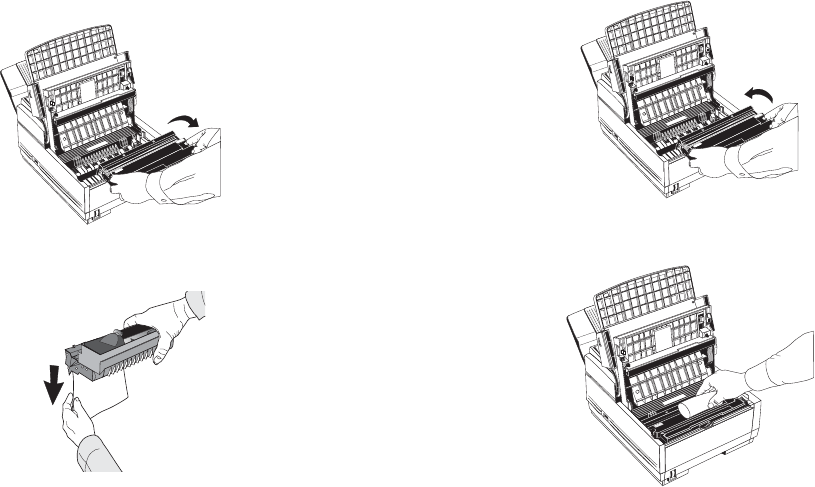
3. Lift the image drum unit out, keeping the image drum unit
out of direct sunlight. DO NOT touch the green surface of
the drum.
4. Carefully remove the protective sheet from the image drum
unit.
5. Place the image drum unit back into your fax machine. To
ensure that the image drum is positioned correctly, press
down firmly on both of the locations on the image drum
marked “PUSH.”
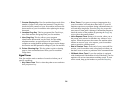
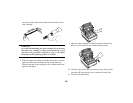
6. Remove the protective foam cylinder from the toner well in
the image drum unit.
7. Remove the toner cartridge from its package and gently
shake it from side to side to distribute the toner. Then
1
A
B
C
2
D
E
F
3
G
H
I
4
J
K
L
5
M
N
6
P
R
S
7
T
U
V
8
W
X
Y
9
*
O
Q
Z
0
#
A
U
T
O
R
E
C
S
E
A
R
C
H
S
E
L
E
C
T
F
U
N
C
T
I
O
N
A
U
T
O
D
I
A
L
H
Y
P
H
E
N
R
E
D
I
A
L
C
O
P
Y
H
O
O
K
V.
R
E
Q
U
E
S
T
P
H
O
T
O
E
X
F
I
N
E
F
I
N
E
S
T
D
L
I
G
H
T
N
O
R
M
A
L
D
A
R
K
A
L
A
R
M
S
T
O
P
S
T
A
R
T
PU
S
H
P
USH
1
A
B
C
2
D
E
F
3
G
H
I
4
J
K
L
5
M
N
6
P
R
S
7
T
U
V
8
W
X
Y
9
*
O
Q
Z
0
#
AUTOREC
SEARCH
S
E
L
E
C
T
F
U
N
C
T
I
O
N
AU
TODIAL
HYPHEN
REDIAL
COPY
HOOK
V.REQUEST
PHOTO
EXFINE
FINE
STD
LIGHT
NORMAL
DARK
ALARM
STOP
ST
ART
PU
S
H
P
USH
1
A
B
C
2
D
E
F
3
G
H
I
4
JK
L
5
M
N
6
P
R
S
7
T
U
V
8
W
XY
9
*
O
QZ
0
#
A
UTOREC
S
EAR
C
H
S
E
L
E
C
T
F
U
N
C
T
IO
N
AUTODI
AL
HY
PHEN
RE
DIAL
CO
PY
HO
OK
V
.
REQUE
ST
PHO
T
O
EX
FI
N
E
FINE
STD
LIG
HT
NORM
AL
DAR
K
A
LA
R
M
STOP
STAR
T


