107
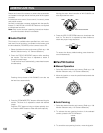
■ Camera Selection
1. Select the desired monitor. (Refer to p. 106 Monitor
Selection.)
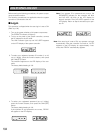
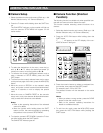
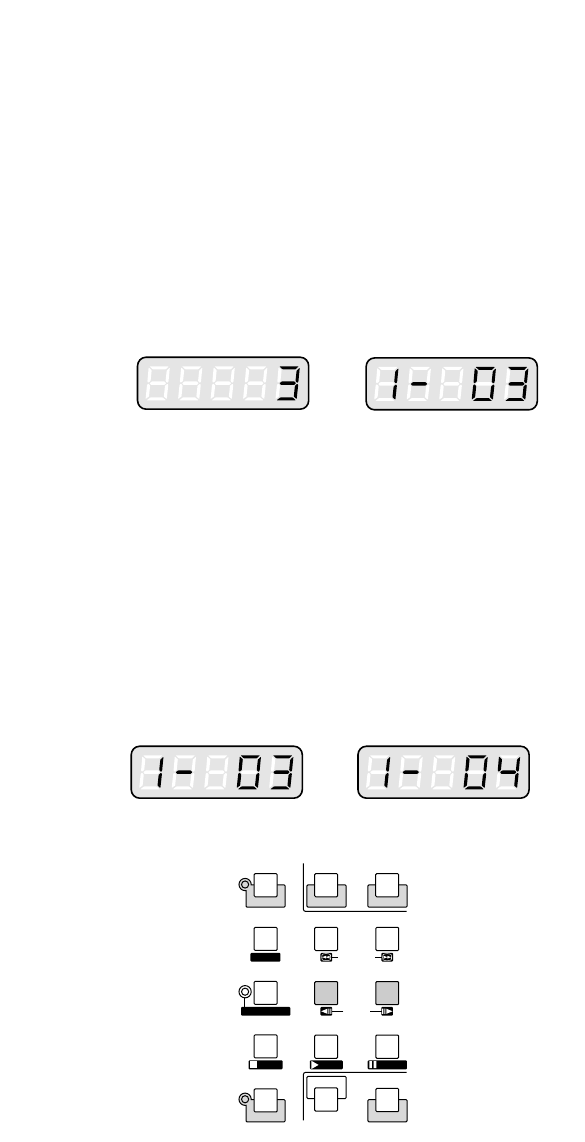
2. Press the numeric buttons to select the desired camera
number (1 to 99).
3. Press the CAM (SET) button.
The selected camera's image will appear on the active
monitor. The CAMERA indicator will light up and the
selected camera number will appear on the LED dis-
play on the controller.
SETUP
SHIFT
REW/FF
STEP
GROUP SEQ
PAUSE
SUSPEND
F1
CAM SETUP
ALL RESET
ACK RESET
F2
TOUR SEQ
PREV NEXT
STOP
OSD
RECORDER
INDEX
STOP PLAY PAUSE
Note: If you select a wrong number, press the CLEAR
button to clear the input.
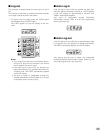
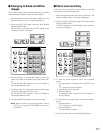
4. If the selected camera number is not valid, the PRO-
HIBITED indicator and the number on the LED display
will blink for about 3 seconds.
Return to Step 2 and select a new camera number.
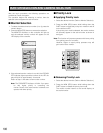
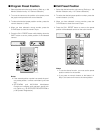
5. To replace the currently selected camera with the next
higher-numbered camera , press the NEXT button.
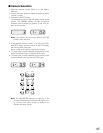
6. To replace the currently selected camera with the next
lower-numbered camera, press the PREV button.
Note: The PROHIBITED indicator will light up, if the
camera is selected by an operator with higher prior-
ity. Control of the same camera is denied to an
operator with lower priority.


