95
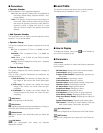
(Cancel Exit) button
Cancels the configuration and closes the Camera Title win-
dow.
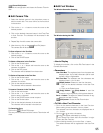
● Edit Camera Title
1. Select the desired camera in the drop-down menu to
edit its camera title. The cursor blinks at the first block
in the text box.
2. Click on the <– or –> button to move the cursor to the
desired position.
3. Click on the desired character button in the Fixed Font
or User Font box. The character will be entered in the
text box.
4. Repeat Step 2 and 3 to enter the camera title.
5. After the entry, click on the (Save Exit) button.
The camera title will be saved.
To Enter a Space in the Text Box
1. Click on the <– or –> button to move the cursor to the
desired position.
2. Click on the SPACE button.
To Delete a Character in the Text Box
1. Click on the Revise button.
2. Click on the <– or –> button and move the cursor to the
character for deletion.
3. Click on the DEL button.
The character will be deleted from the text box.
To Revise a Character in the Text Box
1. Click on the Revise button.
2. Click on the <– or –> button and move the cursor to the
character for revision.
3. Click on the desired character.
The character will be entered in the text box.
To Insert a Character in the Text Box
1. Click on the Insert button.
2. Click on the <– or –> button and move the cursor to the
block to enter a character.
3. Click on the SPACE button to enter a space.
4. Click on the Revise button.
5. Click on the desired character in the text box.
The character will be inserted in the text box.
To Cancel the Entry
Click on the (Cancel Exit) button.
The entry will be canceled and the Camera Title window will
close.
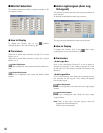
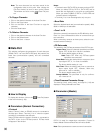
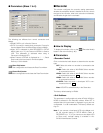
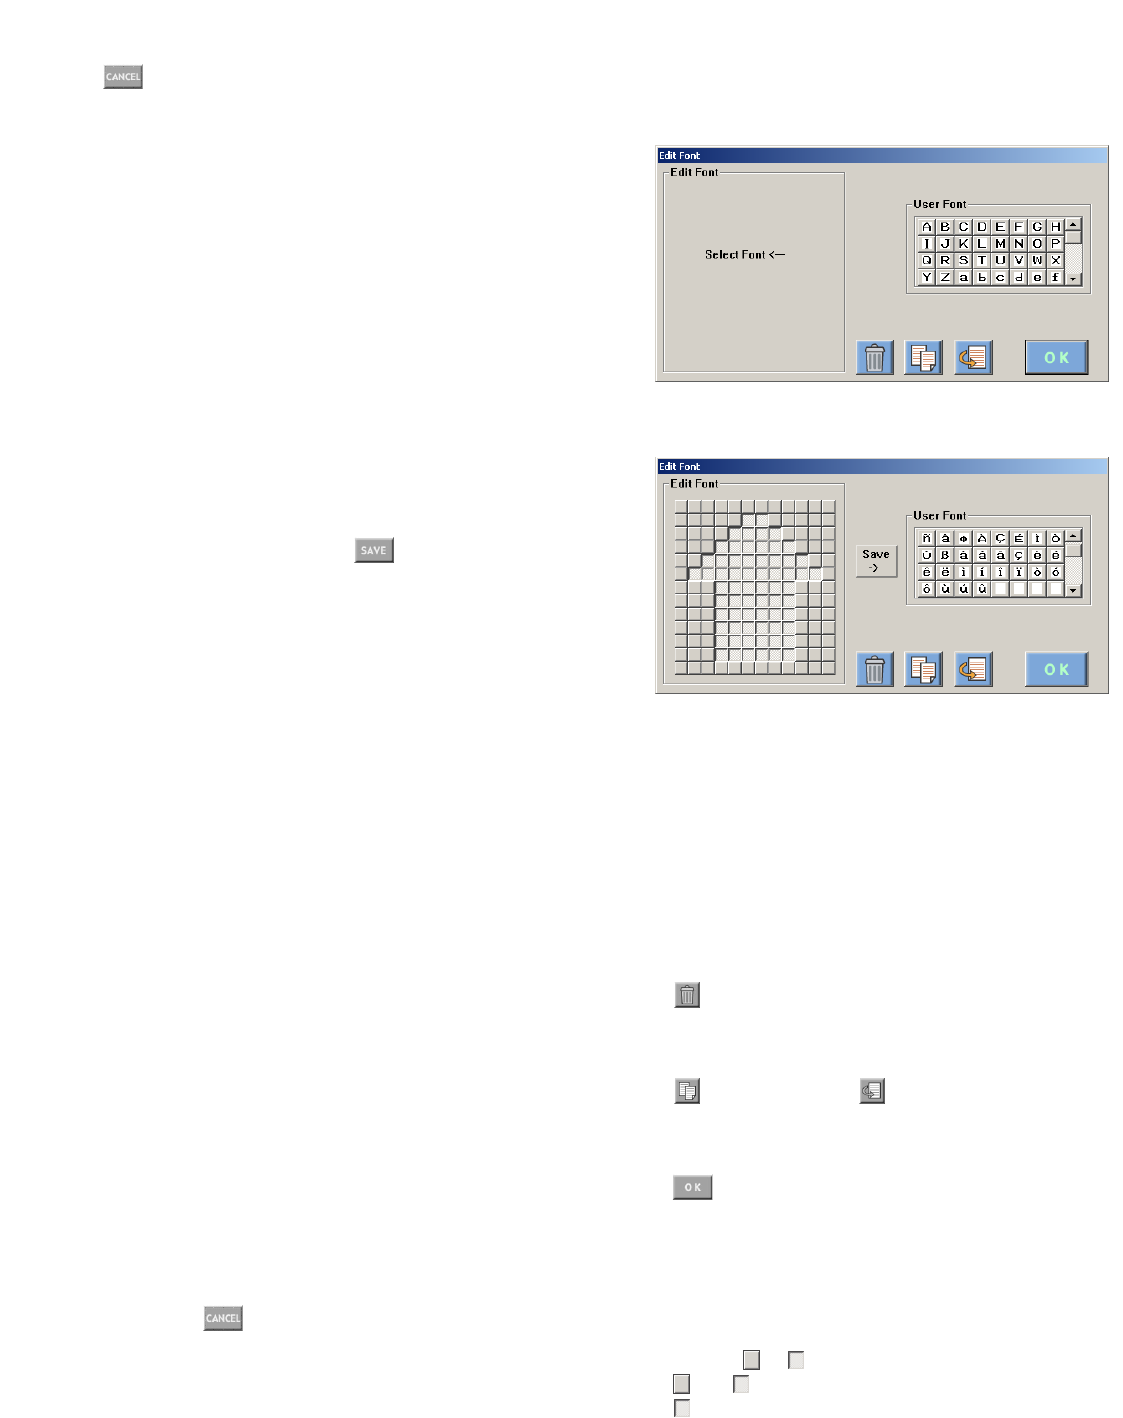
● Edit Font Window
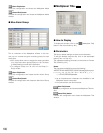
The Window Soon after Opening
The Window during the Edit
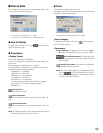
• How to Display
To display this window, click on the Edit Font button in the
Camera title window.
• Parameters
User Font Box: The registered user font characters are
displayed here. Up to 1600 characters (20 for each
camera x 80) are registerable.
Edit Font Box: The selected user font characters are
displayed here in 12 x 13 dots.
(Delete) button: Deletes an user font character.
1. Click on the desired character in the User Font
box.
2. Click on the Delete button.
(Copy) button / (Past) button: A user font
character can be copied by clicking these buttons.
Save –> button: The edited or deleted character is reg-
istered in the User Font box.
(OK) button: Closes the Edit Font window.
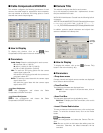
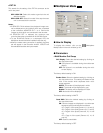
• To Edit a User Font Character
1. Click on the desired characters in the User Font box.
When making a new character, click on a blank.
The selected user font character are displayed here in
12 x 13 dots.
2. Click on or to make a character.
and will appear alternately by clicking.
will change into black after the character is regis-
tered in the User Font box.
3. When finishing the edit, click on the Save –> button.
The edited character will be registered in the User Font
box.


