


Call Setup Branch
5-53810-A2-GB30-20 November 1996
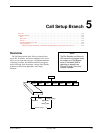
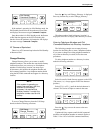
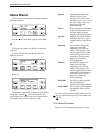
F1
Dial Standby
Command Complete
F2
F3
If
the modem is operating in a Dial Backup mode, the
Dial Standby function forces the modem to leased lines
and displays the status message
Command Complete.
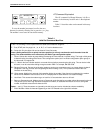
Once the modem is in Dial Standby mode, the Return
to Dial function appears on the LCD. Selecting this
function forces the modem to dial networks and displays
the status message
Command Complete.
AT Command Equivalent
There
is no A
T Command equivalent for Dial Standby
or Return to Dial.
Change Directory
Change Directory allows you to enter or modify
telephone numbers. The modem has nonvolatile memory
locations that allow you to store up to 10 telephone
numbers. Each directory location can accept up to
40 characters; this includes the telephone number and
dial command modifiers. Any telephone number dialed
using the DCP Dial command must appear in a directory
location.
NOTE
If the modem is operating on
leased lines and has a dial line
attached for dial backup
purposes, it is required that
directory location 1 contain the
telephone number used for dial
backup.
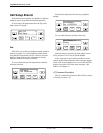
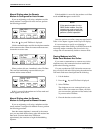
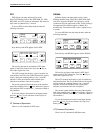
To
access Change Directory from the Call Setup
branch, make the following selections:
F1
Call Setup: >
Change_Directory
F2
F3
Press the
key until Change_Directory is displayed.
Press any function key to select Change_Directory
.
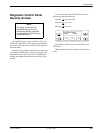
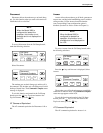
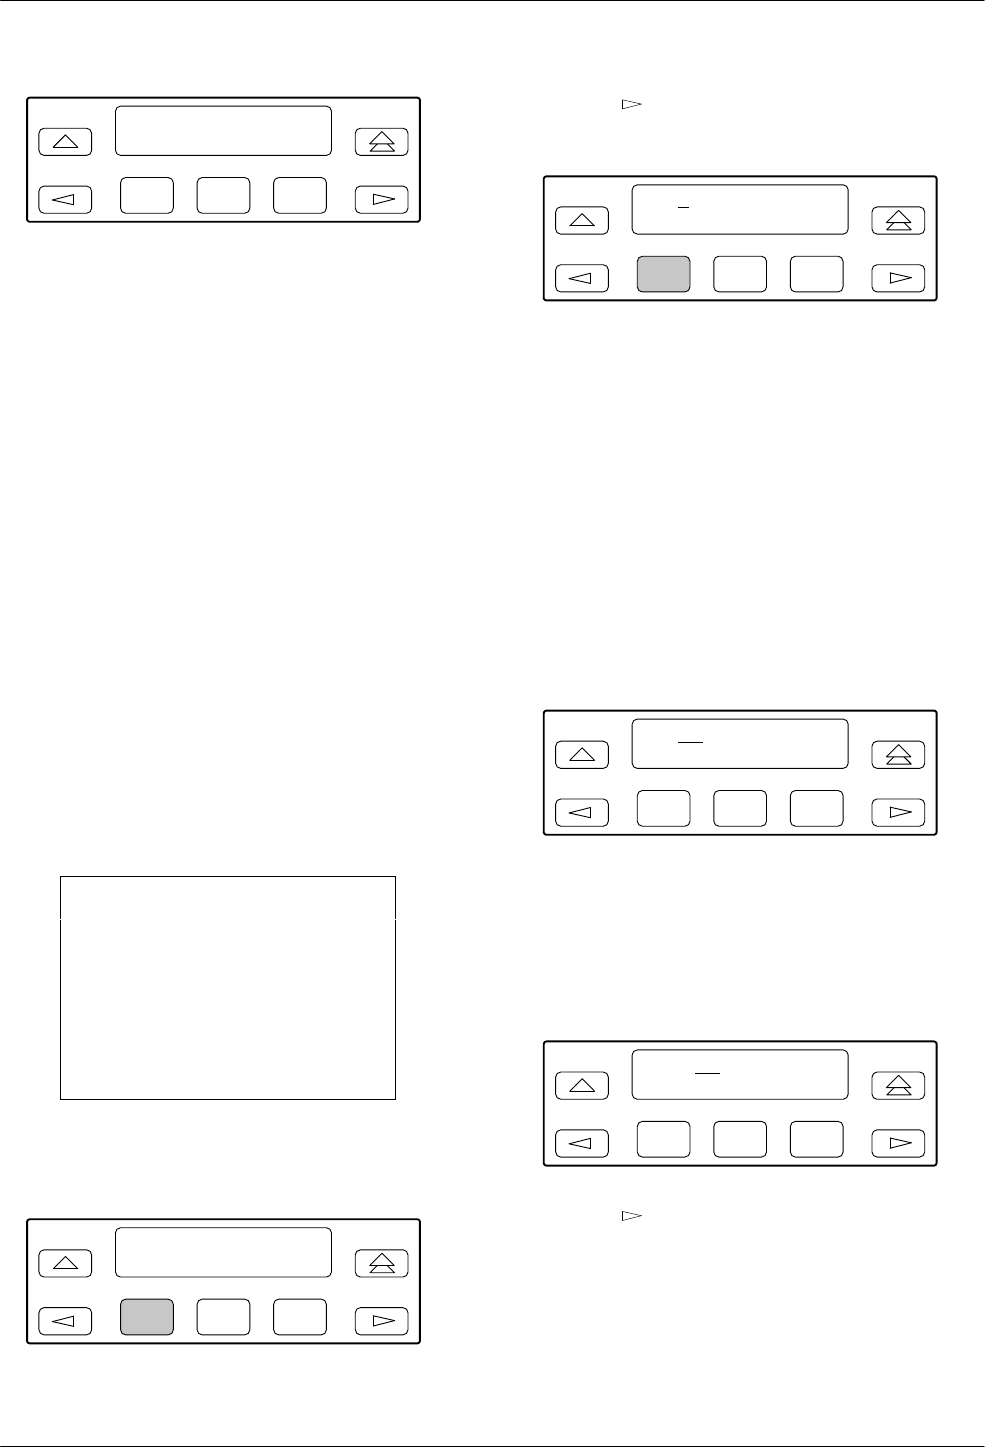
F1
01 : 5551234 ←
Nxt "#
F2
F3
The phone number listed in directory location 1 is
displayed. Select Nxt to display other directory locations.
Entering Telephone Numbers and Dial
Command Modifiers into Directory Locations
The following example uses an empty directory
location for describing how to enter a telephone number.
If you want to change an existing telephone number in
any of the ten directory locations, follow the same
procedures.
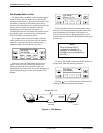
To add a telephone number to a directory location,
make the following selections:
F1
02 : z
NxtąąąĄ"#
F2
F3
Select Nxt until a blank directory appears on the LCD.
(The cursor ( { ) always appears in the first character
position.)
Select F2 (") or F3 (#) until the desired character is
selected. This can be an alpha or numeric character.
F1
02 : 9 z
NxtąąąĄ"#
F2
F3
Press the key to move the cursor to the next
character position.
Continue this key sequence until the dial command
modifiers and telephone number are entered. (Refer to
Table 5-1 for a list of valid dial command modifiers.)