Copier Functions
37
2
Preset Reduce/Enlarge
You can select a preset ratio for copy-
ing.
❖
❖❖
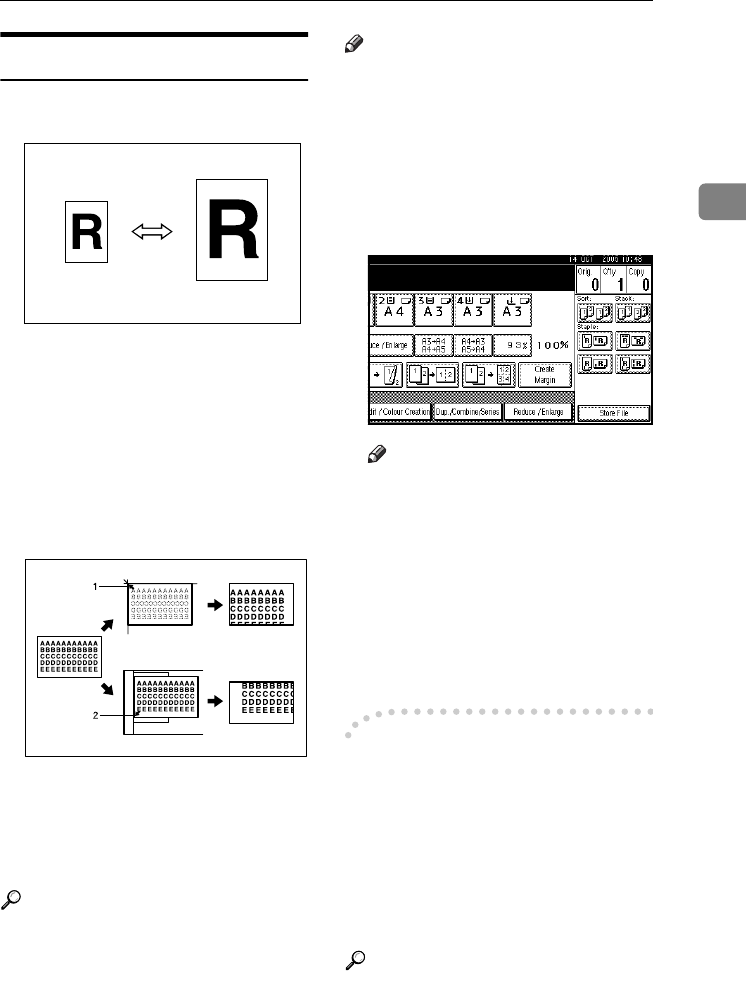
❖ Base Point
The base point of Reduce/Enlarge
differs depending on how the orig-
inal was scanned. When the origi-
nal is placed on the exposure glass,
the upper left corner is the base
point. When placed in the ADF, the
bottom left corner is the base point.
1.
Base point when placed on the ex-
posure glass.
2.
Base point when placed in the
ADF.
Reference
Related default settings:
p.111 “Shortcut R / E”
p.112 “R/E Priority”
Note
❒
When making reduced copies from
A3 or B4 originals to A4 OHP trans-
parencies, set the OHP transparen-
cies in tray 1 in the
L
direction and
use the Auto Reduce/Enlarge
function.
⇒ p.38 “Auto Reduce /
Enlarge”
A
AA
A
Press [Reduce / Enlarge].
Note
❒ To select a preset ratio on the in-
itial display, press the shortcut
reduce/enlarge key, and then
proceed to step
D
.
B
BB
B
Press [Enlarge] or [Reduce].
C
CC
C
Select a ratio, and then press [OK].
D
DD
D
Place originals, and then press the
{
{{
{Start}
}}
} key.
-
--
- Create margin function
Use Create Margin to reduce the im-
age to 93% of original size using the
centre as reference. You can assign
this function to a shortcut key on the
initial display. By combining it with
the Reduce/Enlarge function, you
can also provide the Reduce/Enlarge
copy with a margin.
Reference
Related default settings:
p.110 “Copy Function Key: F1-F5”
p.112 “Ratio for Create Margin”
GCKA031e
ThemisC1_GB_Copy_F_FM.book Page 37 Wednesday, June 22, 2005 10:00 AM


