Faxing_ 2
e)Press the the up/down arrow to highlight PC: appears and press
OK.
1. Ope
n the Samsung Scan & Fax Manager.
•F
or Windows, from the Start menu, click All programs > Samsung
Printers > Samsung Scan & Fax Manager > Samsung Scan &
Fax Manager.
Or you can open this program by right clicking the Smart Panel icon
in the Wi
ndows task bar and selecting the Samsung Scan & Fax
Manager.
•F
or Macintosh, from the Smart Panel menu on status bar, click
Samsung Scan & Fax Manager.
2. Select the appropriate machine from the Samsung Scan & Fax
Manager.
3. Click Prop
erties.
4. Use Set F
ax Receiving to change the fax settings.
5. Whe
n setting is done, press OK.
Set Fax Receiving tab
•Enable Fax Receiving: You can select whether to use or not.
•Fi
le Format: You can convert the received faxes to PDF or TIFF.
•Sav
e Location: Selects location to save the converted faxes.
•Pref
ix: Selects file or folder scheme as prefix.
•No
tify me when fax received: Shows popup window to notify
receiving a fax.
•Print received fax: After receiving the fax, set prints information for
the received fax.
Change Port tab
•Local Scanner: Select when your machine is connected via USB or
LPT port.
•Network Scanner: Select when your machine is connected via
network port.
-Auto detection on
the network: Automatically detects your
machine.
-IP o
r Host name: Enter in your machine’s IP address or host name
to detect your machine.
Sending a fax
This part explains how to send a fax and the special methods of
transmission.
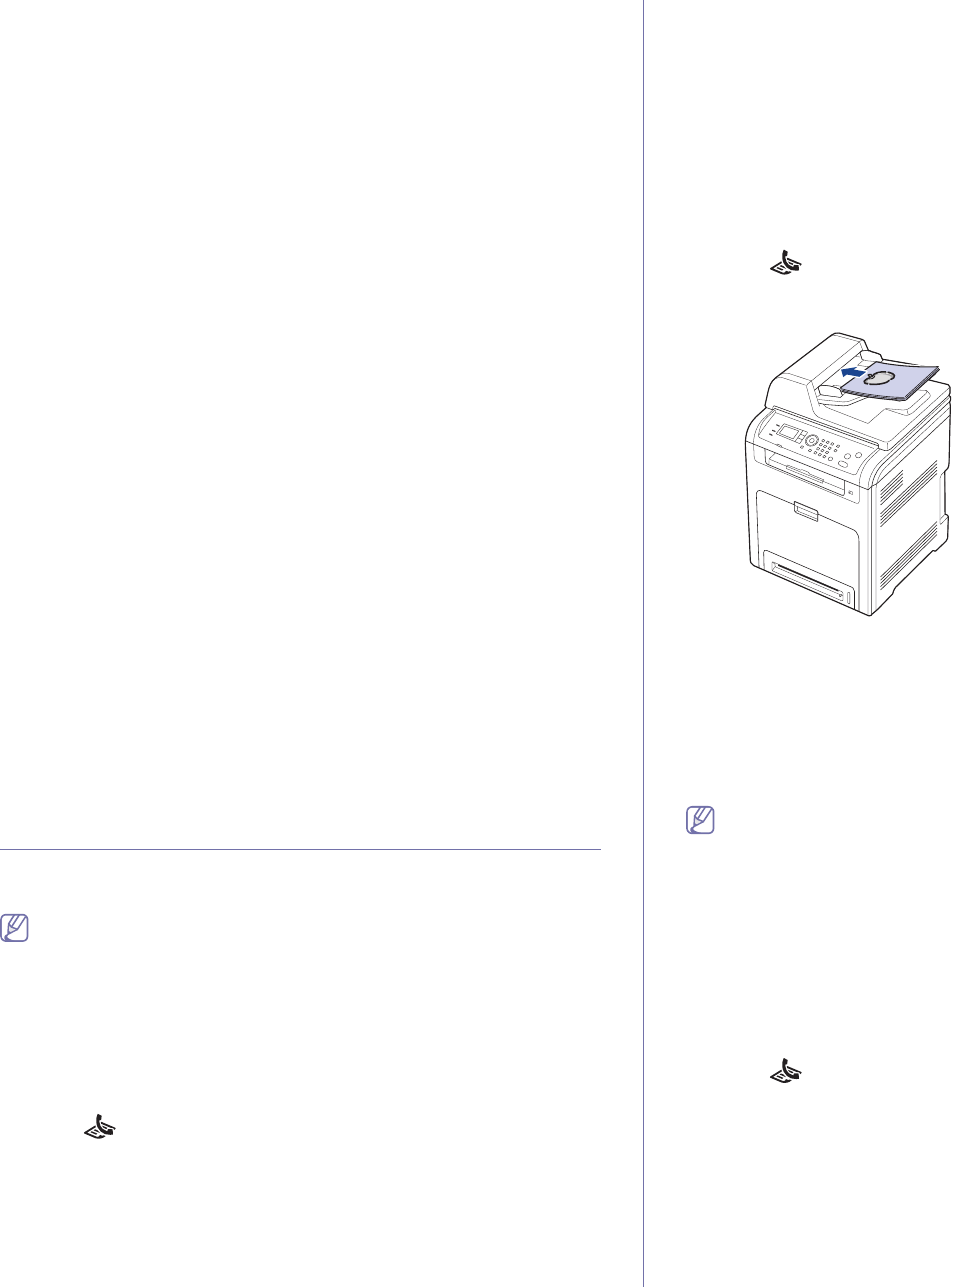
When you place the originals, in the document feeder and/or on the
platen glass one at a time (See "Loading originals" on page 1). If the
originals are placed on both the document feeder and the scanner
glass, the machine will read the originals on the document feeder first,
which has higher priority in scanning.
Setting the fax header
In some countries, you are required by law to indicate your fax number on
any fax you send.
1. Pr
ess (Fax) on the control panel.
2. Pr
ess Menu on the control panel.
3. Pre
ss the up/down arrow to highlight System Setup and press OK.
4. Pre
ss the up/down arrow to highlight Machine Setup and press OK.
5. Pre
ss the up/down arrow to highlight Machine ID and press OK.
6. Enter your name or the company name using the number keypad. You
can enter alphanumeric characters using the number keypad, and
include special symbols by pressing the 1 button. For details on how to
enter alphanumeric characters, see "Entering characters using the
number keypad" on page 2.
7. Pres
s OK to save the ID.
8. Pre
ss the up/down arrow to highlight Machine Fax No. and press OK.
9. En
ter your fax number using the number keypad and press OK.
10. Pres
s Stop/Clear to return to ready mode.
Sending a fax
1. Press (Fax) on the control panel.
2. L
oad originals face up into the document feeder, or place a single
original face down on the scanner glass.
3. Adjust the resolution and the darkness to suit your fax needs (See
"Adjusting the document settings" on page 6).
4. En
ter the receiving fax machine’s number.
You can use speed dial numbers, or grou
p dial numbers. For details
about storing and searching for a number, see "Setting up address
book" on page 7.
5. Pres
s Start on the control panel. The machine starts to scan and send a
fax to destinations.
•If you want to send fax directly from your computer, use SmarThru
Office (See "Using SmarThru Office" on page 3).
•Whe
n you want to cancel a fax job, press Stop/Clear before the
machine start transmission.
•If you used the scanner glass, the machine shows the message
asking to place another page.
•Whi
le the machine is sending a fax, you can not send an email at the
same time.
Sending a fax manually
This method is sending a fax using On Hook Dial on the control panel.
1. Press (Fax) on the control panel.
2. L
oad originals face up into the document feeder, or place a single
original face down on the scanner glass.
3. Ad
just the resolution and the darkness to suit your fax needs (See
"Adjusting the document settings" on page 6).
4. Press On Hook Dial on the control panel.
5. En
ter a fax number using the number keypad on the control panel.
6. Pres
s Start when you hear a high-pitched fax signal from the remote fax
machine.


