Page 2-34
Section 2. Configuration
SATO CL608e/CL612e Service Manual
PN 9001079
Rev. B
LCD Panel — Test Print Mode
Once you have selected the type of test label to be printed, use the FEED key to accept the
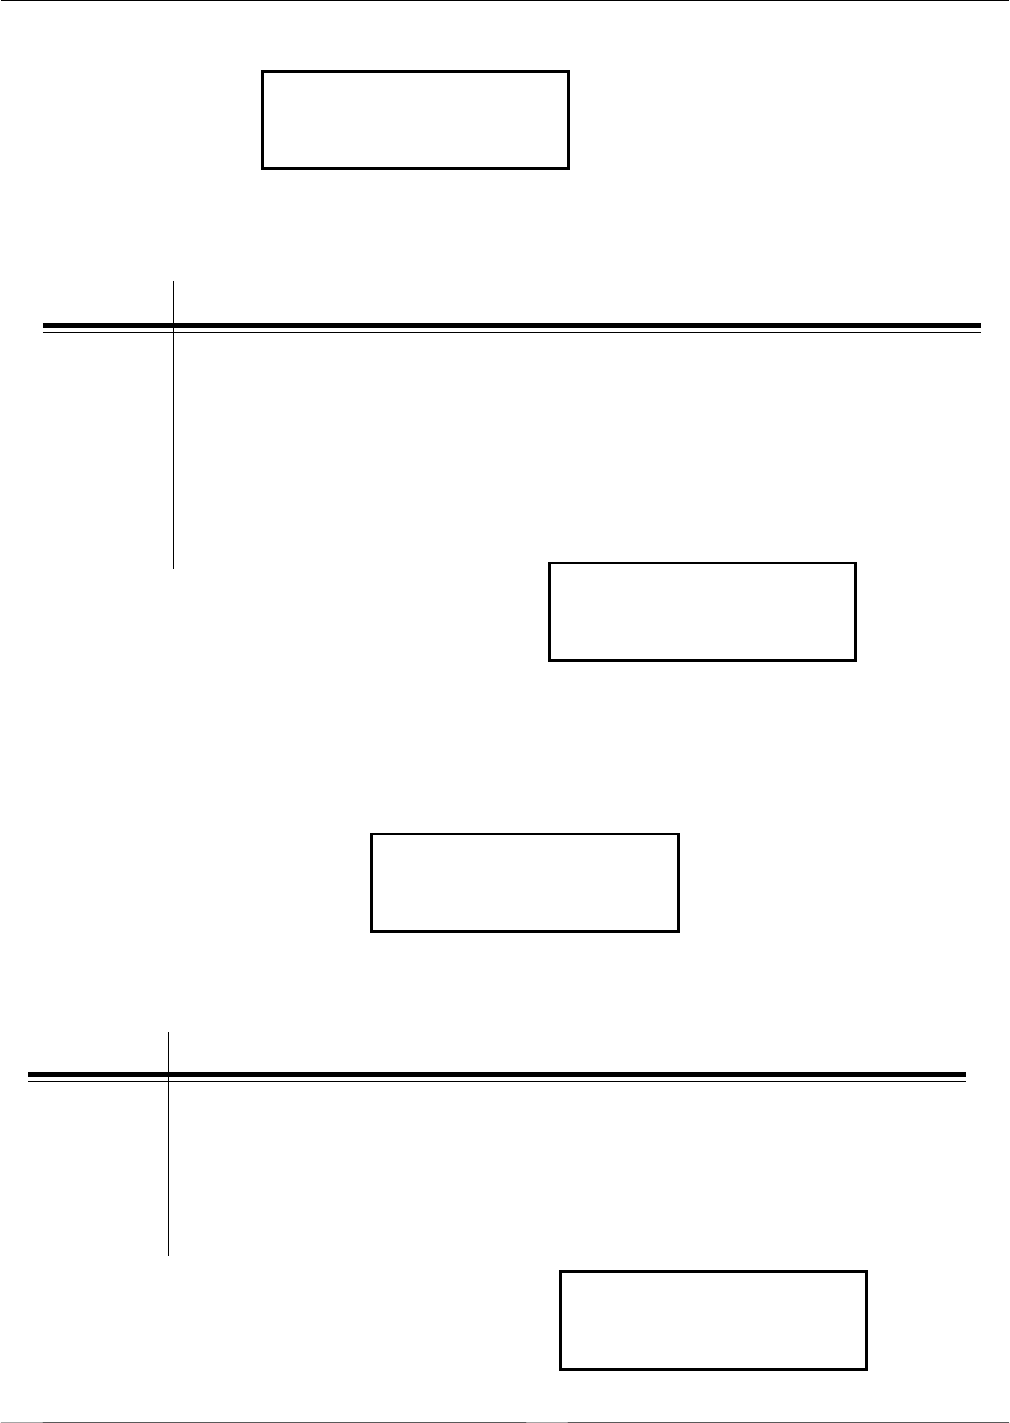
selection and the display advances to the Test Print Size display. This display allows you to
select the label width.
Test Print Size
10 CM
STEP PROCEDURE
1. Use the LINE key to select the label width. Each time the LINE key is
pressed, the label size advances 1 cm until it reaches a maximum
width of 10 cm at which point it will wrap to the smallest size of 4 cm.
2. Press the LINE key to accept the selection.
3. Press the FEED key to start printing test labels continuously.
4. Press the FEED key to stop the printer.
To exit the Test Print Mode, power the printer off, then back on.
test print Size
10 cm
press feed key to
stop printing
Default Setting Mode
Occassionally it is desirable to reset all printer configuration settings to their original
default conditions. This allows the operator to start the reconfiguration of the printer
starting from a known set of conditions.
To enter the Default Setting Mode press the FEED key while simultaneously powering on
the printer. When the printer emits one long beep release the FEED and LINE keys.
Default Setting Mode
STEP PROCEDURE
1. Use the LINE key to select either YES or NO.
2. Once the desired setting is selected, press the FEED key to accept the
selection and the printer will reset to the original default conditions.
3. When the printer has completed the reset process, the Default Setting
Completed display will appear. The printer is now in the default
configuration.
To exit the Default Setting Mode, power the printer off, then back on.
default setting
yes no
default setting
completed
NOTE: This display does not
appear when a Memory Test Print
is chosen. Only a small Memory
Test Print can be printed.


