


51
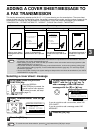
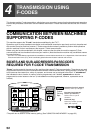
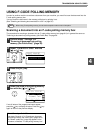
ADVANCED TRANSMISSION METHODS
3
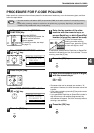
INSTALLING THE PC-FAX DRIVER (THAT ACCOMPANIES THE MACHINE)
1
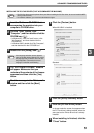
Insert the "Software CD-ROM" that
accompanies the machine into your
computer's CD-ROM drive.
2
Click the "Start" button, click
"Computer", and then double-click the
CD-ROM icon ( ).
• In Windows XP, click the "start" button, click
"My Computer", and then double-click the
CD-ROM icon.
• In Windows 2000, double-click "My Computer",
and then double-click the CD-ROM icon.
3
Double-click the [Setup] icon ( ).
4
The "SOFTWARE LICENSE" window
will appear. Make sure that you
understand the contents of the license
agreement and then click the [Yes]
button.
5
Read the message in the "Welcome"
window and then click the [Next]
button.
6
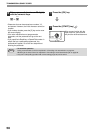
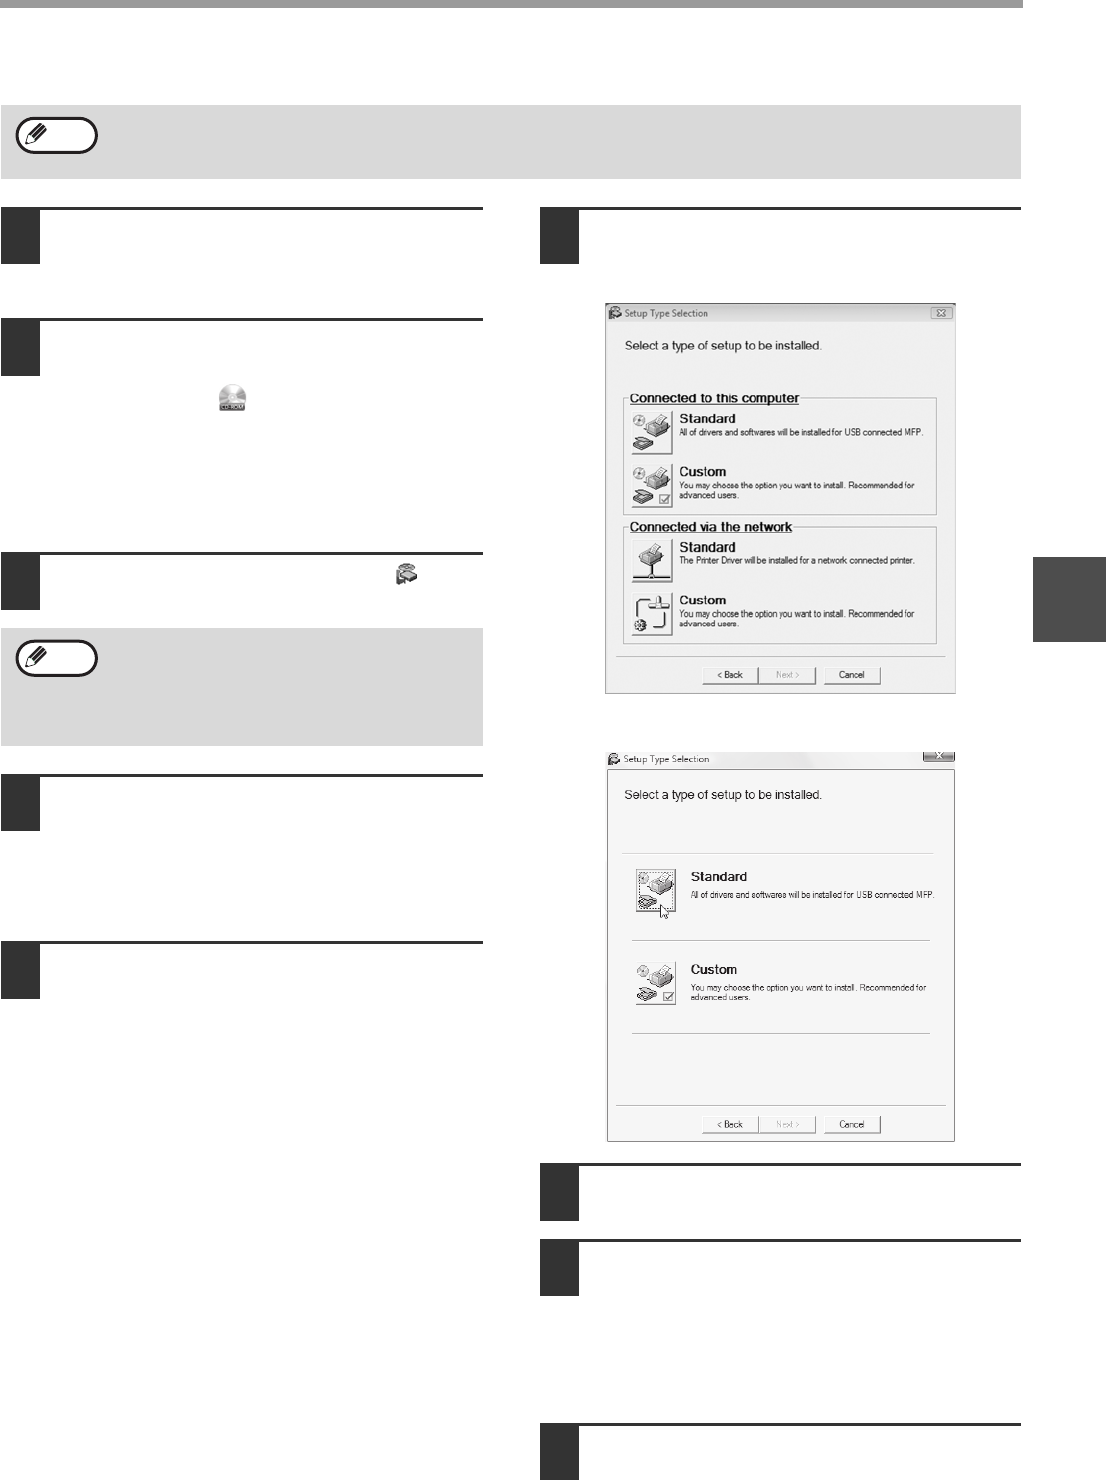
Click the [Custom] button.
When MX-NB12 is installed
Standard
7
Click the [Utility Software] button.
8
Click the [PC-Fax Driver] button.
In the port selection screen that appears when
the PC-Fax driver is being installed, select the
same port as the Printer driver that is already
installed.
9
When installing is finished, click the
"Close" button.
• The PC-Fax driver uses the printer driver port. Before installing the PC-Fax driver, be sure to install the MFP
driver (printer/scanner).
• To install this software, you must have administrator's rights.
Note
If the language selection screen appears
after you double click the [Setup] icon, select
the language that you wish to use and click
the [Next] button. (Normally the correct
language is selected automatically.)
Note