4 Getting to Know the 4000i
NOTE: After you press a control panel button to change the display source, wait a few
seconds while the projector synchronizes the video signal. Don’t press any other control panel
buttons until the image appears. If you press the control panel buttons in quick succession
while the projector is still processing your commands, the projector might become
unresponsive.
Storage Options
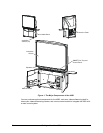
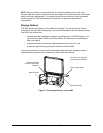
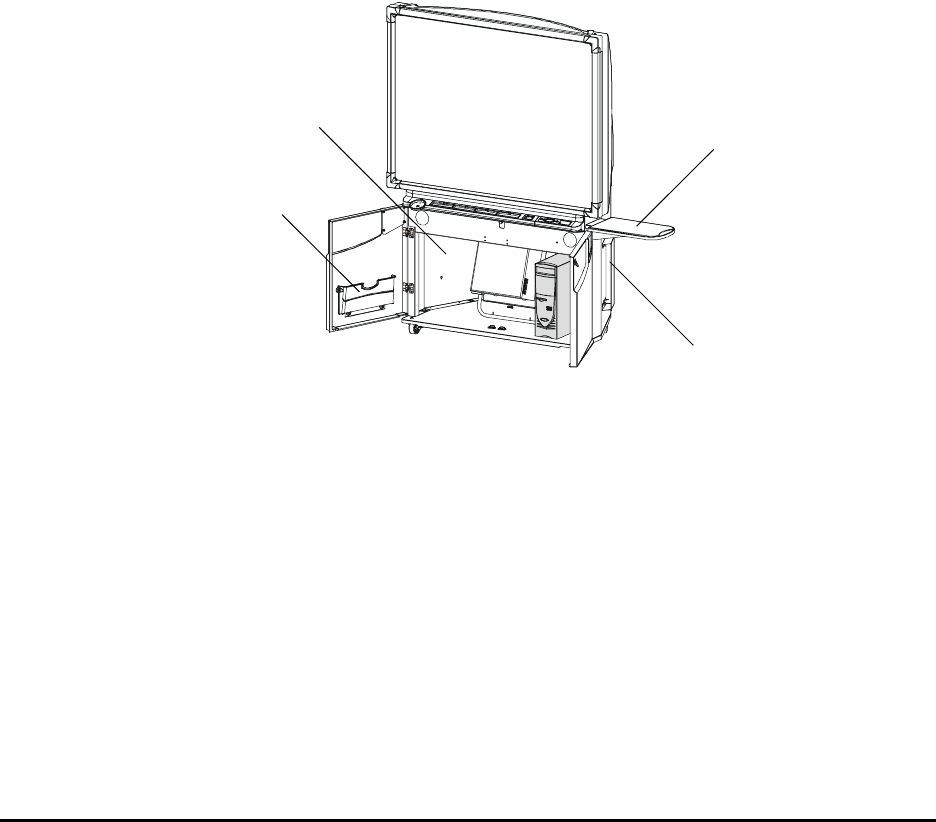
The 4000i houses the projector in the middle of the cabinet. You can house your internal
computer on the right side of the projector, and use the other side for another compact device.
Your 4000i also comes with:
• a laptop shelf that’s designed to support a guest
laptop (or a VCR/DVD player). You
can mount this shelf on either side of the cabinet. For instructions on installing the
shelf, see page 9.
• a keyboard holder for storing the wireless keyboard when it’s not in use
• a manual pocket for storing the guides that come with the 4000i
You can also purchase a large or small videoconferencing shelf that’s designed to hold a
videoconferencing camera unit conveniently at either side of the cabinet.
Figure 3: The Storage Features of the 4000i
Not Shown: An Optional
Videoconferencing Shelf
Manual Pocket
Keyboard Holder
Guest Laptop Shelf
Computer Storage
(on Either Side of the
Projector)


