


Appendix A: Disassembling and Reassembling the Cabinet 61
Appendix A: Disassembling and Reassembling the
Cabinet
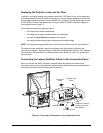
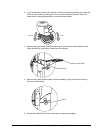
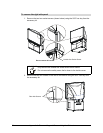
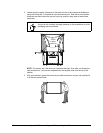
If you remove the side panel, you can access a number of important components, like the SC8
controller and the communications hub. However, you must be extremely careful not to make
contact with the back of the screen, as you can damage its diffusion coating. Also, don’t
remove both side panels at the same time because without their support the back panel will
slide off.
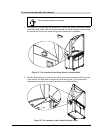
The removal of the side panel (the right one as you face the screen) is also a preliminary step
to removing the interactive screen and the top of the cabinet. Please note that you only need
to remove the top of the cabinet if you must move the cabinet through a low doorway, or if a
cabinet component requires replacement or repair.
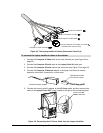
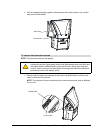
If you are transporting the 4000i, you should remove the internal components, such as the
projector and the computer, and repackage them in their original boxes.
This section provides important information on the correct way to disassemble the 4000i (this
page) and then to reassemble it (page 68). For information on removing the projector, see
page 51.
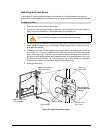
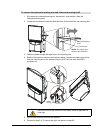
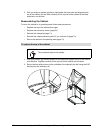
Disassembling the Cabinet
When you disassemble the cabinet, you must follow these procedures:
• Prepare the 4000i (this page)
• Remove the optional mounting arm and videoconferencing shelf (page 63)
• Remove the right side panel (page 64)
• Remove the interactive screen (page 65)
• Remove the top half of the cabinet (page 67)
1. Shut down the computer and the projector. Wait three minutes and unplug the
cabinet.
To prepare the 4000i