Setting Up the 4000i 31
Powering up the 4000i
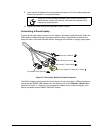
When you’ve connected all your devices to the 4000i, you’re ready to connect the main power
cable and power up the internal computer and the projector. After you do this, you must
finalize your installation, as described in the next section (page 32).
1. Locate the AC power cord in the power kit.
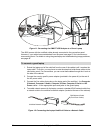
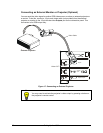
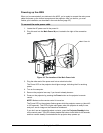
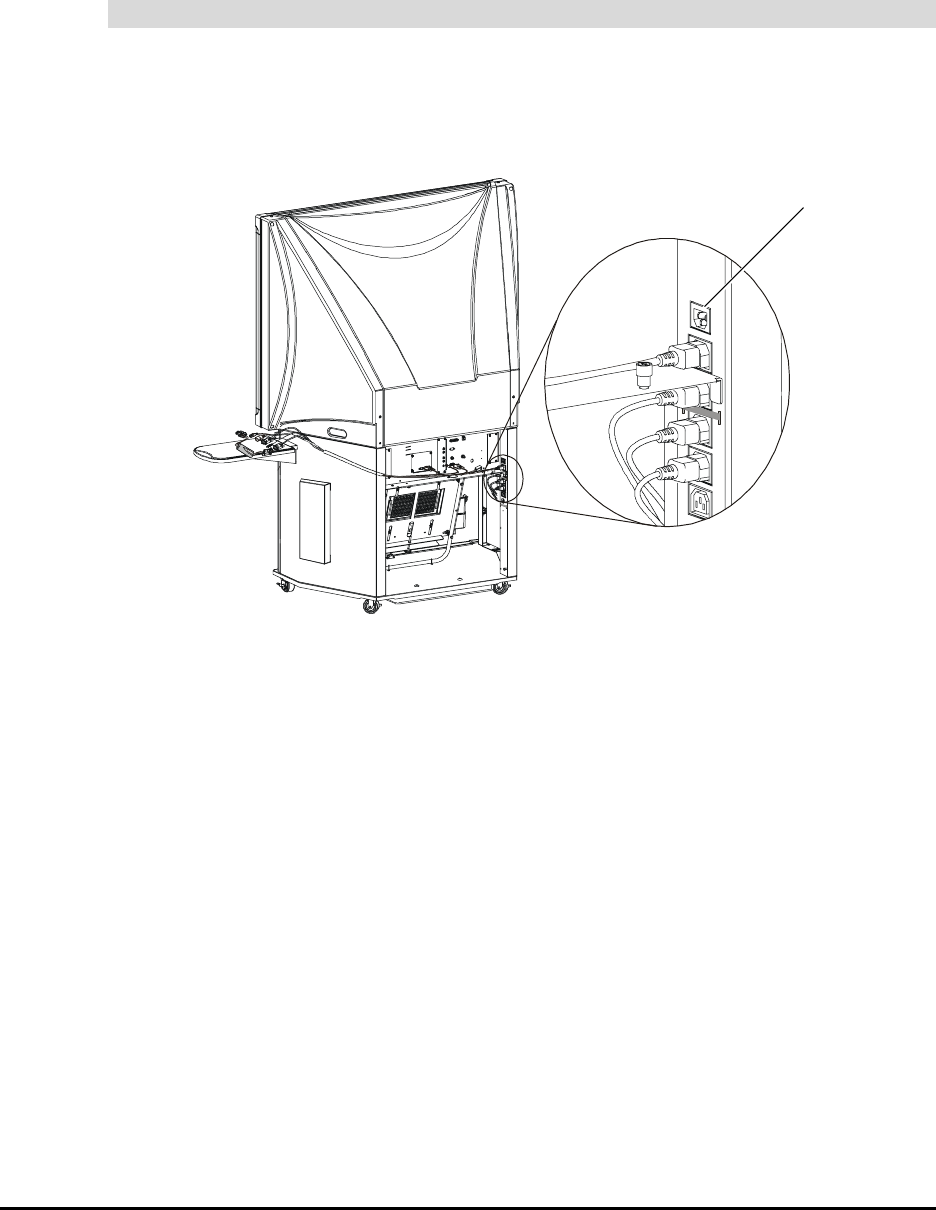
2. Plug this cord into the Main Power IN port, located to the right of the connection
panel.
Figure 18: The Location of the Main Power Inlet
3. Plug the other end of the power cord into an electrical outlet.
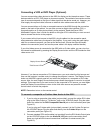
The Power LED on the projector should glow orange, indicating that it’s receiving
power.
4. Turn on the computer.
5. Remove the projector lens cap, if you haven’t already done so.
6. Power on the projector by pressing the Power button on the projector’s remote
control.
NOTE: Make sure the remote control is turned on.
The Power LED on the projector flashes green while the projector warms up (about 40
to 100 seconds). This LED will glow solid green when the projector is ready to use,
and you’ll see an image on the interactive whiteboard.
If you don’t see an image after about a minute, press the Projector Standby button
on the control panel. The LED indicator beside this button should blink for 40 seconds,
and then remain steadily illuminated after the projector lamp powers up.
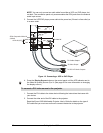
To connect the main power cable
Main Power IN


