


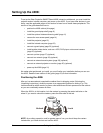

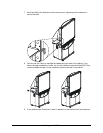

16 Setting Up the 4000i
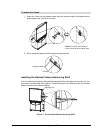
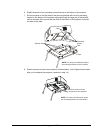
4. From the back of the 4000i (with the rear access panel removed), put the mounting
bracket on the bottom of the cabinet. When you do this, rest the arms of the mount on
the floor behind the 4000i.
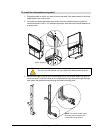
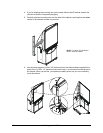
5. Align the holes in the clamps with the holes on the bottom of the cabinet and insert
two of the 1/4-20 hex socket screws from the accessory kit into these holes. To do
this, use a 3/16" hex key. However, don’t tighten these screws yet.
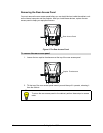
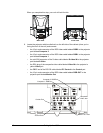
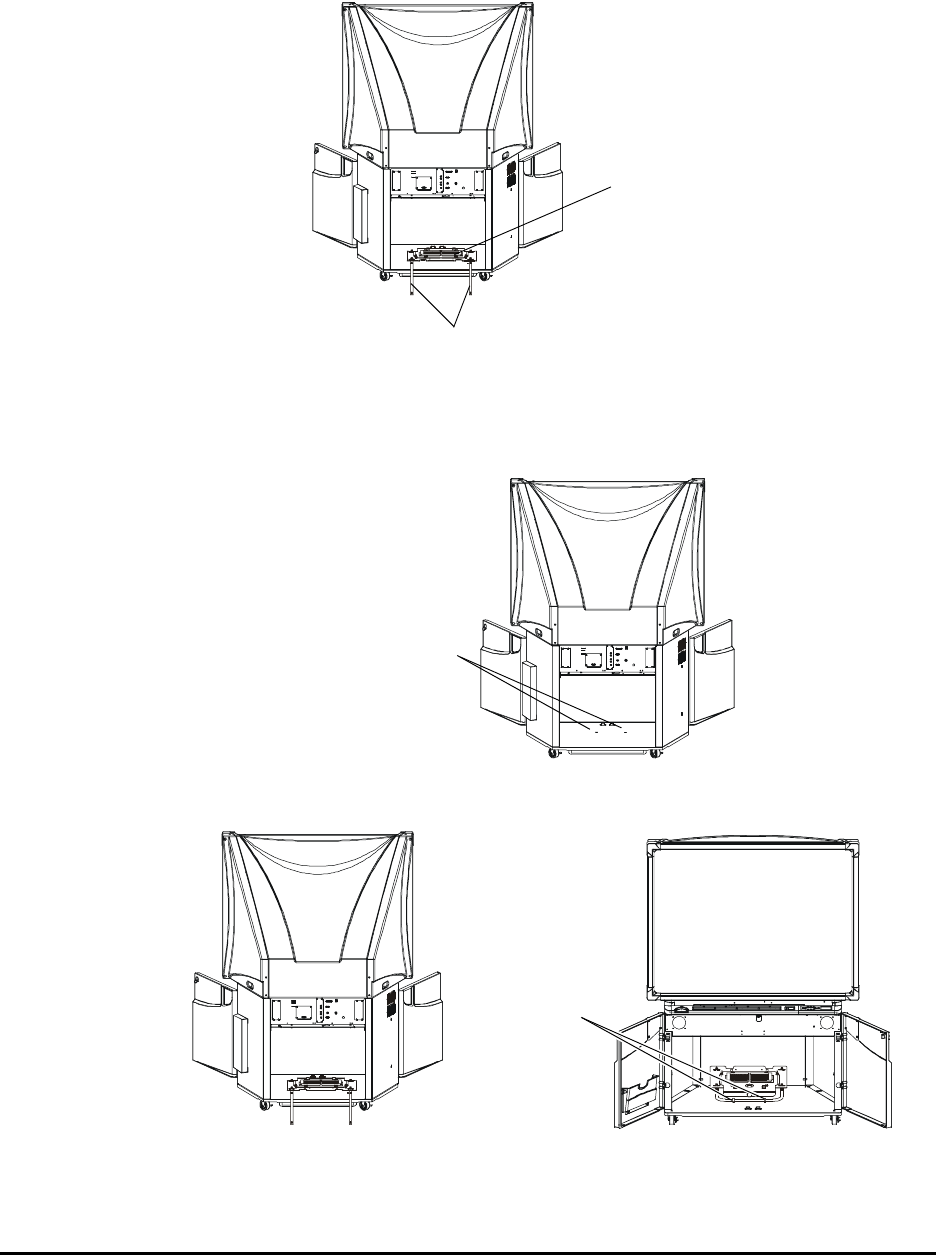
When you complete this step, your unit will look like this:
Mounting Bracket
Arms of the Mounting Bracket
Align the screws in
the clamps with
these holes
NOTE: For clarity,
this illustration
doesn’t show the
mounting bracket.
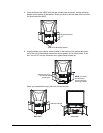
Attached Clamps
Back View
Front View