


115
Installation and Adjustment
L
GLOSSY /
AM I NAT I ON :
LAYOUT SETUP COLOR : nnn
/ COL / LAY / PRN / IN / OUT /
MEMORY : FRAME / FIELD
MULTI PIX : 1 / 2 / 4 / 8 / 16
SEPARATE : OFF / ON
MIRROR : OFF / MIRROR
LAMINATION : GLOSSY /
WINDOW : PRESS [ > ]
CAPTION : PRESS [ > ]
Q1 A 1
S
L
GLOSSY /
AM I NAT I ON :
LAYOUT SETUP COLOR : 200
/ COL / LAY / PRN / IN / OUT /
MEMORY : FRAME / FIELD
MULTI PIX : 1 / 2 / 4 / 8 / 16
SEPARATE : OFF / ON
MIRROR : OFF / MIRROR
LAMINATION : GLOSSY /
WINDOW : PRESS [ > ]
CAPTION : PRESS [ > ]
Q1 A 1
S
L
/c/LAY/p/ i /o/
AYOUT SETUP
LAYOUT SETUP COLOR : 200
/ COL / LAY / PRN / IN / OUT /
MEMORY : FRAME / FIELD
MULTI PIX : 1 / 2 / 4 / 8 / 16
SEPARATE : OFF / ON
MIRROR : OFF / MIRROR
LAMINATION : GLOSSY /
WINDOW : PRESS [ > ]
CAPTION : PRESS [ > ]
Q1 A 1
S
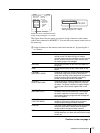
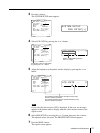
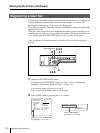
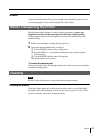
1 Press the MENU button, then select LAY by pressing the G or g button.
The LAYOUT SETUP menu appears on the source image.
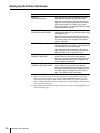
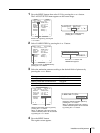
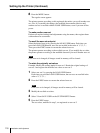
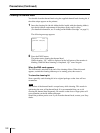
2 Select LAMINATION by pressing the F or f button.
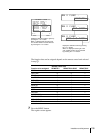
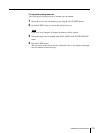
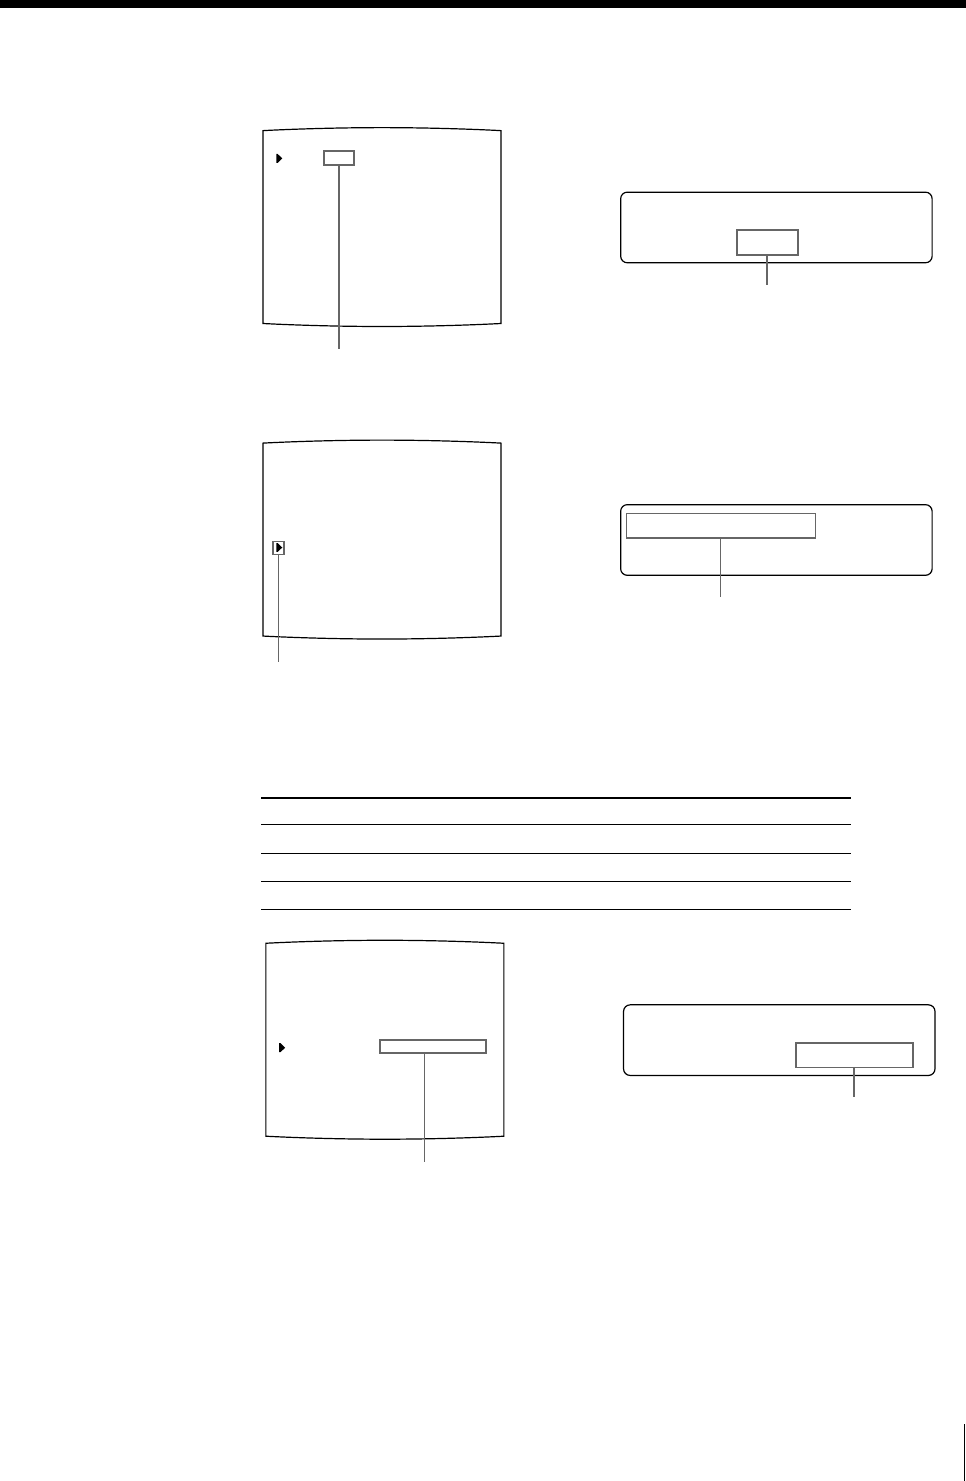
3 Select the amination pattern according to the desired finish of printouts by
pressing the G or g button.
When you want to Lamination pattern
Make a glossy printout. GLOSSY
Make a printout with a textured finish. TEXTURE
Make a matte printout. MATTE
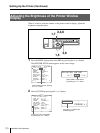
4 Press the MENU button.
The regular screen appears.
Switch LAY to green by pressing the
G or g button.
Display LAY in capital letters by
pressing the G or g button.
Position the cursor at LAMINATION by
pressing the F or f button.
Press the F or f button until
LAMINATION appears.
Switch the lamination pattern to green by
pressing the G or g button.
When / is displayed at the right or left end,
another lamination pattern can be selected
by pressing the G or g button.
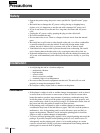
Display the desired lamination pattern by
pressing the G or g button.
When / is displayed at the right or left end,
another lamination pattern can be selected
by pressing the G or g button.