18
Operation
Q1 A M
Q1 A 1
M
1
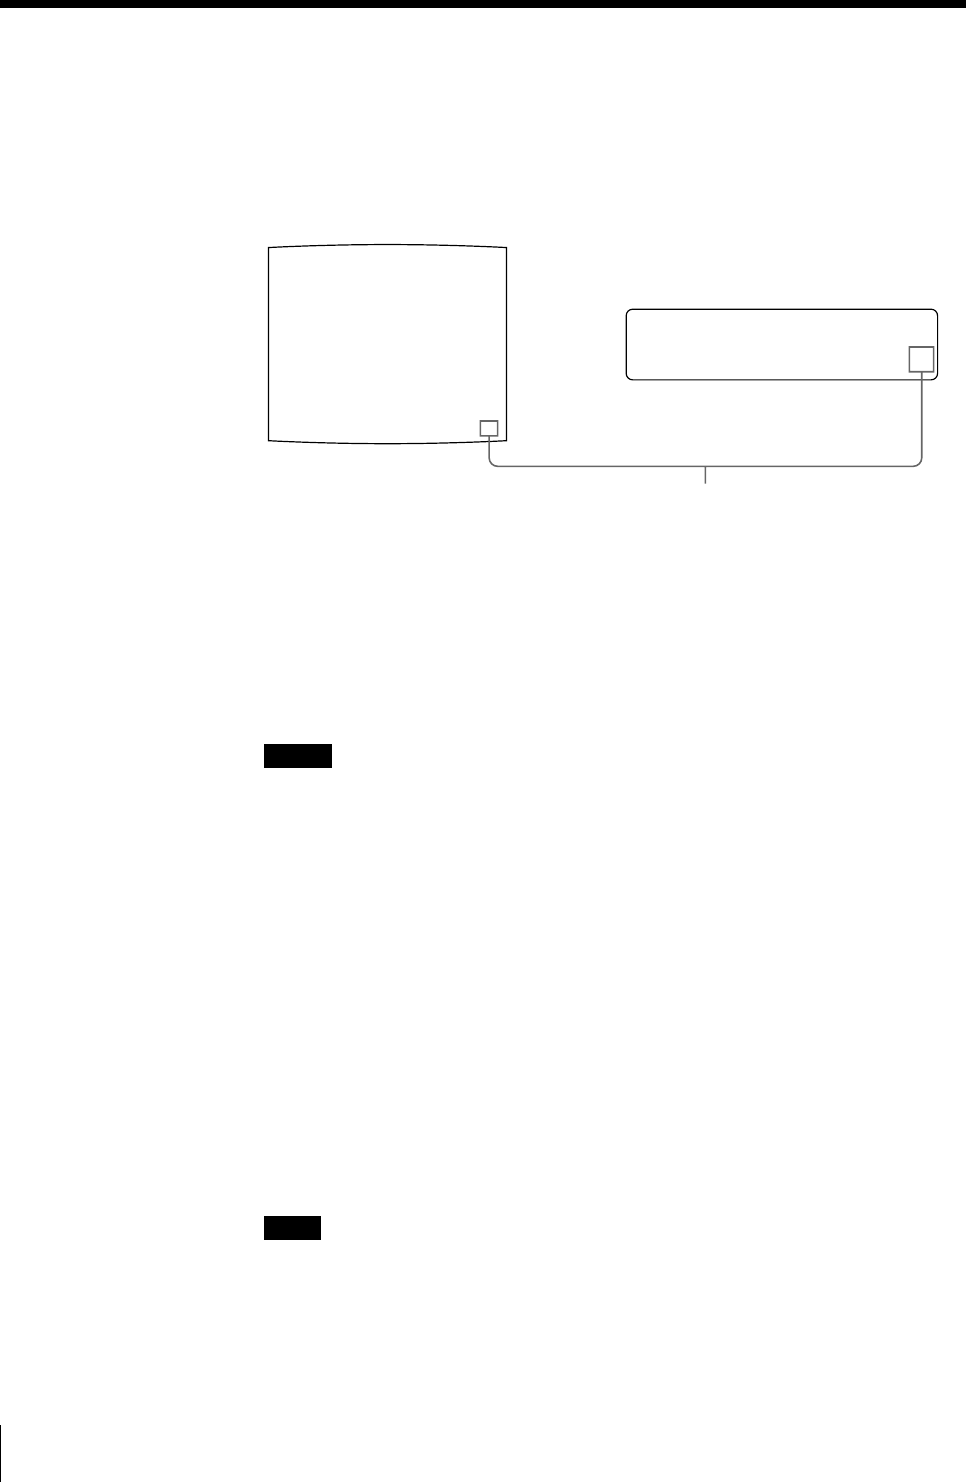
3 Press the CAPTURE button at the instant when the image you want to print
appears on the screen.
The image is captured into memory. The memory image is displayed on the
screen. Which image appears after this, the source image or the memory image,
depends on the setting made with the FUNCTION SETUP function of the
printer. (See page 42.)
If the captured image is blurred
A quickly moving image may be blurred when captured. Should this occur,
change the memory mode setting to FIELD, then print it again. Although the
blur should be eliminated, the ultimate print quality will be slightly degraded.
Select the FIELD mode by pressing the MEMORY FRM/FLD button. (See
“Selecting the memory mode” on page 33.)
Notes
• Usually, it is recommended that you make printouts in FRAME mode. To
confirm the memory mode setting, press the MEMORY FRM/FLD button.
The currently selected memory mode appears lit in green on the video
monitor and spelled out in the printer window display for about three
seconds, then disappears.
• You can change the memory mode only when selecting 1 (full-size image), 2
(two-reduced images) or 4 (four-reduced images).
• The number of usable memory pages depends on the selected memory mode.
(See page 38.)
To change the image captured in memory
1 To display the source image when the memory image is displayed on the
screen, press the SOURCE/MEMORY button .
2 Press the CAPTURE button at the instant the image you want to print
appears.
The previous image is replaced with the new one.
Note
If you turn off the power, the image stored in memory will be lost. Should this
happen, capture the image into memory again after turning on the power. If no
image is stored in memory, the printer will not print even if you press the
PRINT button.
Shows that the image captured in
memory is displayed on the monitor.
Making Full-Size Image Printouts (Continued)


