


84
Installation and Adjustment
S
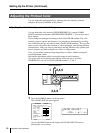
thru/EE
OURCE :
OUTPUT SETUP COLOR : 200
/ COL / LAY / PRN / IN / OUT /
DISPLAY : OFF / ON
SOURCE : THRU / EE
SYNC ON G : OFF / ON
RBN REMAIN: OFF / ON
Q1 A 1
S
: 0
: 0
: 0
MONI C–R
MONI M–G
MONI Y–B
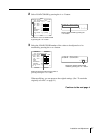
S
THRU / ee
OURCE :
OUTPUT SETUP COLOR : 200
/ COL / LAY / PRN / IN / OUT /
DISPLAY : OFF / ON
SOURCE : THRU / EE
SYNC ON G : OFF / ON
RBN REMAIN: OFF / ON
Q1 A 1
S
: 0
: 0
: 0
MONI C–R
MONI M–G
MONI Y–B
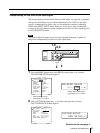
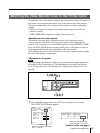
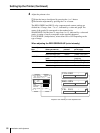
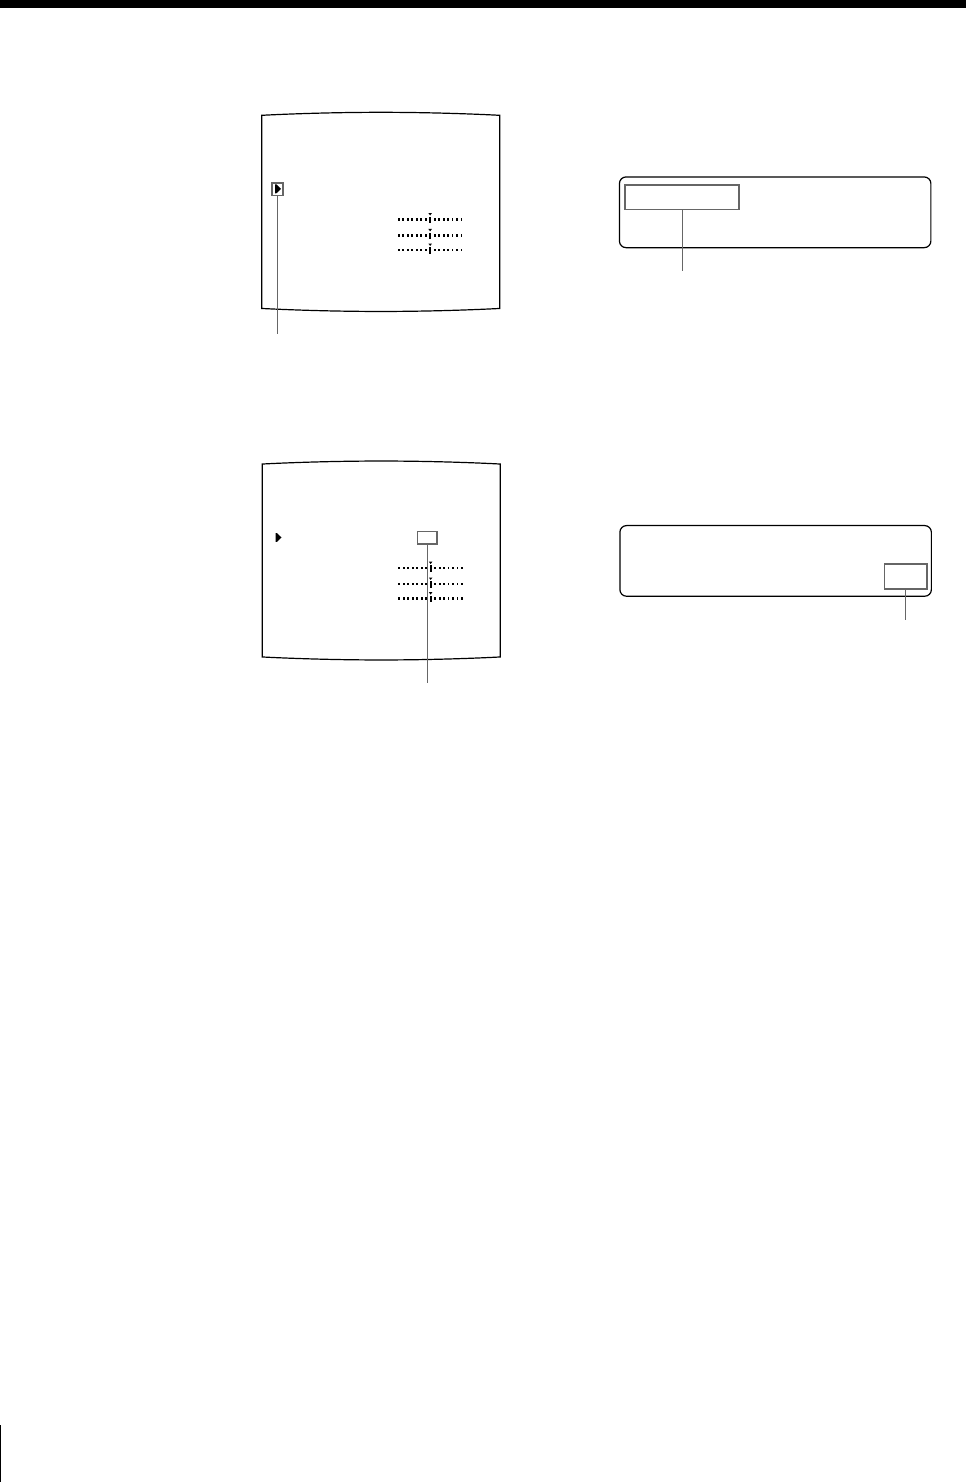
2 Select SOURCE by pressing the F or f button.
3 Select EE by pressing the G or g button.
4 Press the MENU button.
The regular screen appears.
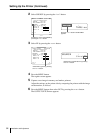
5 Capture a new image in memory and make a printout.
Adjust the settings on the printer side by comparing the printout with the image
on the monitor, as follows.
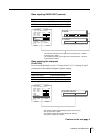
6 Press the MENU button, then select OUT by pressing the G or g button.
The OUTPUT SETUP menu appears.
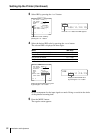
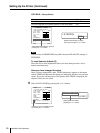
Position the cursor at SOURCE by
pressing the F or f button.
Press the F or f button until SOURCE
appears.
Switch EE to green by pressing
the G or g button.
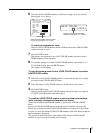
Display EE in capital letters by pressing
the G or g button.
Setting Up the Printer (Continued)