


97
Installation and Adjustment
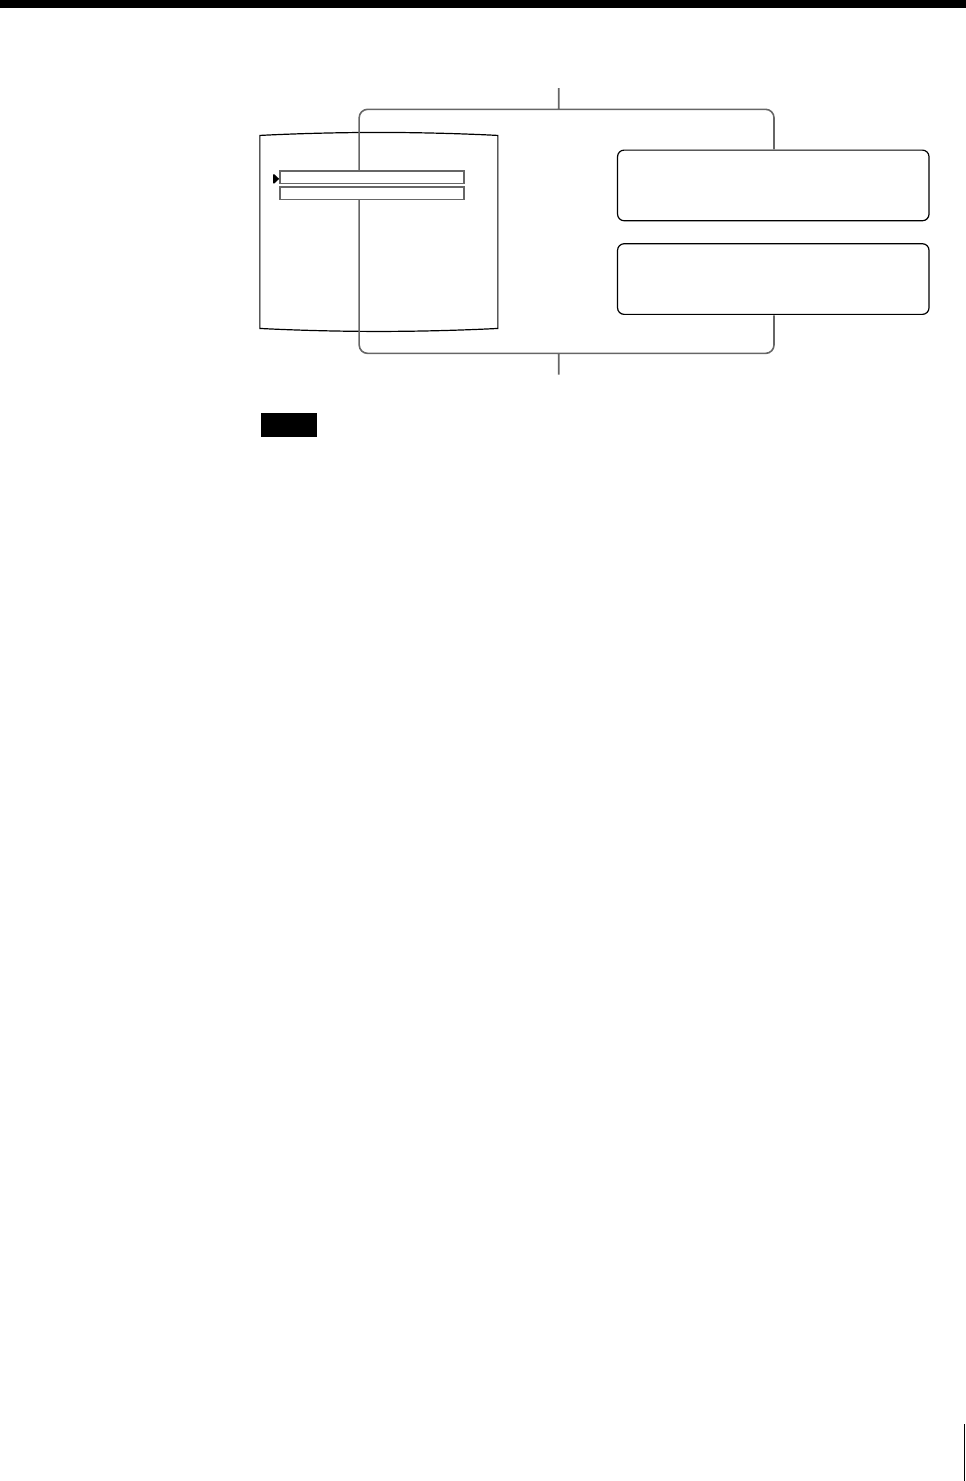
V
0DOT (S )
START :
H
0DOT (S )
START :
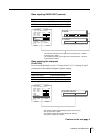
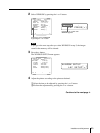
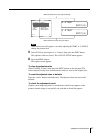
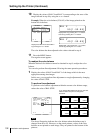
WINDOW SETUP COLOR : 200
LAY SETUP
H START : 0 DOT (S)
V START : 0 DOT (S)
H WIDTH : 896 DOTS
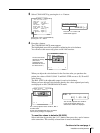
SAVE : PRESS [ EXEC ]
CANCEL : PRESS [ EXEC ]
: PRESS [ > ]
Q1 A 1
S
V WIDTH : 464 DOTS
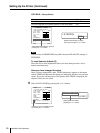
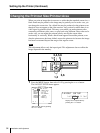
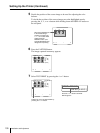
When the black line is at the right or left edge
When the black line is at the top or bottom
Note
When a black line still appears, even after adjusting H START or V START,
change the printout size.
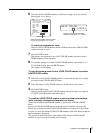
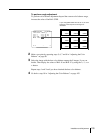
5 Select SAVE by pressing the F or f button, then press the EXEC button.
The adjusted values are stored. The LAYOUT SETUP menu appears.
6 Press the MENU button.
The regular screen appears.
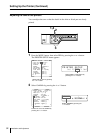
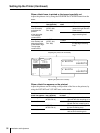
To clear the adjusted value
Select CANCEL in step 5, then press the EXEC button on the sub panel. The
values adjusted in step 4 are cleared and the values are reset to the original ones.
To reset the adjusted value to defaults
Press the G and g buttons simultaneously. The adjusted values are reset to the
defaults.
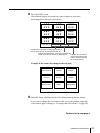
To check the adjustment result
Capture a new image and print it to check that no black frame appears on the
printout, that the image is not partially cut, and that no black line appears.