


52
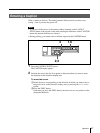
Operation
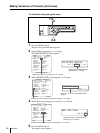
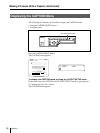
A B C
Q1 A 8:3 Q1 A 8:4 Q1 A 16:05 Q1 A 16:06
A B C
X Y Z
A B C
X Y Z
A B C
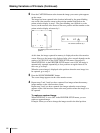
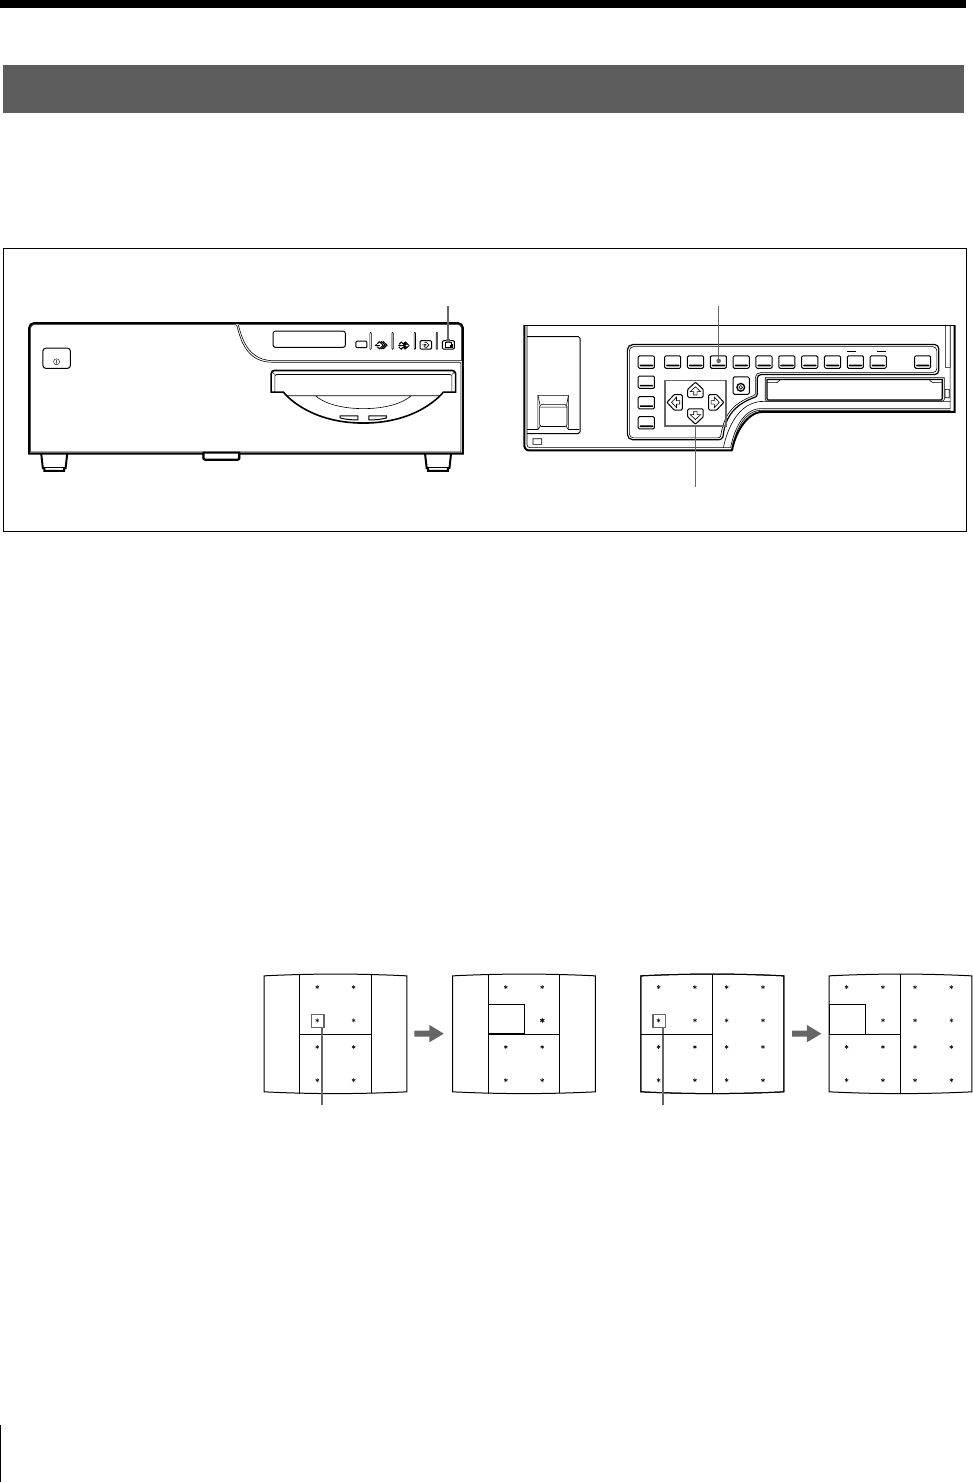
Making a Printout with an Insert
You can make printouts with an insert which is a reduced image.
Either eight or 16 reduced images to be captured are used for deciding the image to
be inserted onto the full image. However, the position and the size of the reduced
image to be inserted are those for the four reduced images.
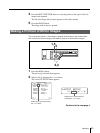
1 Display the full-size image stored in memory by pressing the SOURCE/
MEMORY button. Or capture the full-size image in memory. (Follow steps 1
to 3 of “Making Full-Size Image Printouts” on page 17.)
2 Press the MULTI PICTURE button repeatedly until either the 8 or 16 reduced-
image type (without white borders and in STANDARD printer application
mode) is selected.
(See “Selecting the number of reduced images to be captured in memory” on
page 36.)
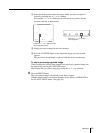
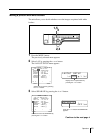
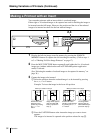
3 Capture the image to be inserted.
1 Select the position where the reduced image is to be inserted by pressing
the G, g, F or f button.
Example: To insert the image in the lower-left position
2 Press the CAPTURE button at the instant the image you want to insert
appears.
The image to be inserted is captured at the position selected in step 1.
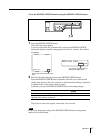
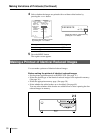
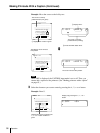
SOURCE/
MEMORY
MEMORY
PAGE
CAPTURE
PRINT
PRINTALARM
POWER
2,4
3
5
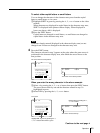
When you select 8 in step 2
Position the cursor
(blinking) to this
position by pressing
the G, g, F or f
button.
Image which appears
after the CAPTURE
button is pressed in
step 2.
When you select 16 in step 2
Position the cursor
(blinking) at this position
by pressing the G, g, F
or f button.
The image which
appears after the
CAPTURE button is
pressed in step 2.
Making Variations of Printouts (Continued)