


42
Operation
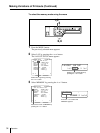
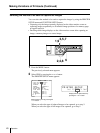
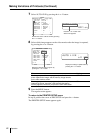
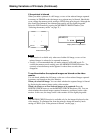
A
UTO L I VE :
FUNCTION SETUP COLOR : 200
PRN SETUP
AUTO LIVE : OFF / ON
: OFF / ON
RM2 FUNC : / C&PRINT /
RM3A FUNC : / PRINT&PAGE
RM3B FUNC : / BACK - SP /
RM3C FUNC : / CAP/SRC /
RM3E FUNC : / GRAB /
: PRESS [ > ]
: ALL /
Q1 A 1
S
IMMED. CAP.
CLEAR
off /ON
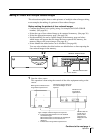
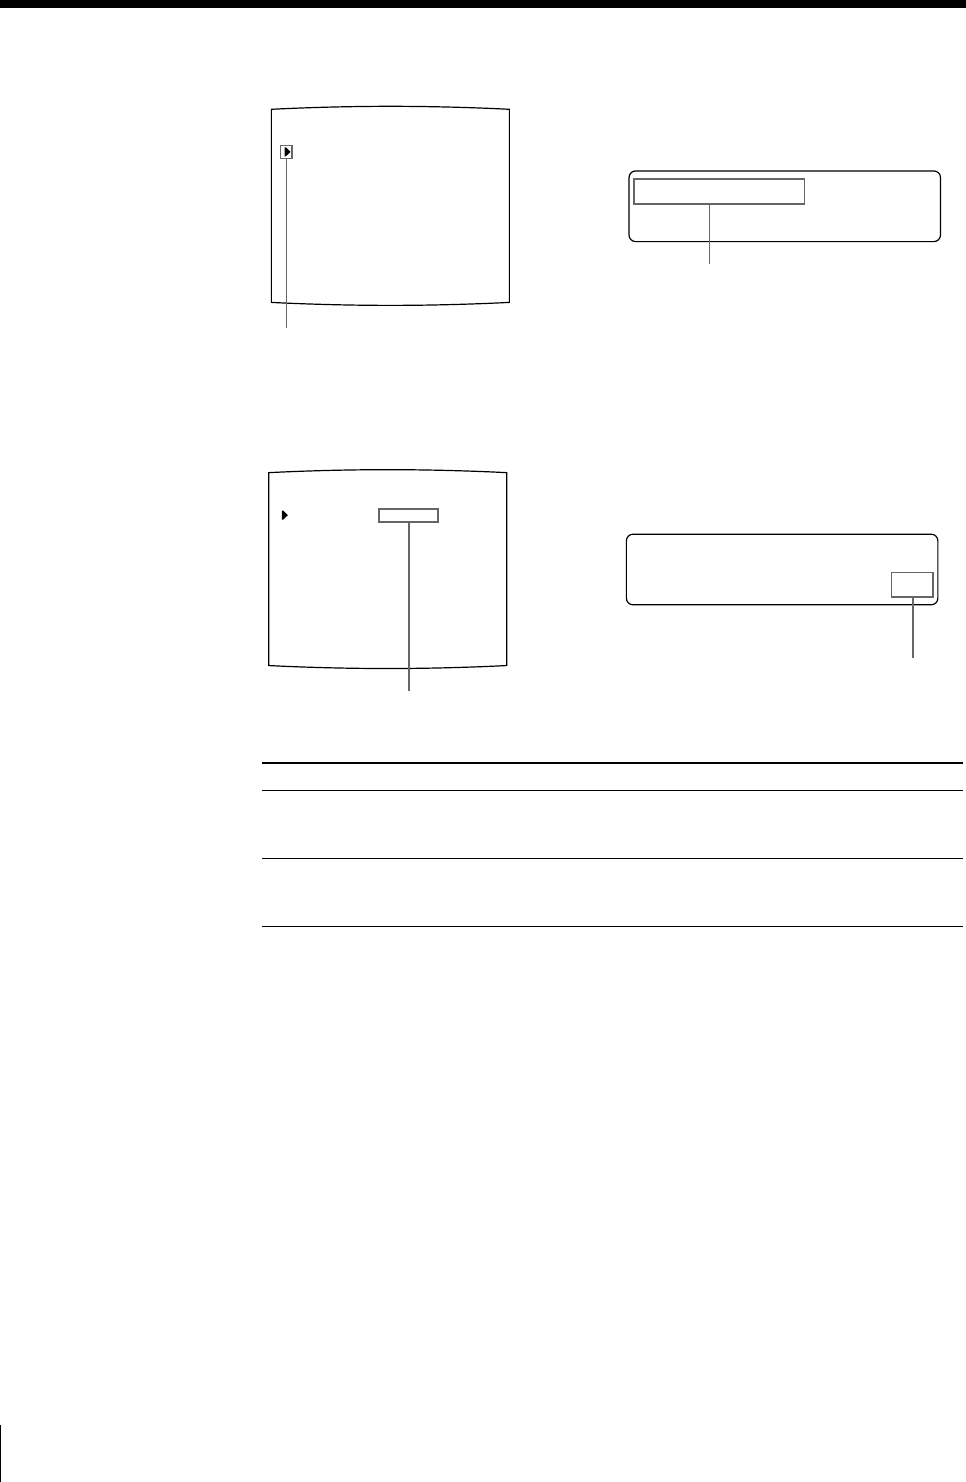
7 Select AUTO LIVE by pressing the F or f button.
8 Select which image appears on the video monitor after the image is captured,
by pressing the G or g button.
When
The image captured in memory appears just after the
printer captures the image, and the memory image remains
on the video monitor screen.
The image captured in memory appears just after the printer
captures the image, then after a few seconds, the source
memory appears, whenever you press the CAPTURE button.
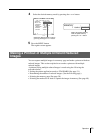
9 Press the MENU button.
The regular screen appears.
To return to the PRINTER SETUP menu
In step 9, position the cursor at PRN SETUP and press the g button.
The PRINTER SETUP menu appears again.
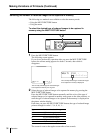
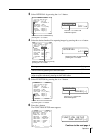
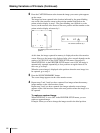
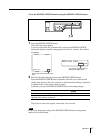
A
UTO L I VE :
FUNCTION SETUP COLOR : 200
PRN SETUP
AUTO LIVE : OFF / ON
: OFF / ON
RM2 FUNC : / C&PRINT /
RM3A FUNC : / PRINT&PAGE
RM3B FUNC : / BACK - SP /
RM3C FUNC : / CAP/SRC /
RM3E FUNC : / GRAB /
: PRESS [ > ]
: ALL /
Q1 A 1
S
IMMED. CAP.
CLEAR
OFF / o n
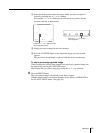
Position the cursor at AUTO LIVE by pressing
the F or f button.
Press the F or f button until
AUTO LIVE appears.
Setting
OFF
ON
Switch the desired setting to green by
pressing the G or g button.
Display the setting in capital letters by
pressing the G or g button
Making Variations of Printouts (Continued)