


85
Installation and Adjustment
M
ON I M - G : 0
M
ON I C - R : 0
M
ON I Y - B : 0
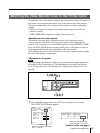
OUTPUT SETUP COLOR : 200
/ COL / LAY / PRN / IN / OUT /
DISPLAY : OFF / ON
SOURCE : THRU / EE
SYNC ON G : OFF / ON
RBN REMAIN: OFF / ON
Q1 A 1
S
: 0
: 0
: 0
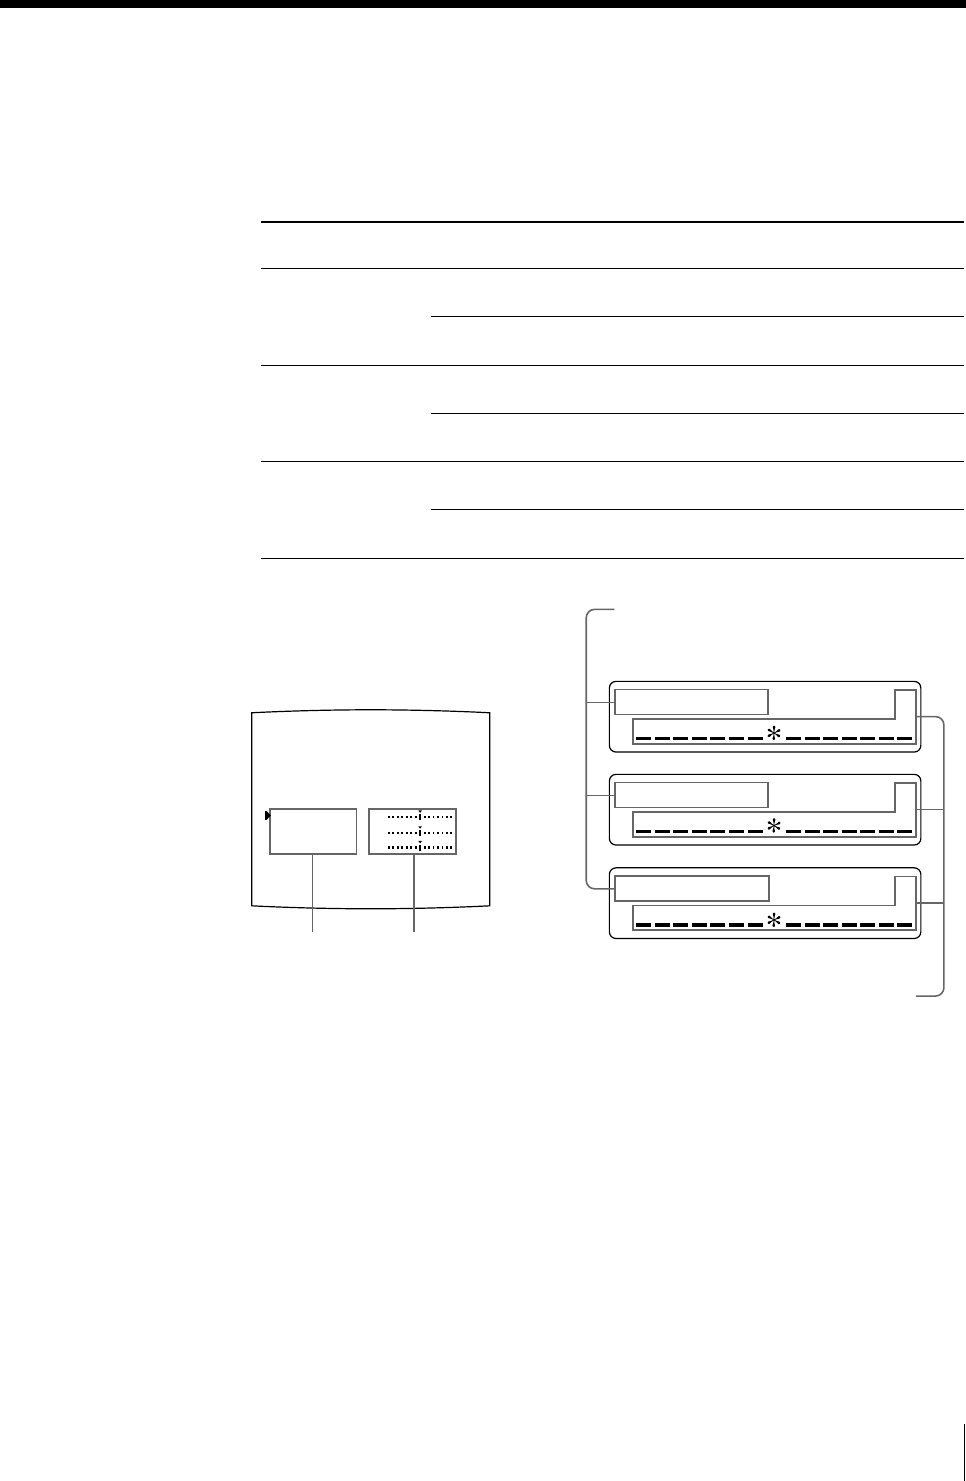
MONI C–R
MONI M–G
MONI Y–B
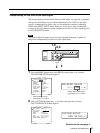
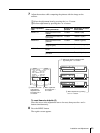
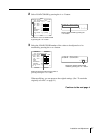
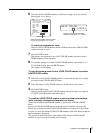
7 Adjust the monitor while comparing the printout with the image on the
monitor.
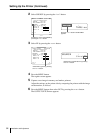
1 Select the adjustment item by pressing the F or f button.
2 Perform adjustment by pressing the G or g button.
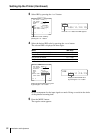
Menu adjustment
item
MONI C-R
MONI M-G
MONI Y-B
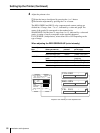
To reset items to defaults (0)
Place the cursor at the adjustment item to be reset, then press the G and g
buttons simultaneously.
8 Press the MENU button.
The regular screen appears.
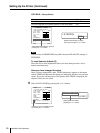
When you want to
Make the screen more
reddish.
Make the screen become
cyan (blue).
Make the screen more
greenish.
Make the screen become
magenta (pink)
Make the screen more
bluish.
Make the screen more
yellowish.
Adjustment direction
on the menu
Toward R (red)
Toward C (cyan)
Toward G (green)
Toward M (magenta)
Toward B (blue)
Toward Y (yellow)
Button to be
pressed
g button
G button
g button
G button
g button
G button
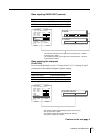
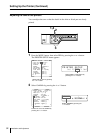
1 Display the desired adjustment item
by pressing the F or f button.
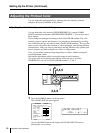
1 Position the cursor
at the desired
adjustment item
by pressing the F
or f button.
2 Make adjustment
by pressing the G
or g button.
2 Make adjustment by pressing
the G or g button.