98
Installation and Adjustment
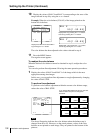
Setting Up the Printer (Continued)
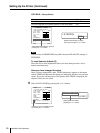
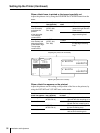
PRN SPEED : / HIGH
MOTION CHK
P
/c/ l /PRN/i /o/
RINTER SETUP
PRINTER SETUP COLOR : 200
/ COL / LAY / PRN / IN / OUT /
PRINT QTY. : 1 [ 1 ~ 9 ]
INTERVAL : OFF / ON
GAMMA : S / NORMAL / H
: OFF / ON
LOAD USER : 1 / 2 / 3 [ EXEC ]
SYSTEM : PRESS [ > ]
FUNCTION : PRESS [ > ]
C - BALANCE : PRESS [ > ]
Q1 A 1
S
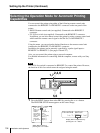
Adjusting the Color Balance
You should use the ink ribbon and paper that are contained in the same package as
a pair. The color balance may differ depending on each pair.
It is recommended that you adjust the color balance each time you load a new ink
ribbon and paper.
Before adjusting the color balance
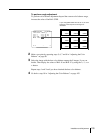
Reset all items in the COLOR ADJUST menu to defaults. (See “Adjusting the
Printout Color” on page 86.)
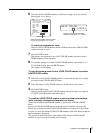
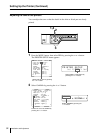
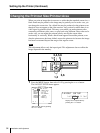
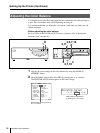
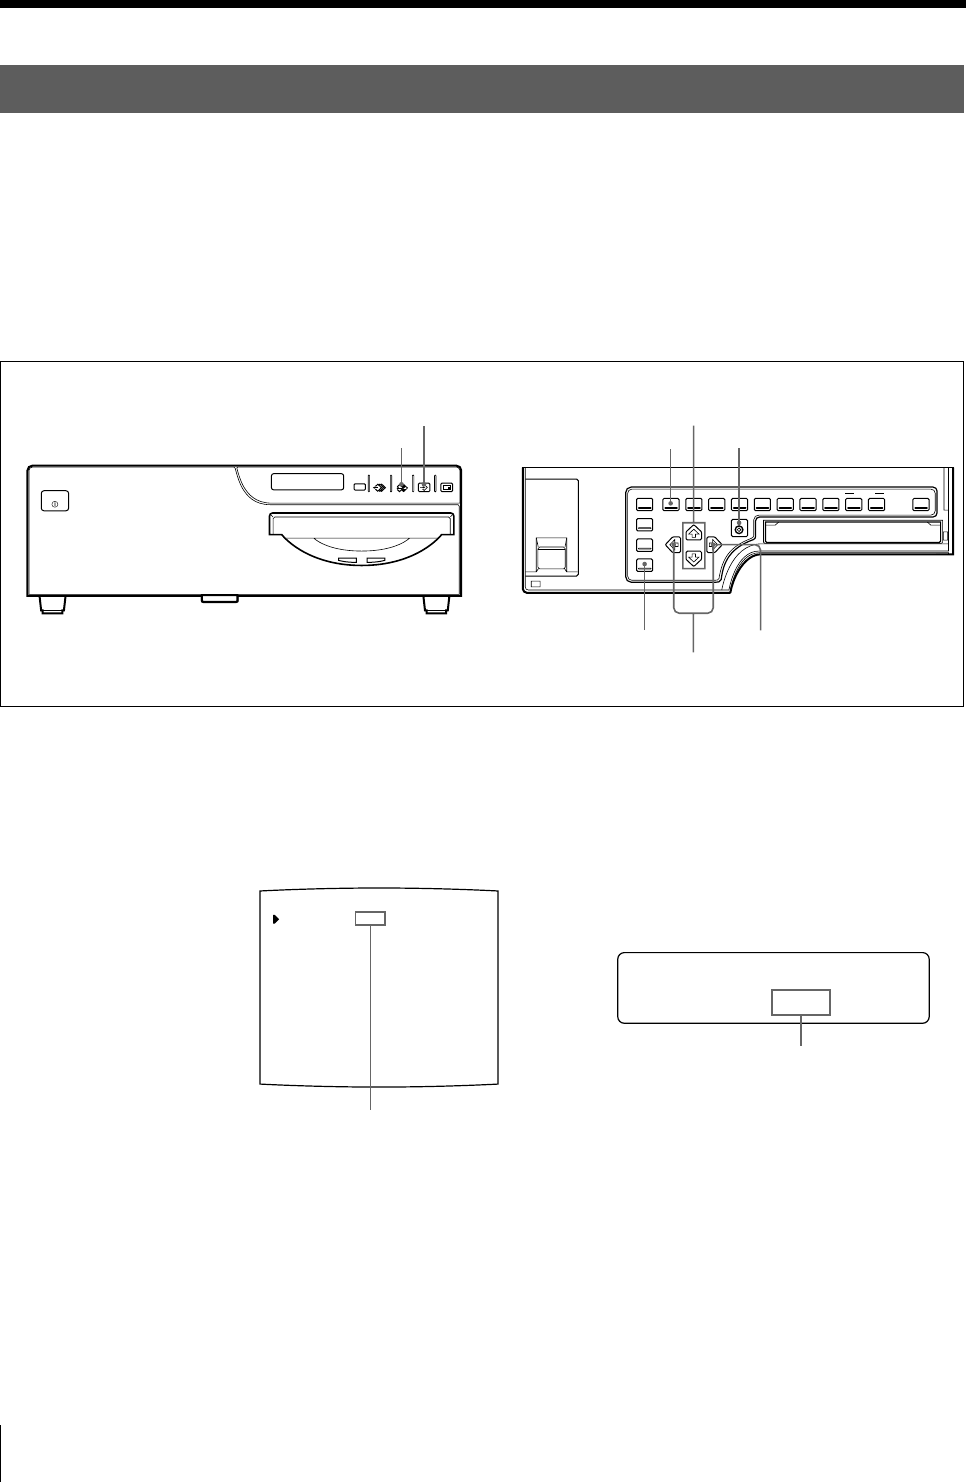
1 Display the source image on the video monitor by using the SOURCE/
MEMORY button.
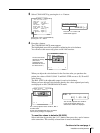
2 Press the MENU button, then select PRN by pressing the G or g button.
The PRINTER SETUP menu appears on the source image.
SOURCE/
MEMORY
MEMORY
PAGE
CAPTURE
PRINT
PRINTALARM
POWER
1
2,11
3,5,7,10
4
5
5,7,10
6
8
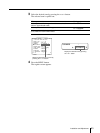
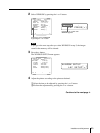
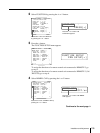
Switch PRN to green by pressing
the G or g button.
Display PRN in capital letters
by pressing the G or g button.


