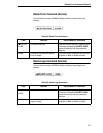
Create Logo Command (Normal)
187
Using The Create Form Command
This example shows how to design an employment application form for an
Explosives Handler for a Demolition Company. To enter CREATE Mode and
design a form called JobAppl, send the following command to your printer:
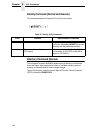
CREATE;JobAppl
To enter CREATE Mode and design the same form, send the following
command to your printer:
CREATE;JobAppl
To enter CREATE Mode and assign a Form Length of 10 inches, send the
following command to your printer:
CREATE;JobAppl;720
After entering CREATE Form Mode send the required commands to complete
the form.
Now that you have informed the printer that you wish to CREATE a form
called JobAppl that is 10 inches long, you can finish creating your form using
the appropriate commands in the CREATE Form Mode.
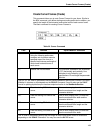
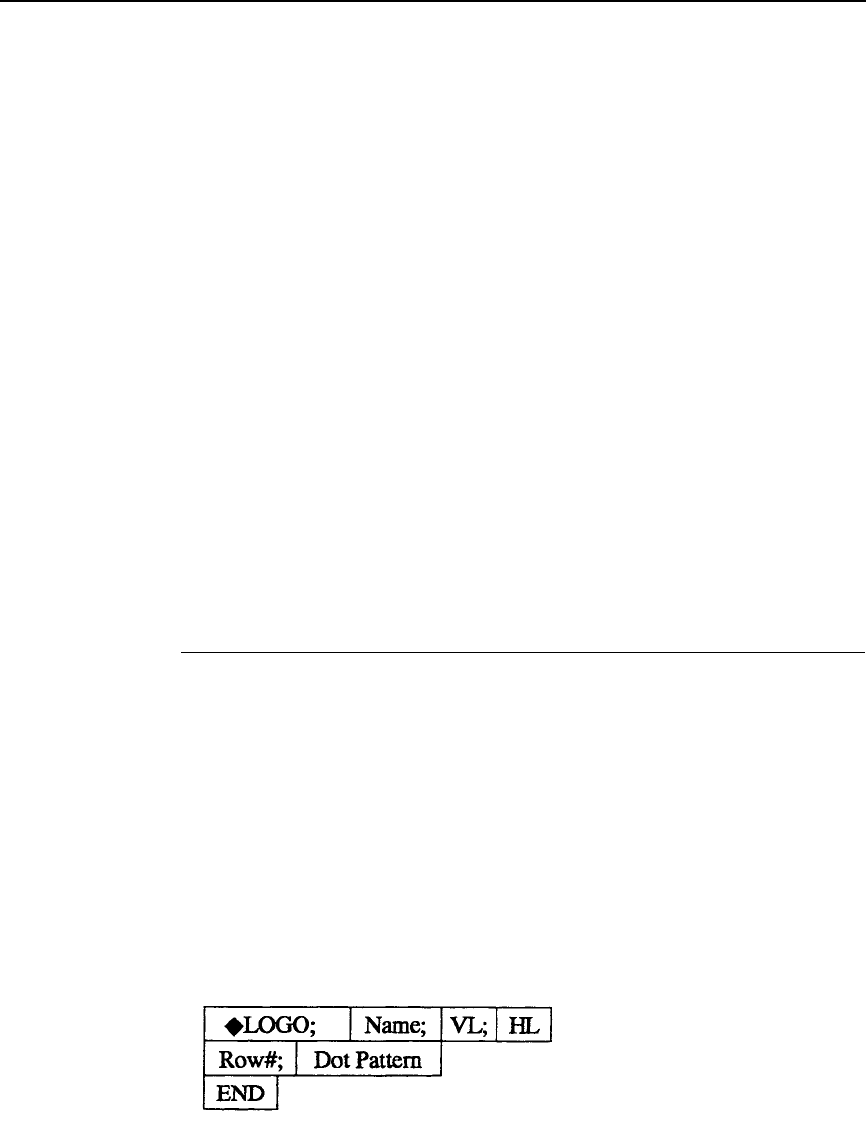
Create Logo Command (Normal)
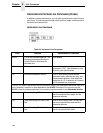
This command allows you to create logos for your forms. It initiates the Logo
CREATE Mode, which enables you to create and store logos that will be
called in CREATE Mode for use in creating forms. Logos are defined using
specific dot placement within a grid.
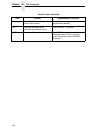
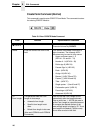
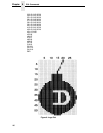
This command names the logo then specifies a grid size for the logo and
which dot positions within the grid will be printed. The grid is 72 DPI vertically
and 60 DPI horizontally. The maximum size of the grid is 252 dot rows (3.5
inches) by 240 dot columns (4 inches). When defining the grid, it is best not to
exceed the actual requirements needed to produce the logo. For example, if
your logo is going to be 1 inch high by 1.5 inches tall, the grid would be the
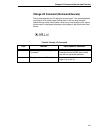
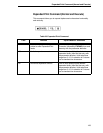
same size in dots (72 by 90). The basic command for creating a logo is:


