


Installation
Xerox 4500 PS ETH, Inst. & Operator's Guide
19
2.3 Installation procedure
This section describes the installation of the Xerox 4500 PS ETH
interface into one of the supported printers.
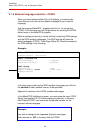
NOTE:
Before you start the installation you must power OFF.
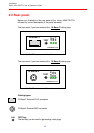
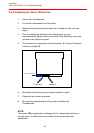
2.3.1 Installing into Xerox 4505 / 4510 printer
1. Remove the plastic cover from the rear of the printer.
2. Loosen the thumb screws.
3. Pull out the motherboard by the handle.
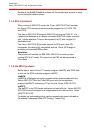
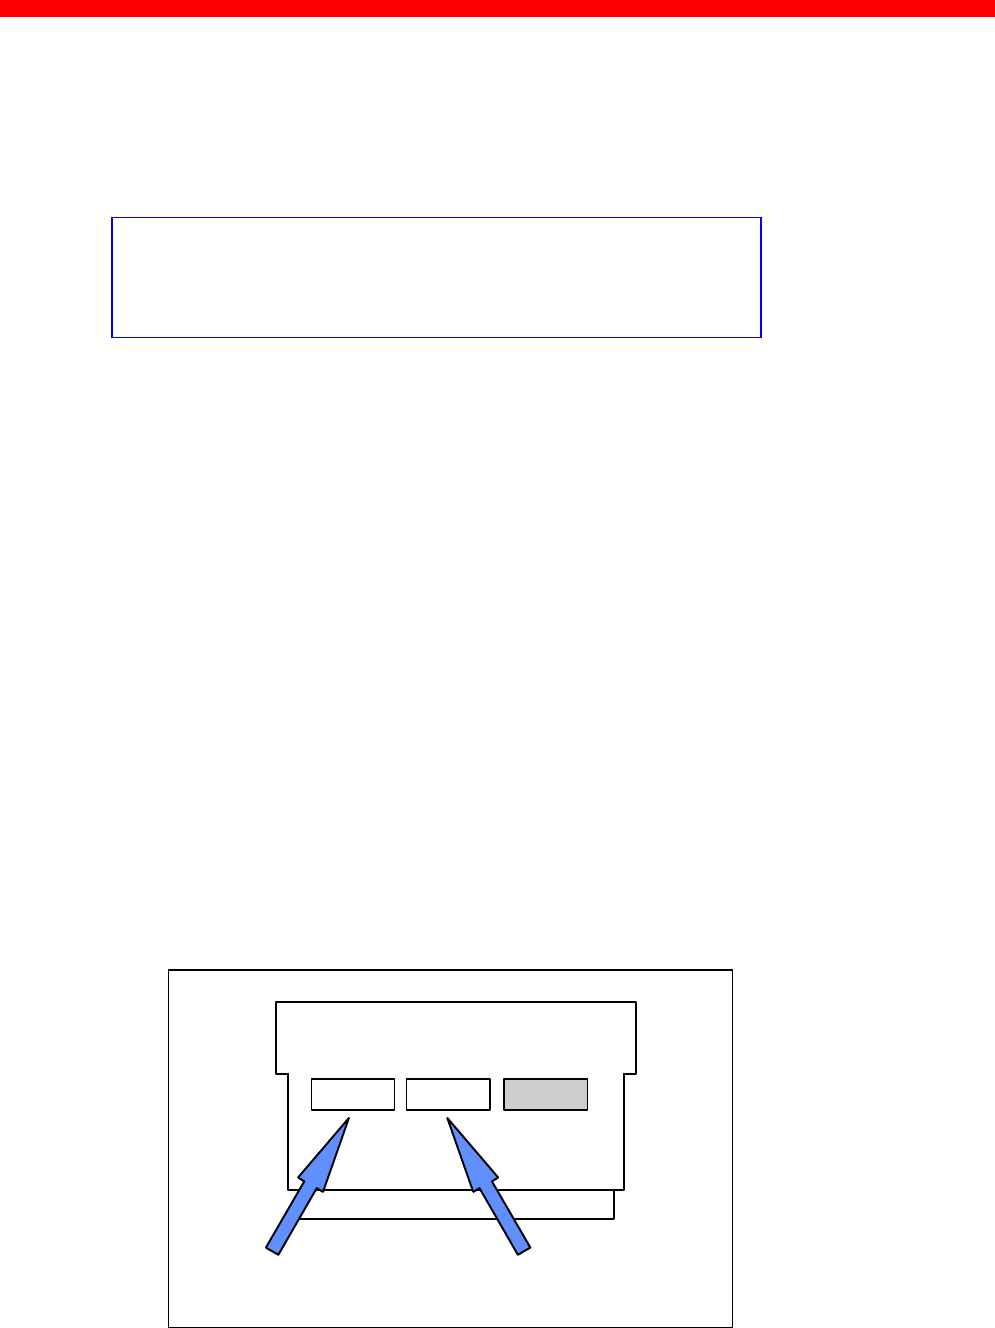
4. Dismantle the two blankets indicated as “ A” and “B” in the figure below.
Save the 4 screws for later use.
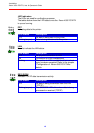
5. Prior to inserting the interface in the motherboard, you are
recommended to tighten loosely one screw in the interface’s rear panel
and one in the Centronics panel.
6. Place the interface in the slot marked “ A” and place the Centronics in
the slot marked “B”.
VOID
Centronics Interface