


Novell Setup for IPX/SPX
Xerox 4500 PS ETH, Inst. & Operator's Guide
89
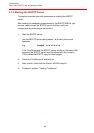
4.4 NetWare setup - Bindery mode
This section describes the setting up of the NetWare version 3.1x or
later for IPX/SPX printing using Bindery mode. If you use NetWare
version 4.xx you should consider using DS mode as described in the
next section.
NOTE:
You must either load the PSERVER.NLM on the server or define the
embedded PRINTSERVER in the Xerox 4500 PS ETH before
connecting the NPRINTER.
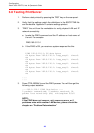
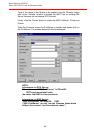
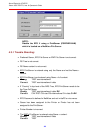
1. Type “PCONSOLE” to start the PCONSOLE program
2. Make sure that you have selected the correct file server. If not, select
the correct by selecting the menu " Change current file server".
3. Select “Print Queue Information” from the main menu to set up a
queue to service the PrintServer.
4. Press INS to create a new queue and type a name for this new
queue. The queue name is user-defined and used for printing and
monitoring.
5. Select the new queue and press ENTER.
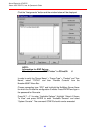
6. From the menu “Print Queue Information” select “Queue Server”
and press ENTER.
7. Press INS for a list of Print Servers.
The list will show both n on-embedded Print Servers and embedded
Print Servers.
8. Select the appropriate Print Server from the list “Queue Servers
Candidates” and press ENTER.
If defined on the system, one of the candidates is the embedded
Print Server.
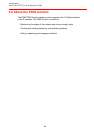
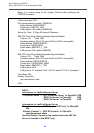
9. Press ESC three times to go to the main menu “ Available Options”
and select “Print Server Information”.
10. Select the appropriate Print Server and press ENTER
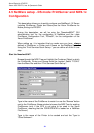
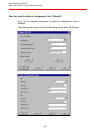
11. From the “Print Server Information” menu select “Print Server
Configuration”.