


110 •Main Menu XEROX WIDE FORMAT COPY SYSTEM
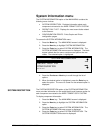
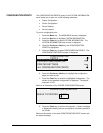
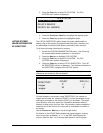
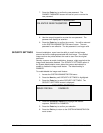
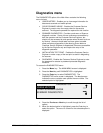
3. Press the Enter key to select FILE SYSTEM. The FILE
SYSTEM menu screen is displayed.
FILE SYSTEM
LIST BY DIRECTORY
DELETE IMAGES
DELETE ALL IMAGES
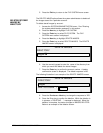
4. Press the Previous or Next key to highlight the desired option.
5. Press the Enter key to select the highlighted option.
The LIST BY DIRECTORY option allows the system administrator to
display a list of the number of images stored under each directory and
the percentage of total hard disk space consumed by each account.
To list scanned image information by account:
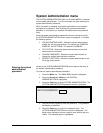
1. Access the SYSTEM ADMINISTRATION menu. See "Entering
the system administration password" in this section.
2. Press the Next key to highlight FILE SYSTEM.
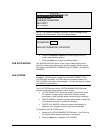
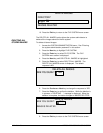
3. Press the Enter key to select FILE SYSTEM. The FILE
SYSTEM menu screen is displayed.
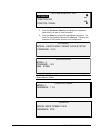
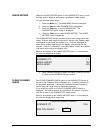
4. Press the Enter key to select LIST BY DIRECTORY. The LIST
BY DIRECTORY screen is displayed. The following illustration is
an DIRECTORY example of the LIST BY screen.
NOTE: Directories that do not contain files will not be displayed.
Directories not containing files are deleted.
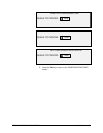
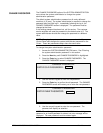
LIST BY DIRECTORY
DIRECTORY
COUNT
SIZE (%)
images
2*
<1
images
35
2
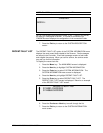
For each directory, the account name( DIRECTORY), the number of
images stored under the directory(COUNT), and the percentage of total
disk space consumed by the account (SIZE (%)) are shown. The length
of the directory name may cause the information associated with the
directory to wrap to the next line. Also, if the directory name exceeds the
character limit of the first line, the name will be truncated at the width of
the screen.
Use the Previous or Next key to scroll through the list.
An asterisk in the COUNT field indicates that some images in memory
have not yet been processed. A "<1" in the SIZE field indicates the
account uses less than 1% of the total disk space on the file system.
LISTING STORED
IMAGE INFORMATION
BY DIRECTORY