


40 •Image Quality XEROX WIDE FORMAT COPY SYSTEM
SCAN MODE
Normal mode attempts to reproduce the document being scanned to
provide the best image quality including halftones and shadings as well
as fine lines. To select the scan options for Color Mode:
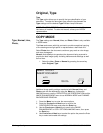
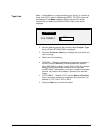
1. Press the Mode key. The Please Enter Directory screen is
displayed.
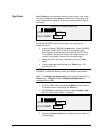
2. Enter the Directory Name. The READY TO SCAN INSERT
DOCUMENT screen is displayed.
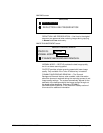
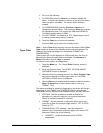
3. Select the Normal by pressing the arrow key below Original,
Type key until the Normal light comes on. The SCAN OPTIONS
(NORMAL) screen is displayed.
4. Use the Enter key to enable/disable checkbox selection and the
Next or Previous Key to select options with a colon (eg.
FORMAT: TIFF).
The options available for selections displayed on the screen will change
depending on the FORMAT and COMPRESSION that are selected.
Listed below are the selections and available options and their definition:
• PREVIEW - Use this checkbox to enable or disable the
generation of a preview image for your scanned document.
Default is enabled (checkbox is checked)
• FORMAT - Use this selection to determine which format you
would like to have the scanned image saved in, TIFF, CALS (1
BIT only) or PDF. Default is TIFF.
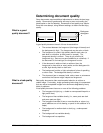
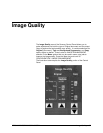
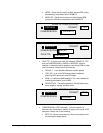
The screen shown below only appears in the SCAN mode.
Additional image quality selections are available by pressing the
Menu key and scrolling to CONFIGURATION>COPY
OPTIONS>IIMAGING or CONFIGURATION> IMAGE
ENHANCEMENT. Refer to the Main Menu section of the manual
for additional information on these selections.
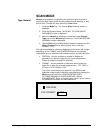
SCAN OPTIONS (NORMAL)
ü
PREVIEW
FILE FORMAT:
TIFF
Type, Normal