


XEROX WIDE FORMAT COPY SYSTEM Special features keys • 75
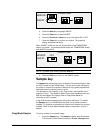
4. Press the Previous or the Next key to select the X (horizontal)
or Y (vertical) coordinate.
5. Press the Enter key to confirm your choice.
6. Press the Previous or Next key to select a choice for
justification.
For the X direction, the choices are LEFT, CENTER, and RIGHT. For
the Y direction, the choices are TOP, CENTER, and BOTTOM.
7. Press the Enter key to confirm your choice. The graphical
display updates accordingly.
NOTE: To cancel your choice, press the Exit key.
8. Repeat steps 4 through 7 if you wish to change position of the
other coordinate.
9. Press the Exit key to return to the TRANSFORM MENU screen.
The TRANSFORM option of the TRANSFORM MENU allows you to
create a mirror image of a scanned image and to convert a scanned
image to a negative image.
The MIRROR option allows you to create a mirror image of a scanned
image.
To create a mirror image:
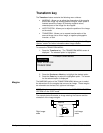
1. Press the Transform key. The TRANSFORM MENU screen is
displayed.
2. Press the Next key until TRANSFORM is highlighted.
3. Press the Enter key to select TRANSFORM. The TRANSFORM
screen is displayed.
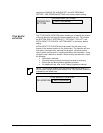
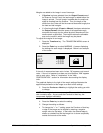
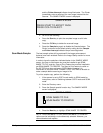
Below is an example of the TRANSFORM screen with both the MIRROR
and INVERT options turned off.
TRANSFORM
MIRROR: OFF
INVERT:
OFF
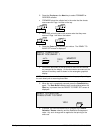
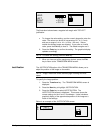
4. Press the Enter key to select MIRROR.
5. Press the Previous or Next key to select the desired
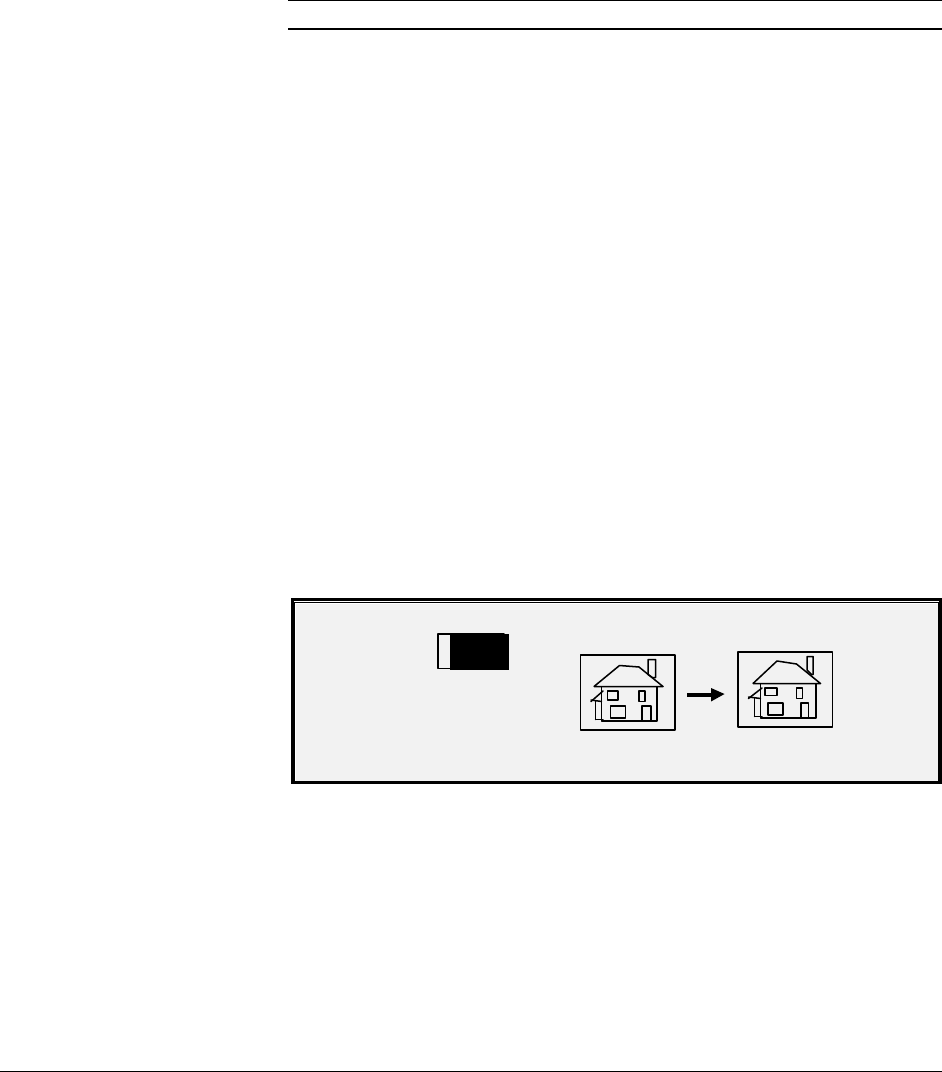
transformation. Four choices are available - X, Y, XY, and OFF.
Table 4 below graphically depicts the choices.
Transform
Creating a Mirror Image