


126 •Main Menu XEROX WIDE FORMAT COPY SYSTEM
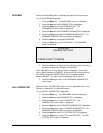
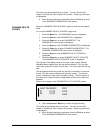
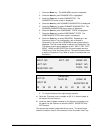
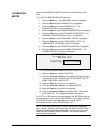
MOTOR SPEED
EXPECTED LENGTH: 610
MEASURED LENGTH: 0
PRESS START TO ADJUST SPEED
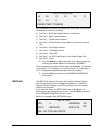
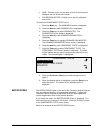
Select the LEAD EDGE/TRAIL EDGE option to execute the lead
edge/trail edge adjustment diagnostic.
To run the LEAD EDGE/TRAIL EDGE diagnostic:
1. Press the Menu key. The MAIN MENU screen is displayed.
2. Press the Next key until DIAGNOSTICS is highlighted.
3. Press the Enter key to select DIAGNOSTICS. The
DIAGNOSTICS menu screen is displayed.
4. Press the Next key until SCANNER DIAGNOSTICS is displayed.
5. Press the Enter key to select SCANNER DIAGNOSTICS. The
SCANNER DIAGNOSTICS menu screen is displayed.
6. Press the Next key until COMPONENT TESTS is highlighted.
7. Press the Enter key to select COMPONENT TESTS. The
COMPONENTS TESTS menu screen is displayed.
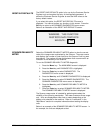
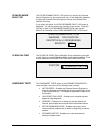
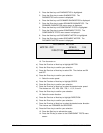
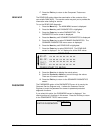
8. Press the Enter key to select LEAD EDGE/TRAIL EDGE. The
LEAD EDGE/TRAIL EDGE ADJUSTMENT screen is displayed.
LEAD EDGE/TRAIL EDGE
ADJUSTMENT
PRESS START TO BEGIN
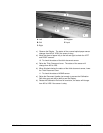
9. Insert a black sheet (8.5 X 11) of paper into the Scanner.
10. Press the Start key to begin the diagnostic. When the diagnostic
completes, the last line of the display is replaced with a status
line indicating PASS or FAIL. The last line may also display as
NO RESPONSE FROM SCANNER if the Scanner does not
process the request within the timeout period.
11. Press the Enter key to return to the COMPONENT TESTS menu
screen.
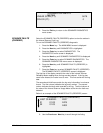
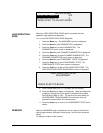
Select the SENSORS option to display the current state of the Scanner
optical paper sensors, calibration home sensor, and the thick document
sensor.
To display the status of the sensors:
LEAD EDGE/TRAIL
EDGE
SENSORS