


XEROX WIDE FORMAT COPY SYSTEM Main Menu • 111
5. Press the Exit key to return to the FILE SYSTEM menu screen.
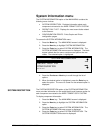
The DELETE IMAGE option allows the system administrator to delete all
the images stored for a particular account.
To delete stored images by account:
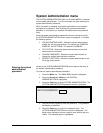
1. Access the SYSTEM ADMINISTRATION menu. See "Entering
the system administration password" in this section.
2. Press the Next key to highlight FILE SYSTEM.
3. Press the Enter key to select FILE SYSTEM. The FILE
SYSTEM menu screen is displayed.
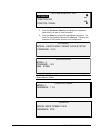
4. Press the Next key to highlight DELETE IMAGES.
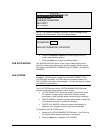
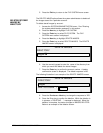
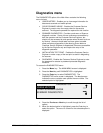
5. Press the Enter key to select DELETE IMAGES. The DELETE
IMAGES screen is displayed.
DELETE IMAGES
DIRECTORY:
Images o
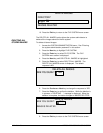
6. Use the numeric keypad to enter the name of the directory from
which you would like delete the stored images.
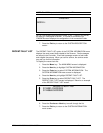
7. Press the Enter key to confirm the account number. A delete
confirmation screen is displayed. The default response is NO.
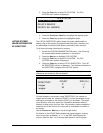
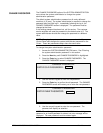
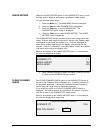
The following illustration is an example of the DELETE IMAGES screen.
DELETE IMAGES
DIRECTORY:
Images
ARE YOU SURE ?
NO
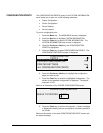
8. Press the Previous or Next key to change the response to YES.
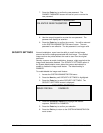
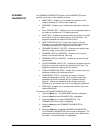
9. Press the Enter key to confirm the deletion. While the deletion is
in process, a "DELETING. . ." message is displayed. When the
deletion is complete, the status changes to IMAGES DELETED.
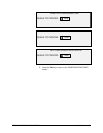
Below is an example of the deletion screen.
DELETING STORED
IMAGES BY
DIRECTORY